Your garage might be the most underutilized — and most chaotic — space in your entire home. Tools scattered on the floor. Boxes piled to the ceiling. You haven’t been able to park a car in there for years. Sound familiar?
Here’s the thing: an organized garage doesn’t happen by accident. It requires a system, the right storage solutions, and a step-by-step process that actually works. In this guide, we’ll walk you through exactly how to organize your garage from scratch — whether you’re tackling it in a single weekend or chipping away at it over several days.
By the time you’re done, you’ll have a garage that’s clean, functional, and easy to maintain.
Why Organizing Your Garage Matters More Than You Think
Before we dive in, let’s talk about why garage organization is worth the effort.
Safety first. A cluttered garage is a real hazard. Tripping over tools, unstable stacks of boxes, and flammable materials stored incorrectly are all genuine risks. An organized garage keeps your family safer.
It protects your stuff. When tools, sports equipment, and seasonal items are stored properly, they last longer. Random piles lead to rust, broken equipment, and lost items you end up repurchasing.
It adds home value. A clean, organized garage is a genuine selling point. Buyers notice it — and appraisers sometimes factor it in.
It saves you time and money. When you know where everything is, you stop buying duplicates and stop wasting time searching. According to the National Association of Professional Organizers, the average American spends 55 minutes a day looking for lost items. Your garage is probably responsible for a good chunk of that.
What You’ll Need Before You Start
Gather these supplies before beginning:
- Heavy-duty trash bags (multiple sizes)
- Labels and a marker
- Storage bins (clear bins are best for visibility)
- Pegboard panels and hooks
- Wall-mounted shelving units or freestanding shelves
- Bungee cords or bike hooks for overhead storage
- A folding table or workbench (if needed)
- Painter’s tape (for marking zones on the floor)
You don’t need to buy everything upfront. Start with what you have, then invest in storage solutions as you figure out what you actually need.
Step 1: Do a Complete Garage Purge First
This is the most important step — and the one most people skip. Do not organize what you should be throwing away.
Pull everything out of the garage. Yes, everything. Lay it on the driveway or lawn where you can see it clearly.
The Four-Pile Method
Sort every single item into one of four piles:
- Keep — Items you use at least once a year and in good condition
- Donate/Sell — Items that work fine but you no longer need
- Trash — Broken, expired, or irreparably damaged items
- Relocate — Items that don’t belong in the garage (these end up in garages all the time)
Be ruthless. If you haven’t used something in two years and have no concrete plan to use it, it goes. Keeping clutter “just in case” is the number-one reason garages get disorganized in the first place.
Pro Tip: Schedule a donation pickup or rent a dumpster before you start. Having a real deadline forces faster decisions.
💡 Related: Once your garage is clean, you’ll want to keep the floor looking sharp too. Check out our guide on How to Epoxy Coat Your Garage Floor: Complete DIY Guide (2026) for a professional finish that’s also easy to clean.
Step 2: Deep Clean the Empty Garage
With the garage empty, now is the perfect time to do a deep clean you can’t do when it’s full of stuff.
Cleaning Checklist:
- Sweep and vacuum the floor to remove all dirt, dust, and debris
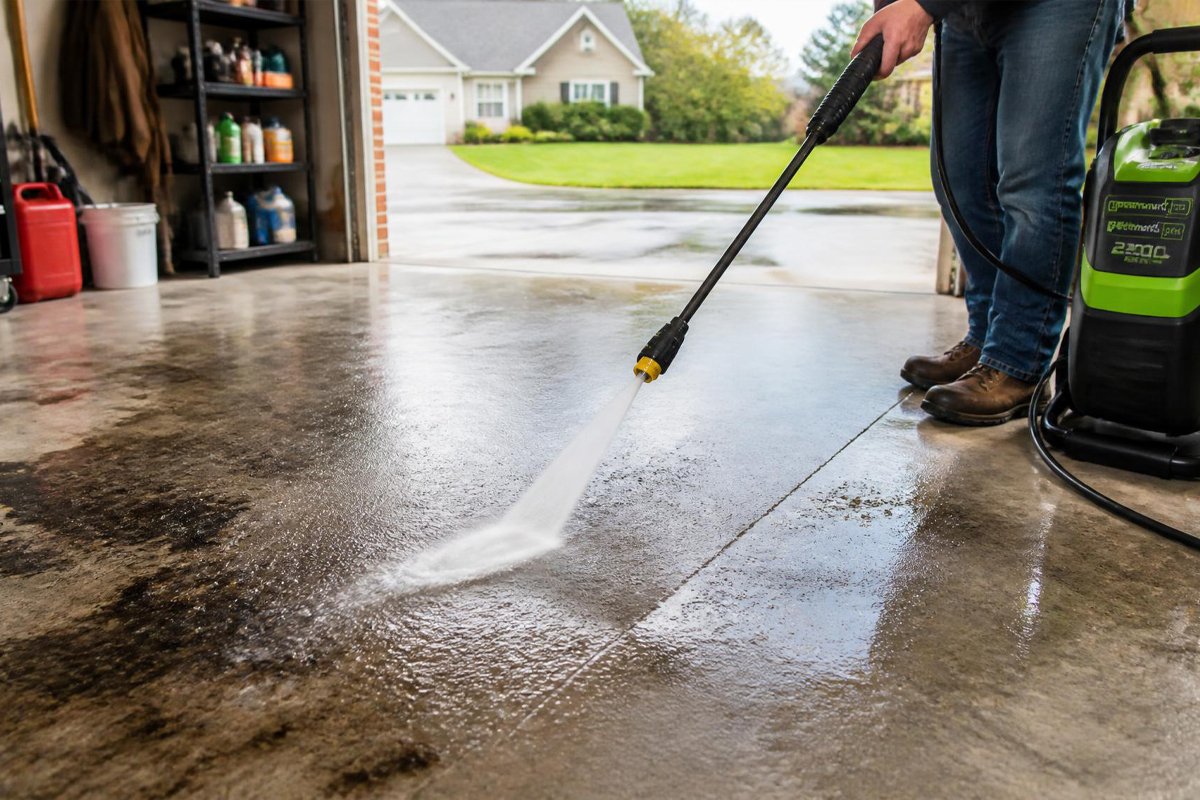
- Scrub the floor for oil stains, grease marks, and tire tracks
- Wipe down walls and shelving units if you’re keeping existing ones
- Check for moisture — look for water stains, damp spots, or signs of leaks
- Inspect the garage door weatherstripping and seals
Don’t skip the floor cleaning. Once you put everything back, you won’t be able to clean it properly again for months.
💡 Related: For a thorough floor cleaning walkthrough, read our detailed guide: How to Clean a Garage Floor: The Complete Step-by-Step Guide (2026)
💡 Also useful: If your garage door seals are damaged and letting in moisture, dust, or pests, fix them first: The Complete Garage Door Weatherproofing Guide (2026)
Step 3: Plan Your Garage Zones
This is where most DIY organizers go wrong. They just start putting things back without a plan — and end up with the same mess in a few months.
Zone-based organization means dividing your garage into dedicated activity areas. Everything in one zone belongs together and is used together.
The 6 Most Common Garage Zones
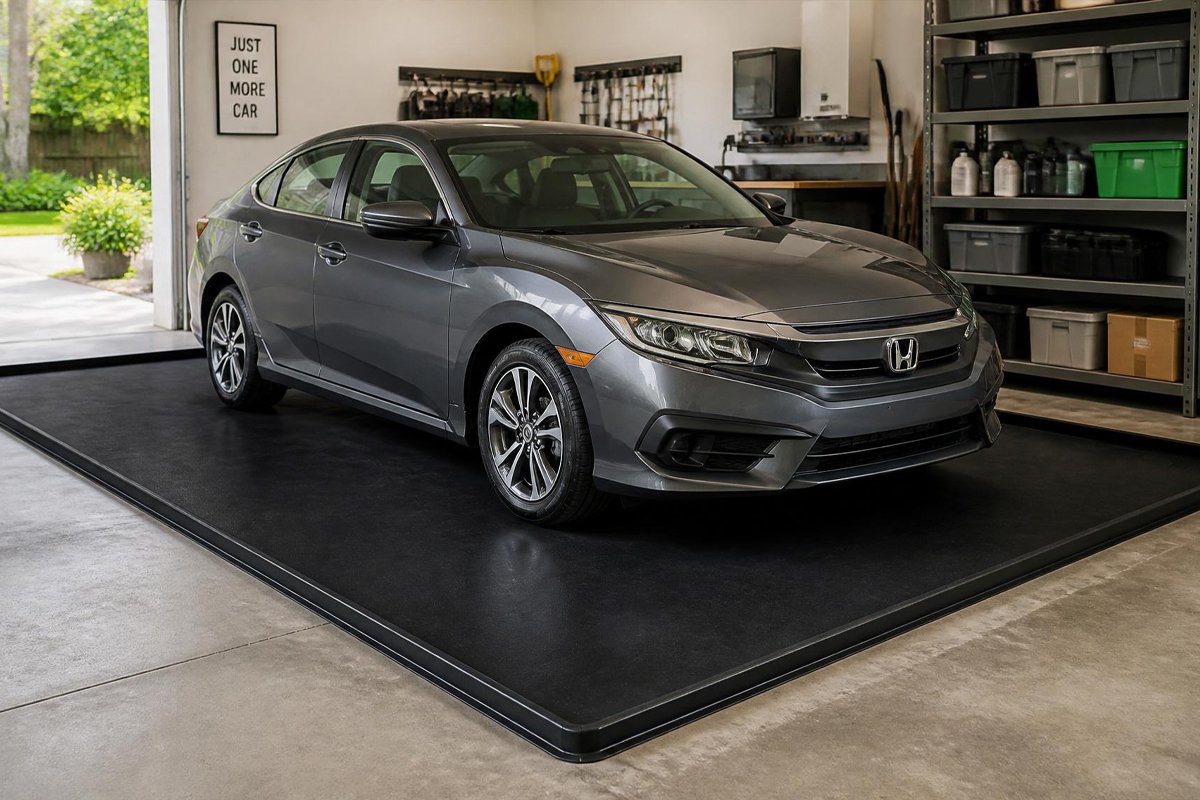
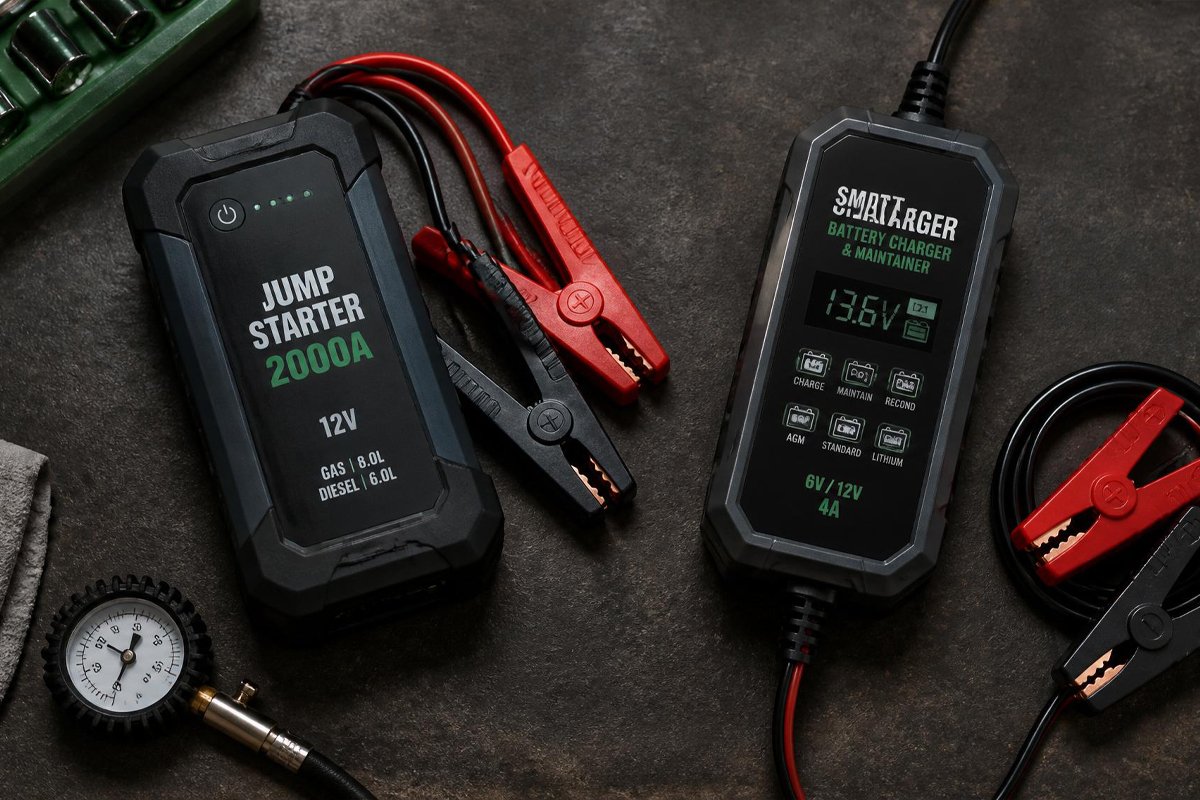
Zone 1: Car Care & Auto Supplies This zone goes near the garage door, where you park. Store motor oil, fluids, wash supplies, jumper cables, and tire equipment here.
💡 Related: Keeping your car in top condition is just as important as organizing where it lives. See: How to Maintain Your Car for 300,000 Miles (Expert Guide for 2026)
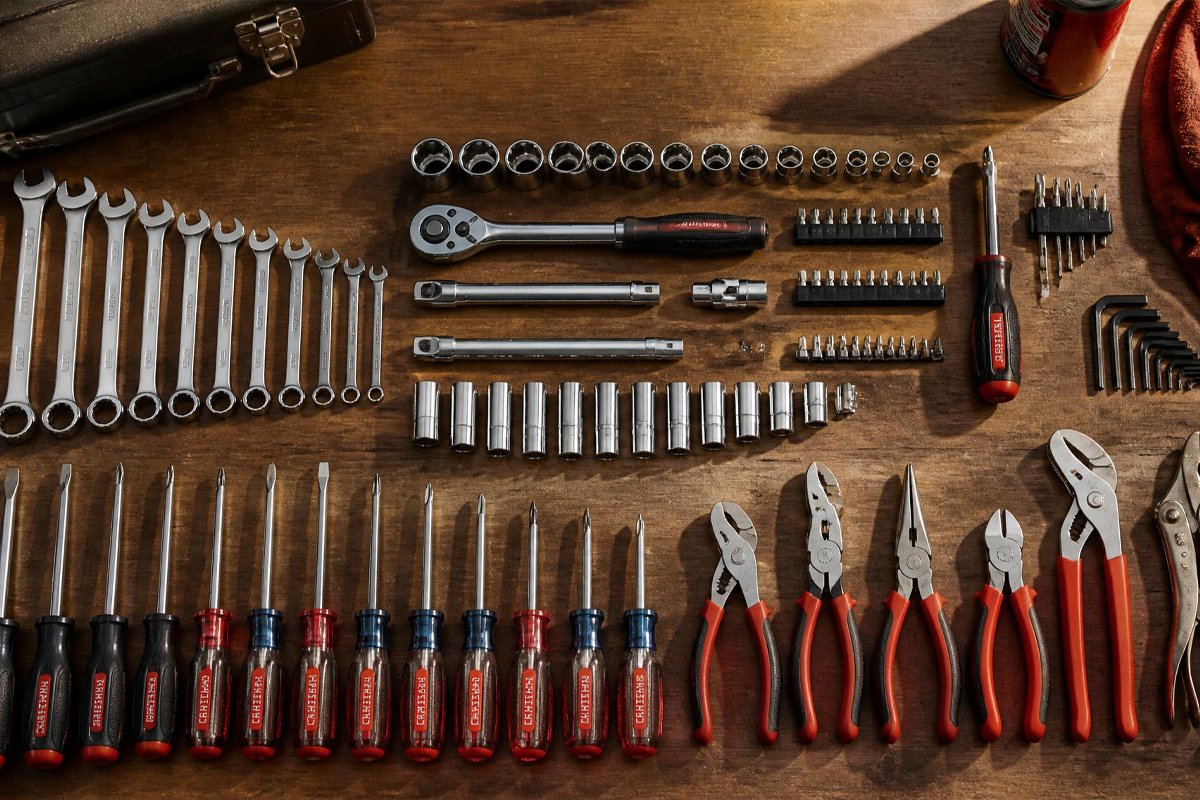
Zone 2: Tools & Workshop Power tools, hand tools, hardware (screws, nails, bolts), and workbench space. This zone benefits from pegboard wall storage and a solid workbench surface.
💡 Related: If you want to take your tool zone to the next level, read: How to Set Up a Garage Workshop: The Complete Organization Guide (2026)
Zone 3: Lawn & Garden Shovels, rakes, hoses, fertilizers, potting soil, and gardening gloves. Store fertilizers and chemicals on high shelves, away from heat sources.
Zone 4: Sports & Recreation Bikes, balls, skates, camping gear, helmets. This zone works well with wall hooks, ceiling bike racks, and dedicated sport bins.
Zone 5: Seasonal & Holiday Storage Christmas decorations, Halloween supplies, patio furniture covers — things you access only a few times per year. Put this zone in the hardest-to-reach area (back corners, overhead rafters).
Zone 6: Household Overflow Bulk paper goods, cleaning supplies, extra pantry items. Keep this zone accessible since you’ll visit it regularly.
How to Map Out Your Zones
Use painter’s tape to outline each zone directly on the garage floor before you bring anything back in. This gives you a clear visual layout and prevents zones from bleeding into each other later.
General placement rules:
- Frequently used items → front of the garage, at eye level
- Heavy items → bottom shelves (safety + ease)
- Infrequently used items → back corners, high shelves, overhead
- Chemicals and flammables → cool, dry area, away from ignition sources
Step 4: Install the Right Storage Systems
Once your zones are planned, choose storage solutions that match each zone’s needs. Not all storage is created equal.
1. Wall-Mounted Shelving Units
Best for: Tools, auto supplies, garden chemicals, sports gear
Heavy-duty metal wall shelves are the backbone of any organized garage. Look for:
- Weight capacity of at least 200–250 lbs per shelf
- Adjustable shelf heights
- Rust-resistant coating (garages get humid)
Installation tip: Anchor all shelving directly into wall studs — not just drywall. Overloaded drywall anchors are a collapse waiting to happen.
2. Pegboard Walls
Best for: Hand tools, garden tools, hardware
A full pegboard wall next to your workbench is a game-changer. Everything is visible, accessible, and easy to put back exactly where it belongs.
Buy a variety of hooks and holders. Label the pegboard with outlines of each tool using a marker — when something is out of place, you’ll know immediately.
3. Overhead Ceiling Storage
Best for: Seasonal items, kayaks, bins you access rarely
Ceiling storage racks are dramatically underutilized. Most garages have 8–10 feet of vertical clearance — use it.
Overhead storage platforms typically hold 250–600 lbs and install between ceiling joists. A pulley system makes getting things up and down much easier.
Caution: Never store heavy items overhead if you’re not 100% confident in the installation. Ceiling drops cause serious injuries.
4. Freestanding Metal Shelving
Best for: Bins, boxes, bulk storage
Freestanding units are flexible — you can reposition them as your needs change. Choose steel units over plastic for garages; plastic shelves can warp in heat and crack in cold.
5. Bike Hooks and Sports Wall Organizers
Best for: Bikes, helmets, skateboards, balls
A single horizontal wall bracket for a bike costs under $20 and immediately frees up significant floor space. For multiple bikes, a vertical double-hook system stores two bikes in the space of one.
6. Cabinets With Locks
Best for: Chemicals, power tools, sharp items
If children have access to your garage, locked cabinets are non-negotiable for chemicals, herbicides, pesticides, and sharp power tools.
Step 5: Use Bins, Containers & Labels
The most organized garages rely heavily on bins and clear labeling. This step makes your system sustainable long-term.
Bin Best Practices
Use clear bins wherever possible. Being able to see contents without opening the bin saves enormous time. Color-coded opaque bins work too — as long as labeling is consistent.
Standardize your bin sizes. Mixing random containers makes stacking impossible. Pick 2–3 standard sizes and stick with them throughout the garage.
Heavy items in smaller bins. A large bin full of heavy tools becomes impossible to lift safely. Keep heavy items in smaller containers.
Nest seasonal items. For holiday decorations, use large labeled bins with lids. Add a contents list on the outside — “Christmas: lights, wreath, ornaments” saves time months later.
Labeling System That Works
Label everything. Seriously — the shelf, the bin, and if space allows, the individual item.
Best labeling options:
- P-touch label maker (most professional look)
- Chalkboard labels (easy to update)
- Masking tape + marker (free, works fine)
Label by category, not by specific item. “Hand Tools – Screwdrivers & Wrenches” beats “Screwdrivers” because categories stay useful even as contents shift slightly over time.
Step 6: Address Lighting
A dark garage is an unusable garage. If you can’t see what you’re doing or where things are, your organization system breaks down immediately.
Minimum standard: Bright, shadow-free overhead lighting throughout the entire space.
Options include:
- LED shop lights (most popular, best value)
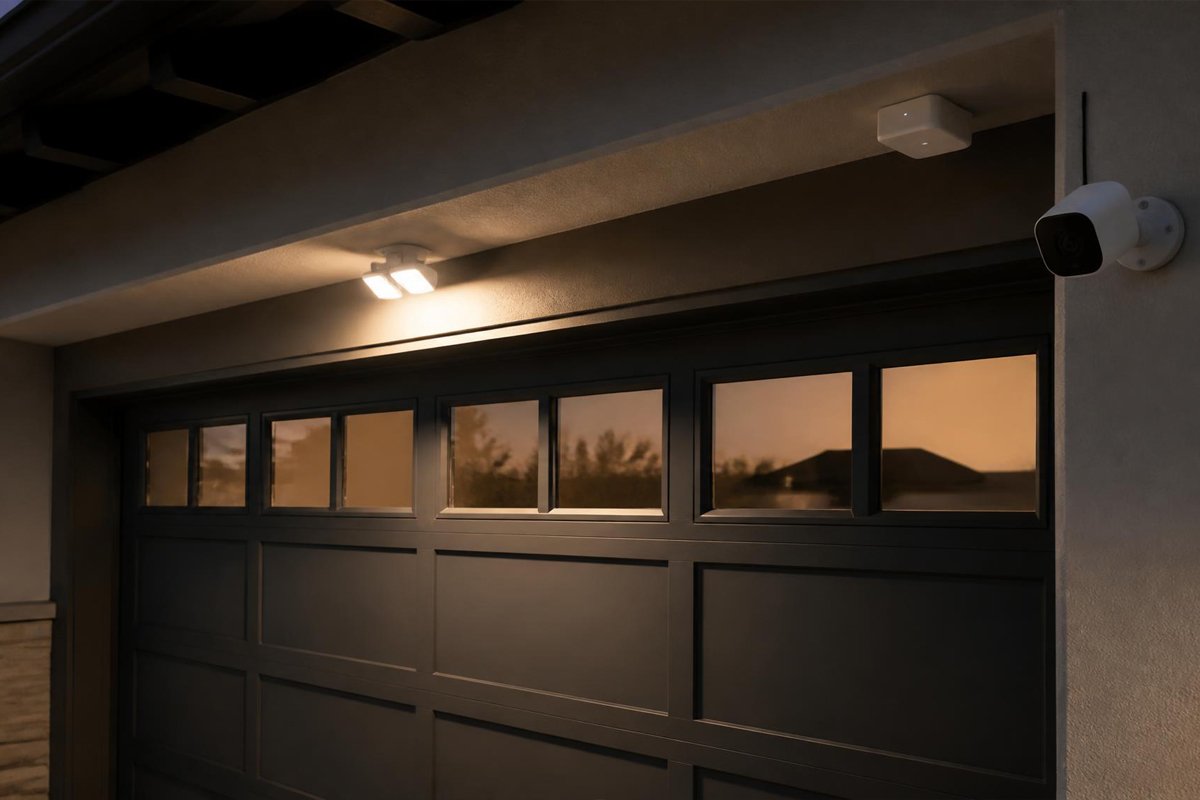
- Motion-sensor lights for less-used areas
- Under-shelf lighting for workbench areas
- Plug-in task lighting for detail work
💡 Related: For a complete garage lighting upgrade walkthrough, see: The Complete Garage Lighting Guide: Best Lights, Setup Tips & Ideas (2026)
Step 7: Consider Climate Control
Temperature extremes damage your stored items and make the garage uncomfortable to use.
What extreme heat does:
- Warps plastic storage bins
- Degrades paint, chemicals, and adhesives
- Damages electronics and batteries stored in the garage
What cold does:
- Freezes liquids (motor oil, paint)
- Damages lithium batteries in power tools
- Makes the space unusable in winter
If your garage doubles as a workshop, gym, or office — or if you live in a climate with significant temperature swings — insulation is a worthwhile investment.
💡 Related: Before adding heating or cooling, insulate properly for maximum efficiency: How to Insulate a Garage: The Complete Step-by-Step Guide (2026)
💡 Thinking bigger? If you want your organized garage to serve double-duty as a fitness space: How to Convert Your Garage Into a Home Gym: Complete Step-by-Step Guide (2026)
Step 8: Put Everything Back — The Right Way
Now you’re ready to move items back into their zones. Follow these rules as you go:
Start from the back and work toward the door. Put seasonal and infrequently used items in first (they go in the back). Daily-use items come in last and sit near the front.
Don’t just “fit it in” — put it exactly where it belongs. If something doesn’t have a designated spot, it will always end up in a random pile. Every single item needs an address.
Test your zones. Before considering it done, simulate your normal routine. Grab your car wash supplies, your lawnmower, your sports gear. Does the flow make sense? Is anything awkward to reach?
Leave margin space. Don’t fill shelves to maximum capacity. Leave 20–30% of space open so adding new items doesn’t force a reorganization.
Step 9: Maintain It With a Simple Routine
Getting organized is only half the battle. The other half is staying organized.
The 5-Minute Rule: Before leaving the garage, spend 5 minutes putting things back where they belong. This single habit prevents 90% of garage drift.
Seasonal Audit: Every 6 months (spring and fall are natural times), do a quick 30-minute review. Toss anything broken. Reassess whether zones still make sense.
One-In-One-Out Policy: When you buy a new tool, old one goes. New sports equipment? The old gear that’s collecting dust goes with it.
Annual Purge: Once per year, repeat the Step 1 purge process, scaled down. Clutter accumulates — a yearly clear-out keeps it manageable.
Garage Organization by Type: Quick Reference
Small Garage (1-Car)
Space is at a premium. Prioritize:
- Vertical storage — floor-to-ceiling shelving
- Ceiling overhead racks for bikes and seasonal items
- Slim rolling tool cabinets that tuck under shelves
- Wall-mounted folding workbench (only drops down when needed)
Large Garage (2–3 Car)
You have room for dedicated zones but it’s easy for clutter to spread.
- Use floor-marking tape to enforce zone boundaries
- Consider a full workshop setup in one corner
- Separate car bay from storage bay clearly
Detached Garage
Security and climate become bigger concerns.
- Use weatherproof bins for anything moisture-sensitive
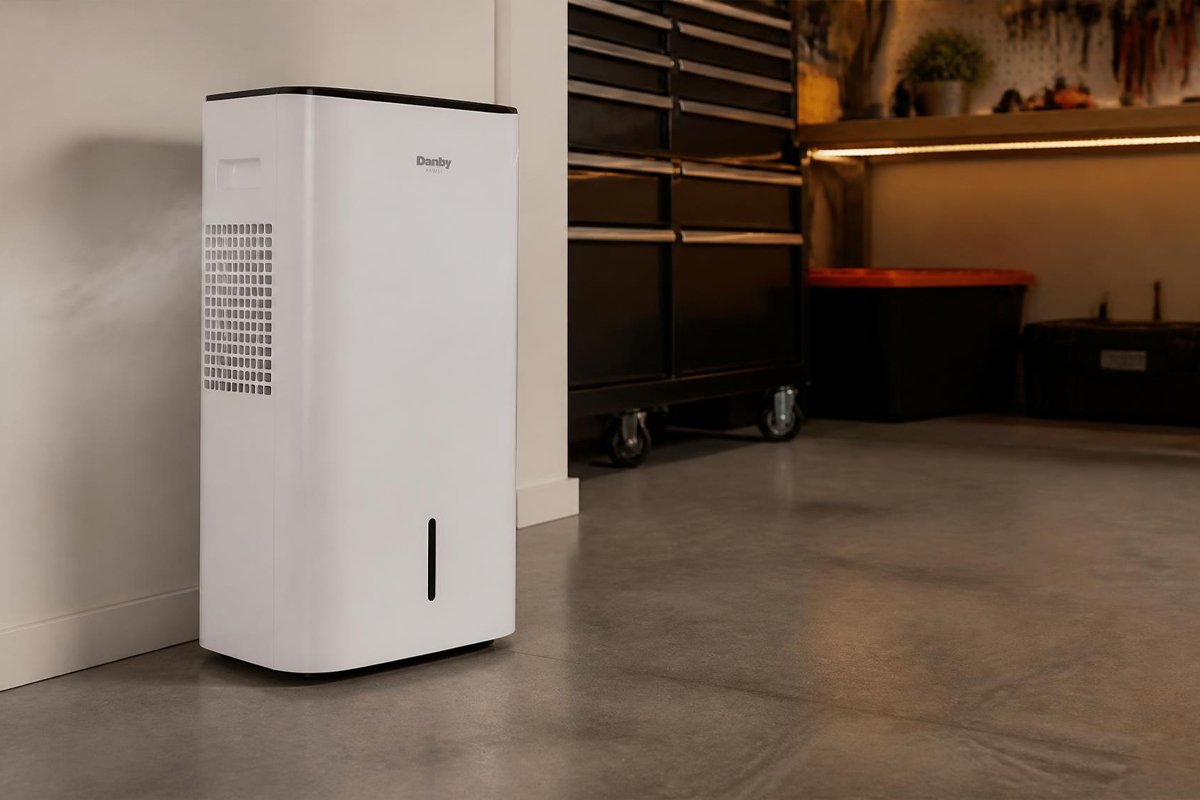
- Install a dehumidifier if your region is humid
- Add motion-activated outdoor lighting for security
Common Garage Organization Mistakes to Avoid
Mistake 1: Skipping the purge. Organizing clutter is just rearranging clutter. Always purge first.
Mistake 2: Buying storage before planning zones. You’ll end up with the wrong shelves in the wrong places.
Mistake 3: Floor piles. If it lives on the floor, it blocks movement and is always “in the way.” Every item belongs off the floor or in a clearly defined floor zone.
Mistake 4: Ignoring vertical space. Most people use only the bottom 5 feet of their garage walls and none of the ceiling. That’s leaving 50%+ of usable storage space empty.
Mistake 5: Organizing other people’s stuff for them. If multiple family members use the garage, involve them in zone planning. An organization system only one person understands won’t last.
Budget-Friendly Garage Organization Ideas
Full garage overhauls can get expensive. Here’s how to organize on a budget:
- Use what you already have. Old bookshelves, kitchen cabinets, and wooden pallets can all become garage storage.
- Shop IKEA and big-box stores for affordable shelving. IKEA BROR and garage systems from Home Depot/Lowes are reasonably priced and highly functional.
- Buy bins at dollar stores. Not glamorous, but small bins from dollar stores work perfectly for hardware and small parts.
- Repurpose hardware. Old filing cabinets make excellent tool storage. Magnetic knife strips hold small metal tools.
- DIY pegboard. Pegboard is cheap. Installation is simple. The impact is significant.
A fully functional garage organization system is achievable for under $300 — sometimes well under, depending on how much you already have on hand.
Frequently Asked Questions
How long does it take to organize a garage? A full purge-and-organize of an average 2-car garage takes 1–2 full days if tackled all at once. Breaking it into sessions (purge one day, plan zones the next, install storage on a third day) spreads the effort and reduces fatigue.
Should I epoxy coat my garage floor before or after organizing? Before. Always. Floor coatings require a completely empty garage and curing time. Plan your floor treatment as the first step in any major garage makeover.
What are the best containers for garage storage? For general storage: clear stackable bins with lids (IRIS, Sterilite, or Rubbermaid). For long-term seasonal storage: airtight bins. For hardware: small compartmentalized bins or coffee cans. For chemicals: purpose-built chemical storage cabinets.
How do I keep pests out of an organized garage? Seal all entry points. Check weather stripping, door seals, and any gaps around pipes or vents. Store all food items (pet food, birdseed) in sealed hard-sided containers — never bags. Keep the garage clean of crumbs and organic debris.
Can I use my organized garage as a home gym? Absolutely — and it’s one of the most popular garage conversions. The key is creating a dedicated gym zone that doesn’t interfere with your storage zones, adding proper flooring and climate control, and keeping equipment organized just as deliberately as your tools.
Final Thoughts: Your Garage Transformation Starts Now
Organizing your garage doesn’t have to be overwhelming. Break it into the nine steps outlined above, tackle it at whatever pace works for you, and focus on building a system — not just cleaning up.
The result is a garage that works for your life: a space where you can park, work, store, and even exercise without frustration. And once you’ve built the habit of putting things back where they belong, maintaining it becomes second nature.
Your garage is worth the effort. Start this weekend.