
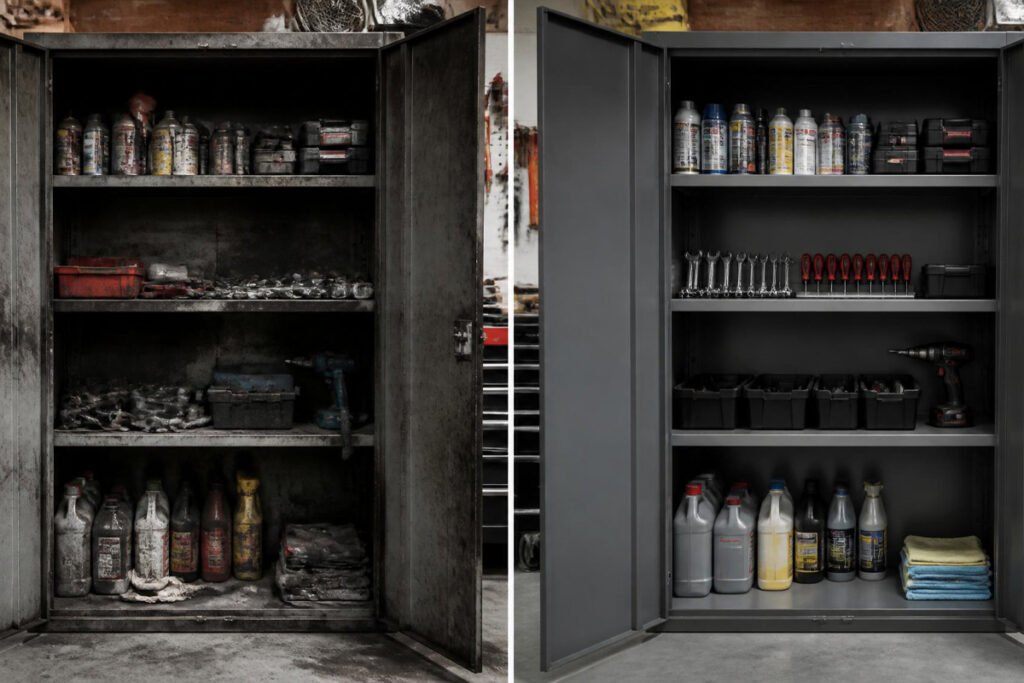
Open your garage cabinets and you’ll usually find the same thing: a thin film of dust on top, grease smudges around the handles, and a mystery ring on the bottom shelf where a leaky can of motor oil sat for a few months too long. Garage cabinets take more abuse than almost any storage in your home. They sit inches from your car, absorb temperature swings, and catch everything that drips, blows in, or gets tracked in on your shoes.
Most homeowners only clean their cabinets when they’re already reorganizing everything inside them — which means grime has months, sometimes years, to build up and bond to the surface. By the time it’s noticed, a five-minute wipe-down has turned into a scrub-and-repaint job.
The good news is that cleaning garage cabinets properly isn’t complicated once you know what your cabinets are made of and what’s actually causing the buildup. This guide walks through the best methods for every common cabinet material, the mistakes that cause the most damage, and a full step-by-step process you can follow today. If you haven’t tackled the rest of the space yet, our garage organization guide is a good companion piece once your cabinets are spotless.
Quick Answer
The best way to clean garage cabinets depends on what they’re made of. Painted wood or MDF cabinets need a mild soap-and-water solution and a soft cloth to avoid stripping the finish. Metal or steel cabinets can handle a stronger degreaser but need to be dried immediately to prevent rust. Laminate and plastic cabinets are the most forgiving and can be cleaned with most household all-purpose cleaners. Wire shelving cleans fastest with a vacuum attachment followed by a damp microfiber wipe. Whatever the material, always clean top to bottom, tackle grease before dust, and dry every surface completely before closing the doors.
Table of Contents
- Why Garage Cabinets Get So Dirty
- How to Choose the Right Cleaning Method
- Best Cleaning Methods by Cabinet Material
- Comparison Table
- Cleaning Cabinets for Different Garage Situations
- How to Clean Garage Cabinets Correctly (Step-by-Step)
- Common Mistakes
- Expert Tips
- Final Thoughts
- FAQ
Why Garage Cabinets Get So Dirty {#why-dirty}
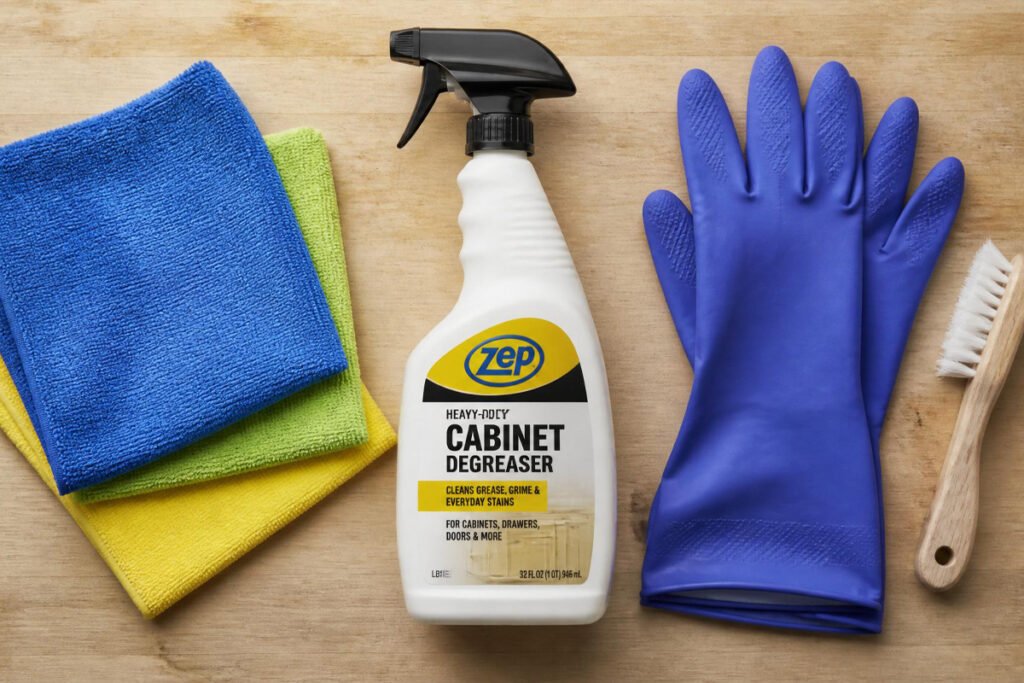
Garage cabinets sit at the intersection of every mess your household generates. Cars off-gas exhaust and drip oil even in good condition. Lawn and garden tools track in soil, pollen, and grass clippings. Painting and DIY projects leave overspray and dust. And because most garages aren’t climate-controlled, humidity swings pull moisture into wood grain and metal seams, which then traps airborne grime instead of letting it wipe away easily.
The result is a layer of buildup that’s part dust, part grease, and part oxidized residue — which is why a quick wipe with a dry rag rarely does much. Cleaning garage cabinets effectively means addressing all three layers, not just the visible dust on top. This matters most on cabinets near where you park your car or store gasoline-powered equipment, since those areas accumulate grease fastest.
It also matters for how long your cabinets last. Grease and moisture left to sit are the main reasons painted cabinets peel, metal cabinets rust, and laminate cabinets swell at the seams. A cabinet that’s cleaned two or three times a year will easily outlast one that’s only wiped down when it’s visibly filthy.
How to Choose the Right Cleaning Method {#choose-method}
Before grabbing whatever cleaner is under your kitchen sink, ask yourself three quick questions:
What is the cabinet actually made of? Painted wood, powder-coated steel, laminate, and raw plastic all react differently to solvents and abrasives. Using a metal-safe degreaser on painted wood can strip the finish; using a mild wood cleaner on heavy grease build-up on steel won’t cut through it.
How bad is the buildup? Light dust needs nothing more than a damp microfiber cloth. Grease, oil, or years of accumulation calls for a dedicated degreaser and more agitation.
Is the space ventilated? Garages are often sealed tighter than people realize, especially in winter. Strong degreasers and solvent-based cleaners release fumes that need somewhere to go — the EPA recommends increasing ventilation during and after any cleaning that uses chemical products, which applies just as much to a closed garage as it does to an indoor room.
Answering these three questions upfront will save you a repainted cabinet door or a headache from working in a sealed space with strong fumes.
Best Cleaning Methods by Cabinet Material {#best-methods}
Painted Wood & MDF Cabinets
Overview: Painted wood and MDF (medium-density fiberboard) are the most common materials for garage cabinet kits sold at home improvement stores. They look great out of the box but are the most sensitive to moisture and harsh chemicals of any material on this list.
Key Features:
- Smooth painted or laminated finish
- Susceptible to swelling if soaked
- Finish can dull or strip with strong solvents
- Common on pre-fab and custom-built cabinet systems
Best For: Garages where cabinets double as a finished, showroom-style storage wall.
Pros: ✅ Clean look ✅ Easy to touch up with paint ✅ Wide color/style options
Cons: ❌ Prone to water damage at seams ❌ Finish can scratch with abrasive pads
Our Verdict: Stick to a mild dish soap and warm water solution, wrung out well before wiping, and dry immediately with a separate cloth. If you’re dealing with grease near tools, pair this with our guide on removing grease from garage door tracks for a matching approach that won’t strip paint.
Powder-Coated Steel Cabinets
Overview: Steel cabinets are the heavy-duty option — common in workshops and garages that double as a home gym or dedicated workshop. Their powder-coat finish is far more chemical-resistant than paint, but bare or scratched metal underneath is vulnerable to rust.
Key Features:
- Durable powder-coated or enamel finish
- Handles degreasers and stronger cleaners well
- Rust risk at scratches, seams, and hinges
- Common in commercial-style cabinet systems
Best For: High-traffic garages with heavy tool and equipment storage.
Pros: ✅ Handles degreasers ✅ Very durable long-term ✅ Easy to wipe down quickly
Cons: ❌ Can rust if left wet ❌ Dents show more than on wood
Our Verdict: A citrus-based degreaser cuts through grease fast on steel, but the finish must be dried completely afterward — any moisture left in hinges or seams is how rust starts. Combine this with the maintenance schedule in our garage door maintenance checklist so metal cleaning becomes part of your regular routine rather than a one-off project.
Laminate & Melamine Cabinets
Overview: Laminate cabinets use a plastic-coated surface over a particleboard core. They’re budget-friendly and stain-resistant, which makes them one of the easier materials to keep clean.
Key Features:
- Non-porous outer layer resists staining
- Vulnerable at exposed or chipped edges
- Wide range of all-purpose cleaners are safe to use
- Common in big-box store cabinet kits
Best For: Budget-conscious garage storage setups.
Pros: ✅ Very stain-resistant ✅ Wipes clean easily ✅ Affordable to replace if damaged
Cons: ❌ Edges swell if water gets underneath the laminate ❌ Can look worn over time
Our Verdict: Most all-purpose cleaners are safe here, but always wipe edges and seams dry immediately — that’s the one vulnerable point on an otherwise low-maintenance material.
Plastic & Resin Cabinets
Overview: Resin cabinets are common in humid climates or unheated garages because they’re immune to rust and don’t warp with moisture the way wood can.
Key Features:
- Fully waterproof
- Resistant to most household chemicals
- Can discolor with prolonged UV exposure
- Lightweight and easy to reposition
Best For: Coastal, humid, or unconditioned garages.
Pros: ✅ Never rusts ✅ Handles almost any cleaner ✅ Easy to hose down outdoors
Cons: ❌ Can yellow with sun exposure ❌ Less rigid than metal under heavy loads
Our Verdict: These are the most forgiving cabinets to clean — soap, water, and even a pressure rinse outdoors will do the job. If odor rather than dirt is the issue, pair this with our garage odor removal guide for a deeper fix.
Wire & Open Shelving
Overview: Open wire shelving isn’t technically a cabinet, but it’s one of the most common companion storage pieces in a garage and collects dust differently than an enclosed unit.
Key Features:
- Open design means faster dust buildup
- No enclosed doors to trap odors or moisture
- Usually chrome, epoxy-coated, or stainless steel wire
- Common for bins, totes, and overflow storage
Best For: Overflow or seasonal item storage.
Pros: ✅ Fast to wipe down ✅ No hidden buildup inside doors ✅ Good airflow prevents mildew
Cons: ❌ Dust collects quickly since it’s exposed ❌ Items on shelves get dusty too
Our Verdict: A vacuum with a brush attachment first, followed by a damp microfiber wipe on each rail, keeps wire shelving looking new in minutes. This pairs well with our tips on storing totes in the garage and tarp storage, since both usually sit on this type of shelving.
Comparison Table {#comparison}
| Cabinet Material | Best For | Cleaner Type | Rust/Water Risk | Difficulty |
|---|---|---|---|---|
| Painted Wood/MDF | Finished, showroom garages | Mild soap & water | Medium (swelling) | Easy |
| Powder-Coated Steel | Heavy-duty workshops | Citrus degreaser | High (rust) | Moderate |
| Laminate/Melamine | Budget storage | All-purpose cleaner | Low-Medium (edges) | Easy |
| Plastic/Resin | Humid/coastal garages | Almost any cleaner | Very Low | Very Easy |
| Wire Shelving | Overflow/bin storage | Vacuum + damp cloth | Low | Very Easy |
Cleaning Cabinets for Different Garage Situations {#situations}
Heavy Grease & Oil Exposure
If your cabinets sit near where you change your own oil or work on small engines, grease is going to be your biggest recurring problem. Use a dedicated degreaser rather than a general cleaner, and address spots while they’re still fresh rather than letting them cure into the finish. This is especially important on cabinets near a garage floor that already deals with drips — our guide to the best garage floor degreasers covers products that work well on nearby cabinet surfaces too.
Humid or Coastal Climates
High humidity accelerates mildew growth inside enclosed cabinets, especially on wood and MDF. Wipe cabinet interiors dry after cleaning, leave doors cracked open when possible to encourage airflow, and consider adding a small moisture absorber inside. If mildew has already taken hold, our garage mold removal guide walks through safe removal before you move on to routine cabinet cleaning. Improving overall airflow with our garage ventilation guide also reduces how often this becomes a problem in the first place.
Pest-Prone Garages
Cabinets near stored pet food, birdseed, or firewood attract pests that leave droppings and nesting debris behind. Clean these cabinets with a disinfecting cleaner rather than just soap and water, and check corners and back panels where pests tend to hide. If you’re dealing with an active pest issue rather than just cleanup, see our guides on keeping spiders out of the garage and removing snakes from the garage for prevention steps that go beyond a wipe-down.
How to Clean Garage Cabinets Correctly (Step-by-Step) {#how-to}
Following the general precautions around ventilation and chemical cleaners that OSHA and the EPA recommend for any enclosed space, here’s the process that works for nearly any cabinet material with the right cleaner swapped in.
Step 1: Prepare
Clear everything off the shelves and out of the cabinet. This is also the best time to sort items into keep, donate, and toss piles rather than putting everything straight back.
Step 2: Clean/Setup
Open the garage door or a window for airflow, and gather the right cleaner for your cabinet material based on the sections above. Put on gloves if you’re using a degreaser or disinfectant.
Step 3: Apply/Execute
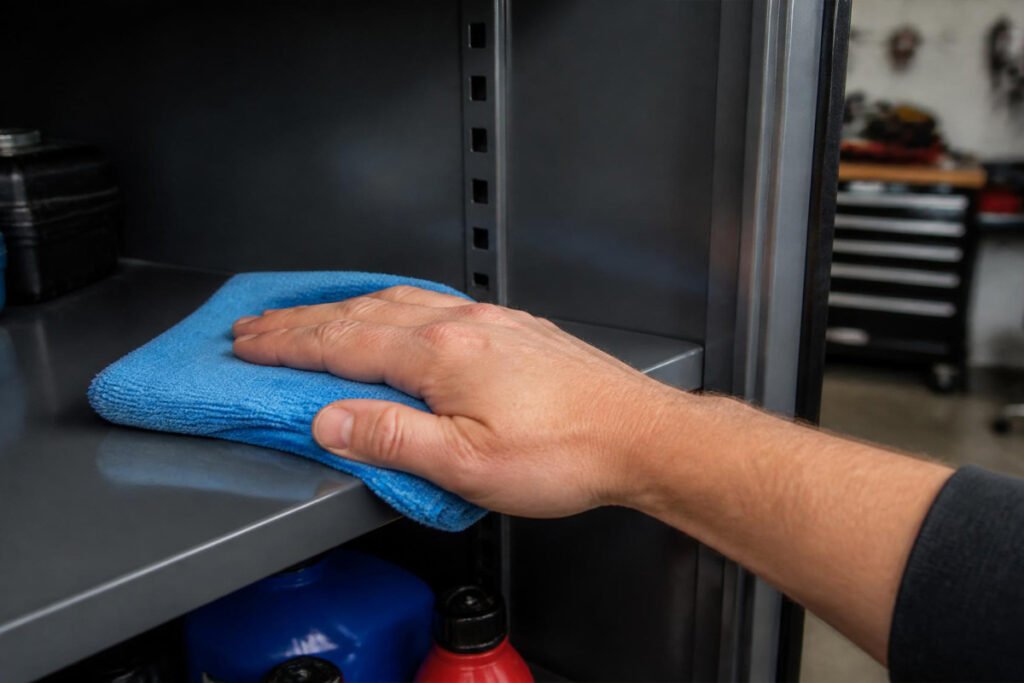
Working top to bottom, wipe every surface — including the tops of cabinets, which collect the most dust since they’re rarely looked at. Pay extra attention to handles, hinges, and any spots with visible grease or staining.
Step 4: Wait/Cure/Process
Let any degreaser or disinfectant sit for the time listed on the product label before wiping it away. This dwell time is what actually breaks down grease and kills bacteria — wiping too soon just spreads it around.
Step 5: Finish/Review
Dry every surface completely with a clean, dry cloth before closing doors or putting items back. This single step prevents more long-term damage than any cleaner you use.
Common Mistakes {#mistakes}
Using the wrong cleaner for the material. A strong degreaser meant for steel can strip paint off wood cabinets, while a gentle wood cleaner won’t touch grease on a workshop steel cabinet. Match the cleaner to the material every time.
Skipping the drying step. Leaving cabinets damp — especially wood, MDF, or unpainted metal — is the single biggest cause of long-term damage. This is the same principle behind why garage doors need to be dried after washing to avoid rust at hinges and tracks.
Cleaning cabinets in isolation from the rest of the garage. Dust and grime resettle fast if the floor and surrounding surfaces are still dirty. Pairing a cabinet cleaning session with a garage floor cleaning keeps results looking fresh for much longer.
Expert Tips {#tips}
Clean top to bottom, always. Dust and cleaning residue fall as you work, so starting with cabinet tops and finishing with the floor beneath them means you’re never re-cleaning a surface you already finished.
Use two cloths, not one. One damp cloth for cleaning, one dry cloth for drying immediately behind it. This two-cloth method cuts moisture-related damage dramatically compared to letting cabinets air dry.
Set a seasonal reminder rather than waiting for visible grime. Cabinets that get a light wipe-down every few months rarely need the deep, scrub-heavy clean that comes from years of neglect — and it makes reorganizing projects, like updating your garage organization system, much less overwhelming when you tackle them.
Final Thoughts / Final Verdict {#final}
Best overall: A mild soap-and-water solution for most cabinets, upgraded to a citrus degreaser for steel units near tools or engines. Best for busy schedules: Wire shelving and plastic/resin cabinets, since both clean in minutes with minimal risk of damage. Best for showroom garages: Painted wood or laminate systems, cleaned gently and dried immediately to protect the finish.
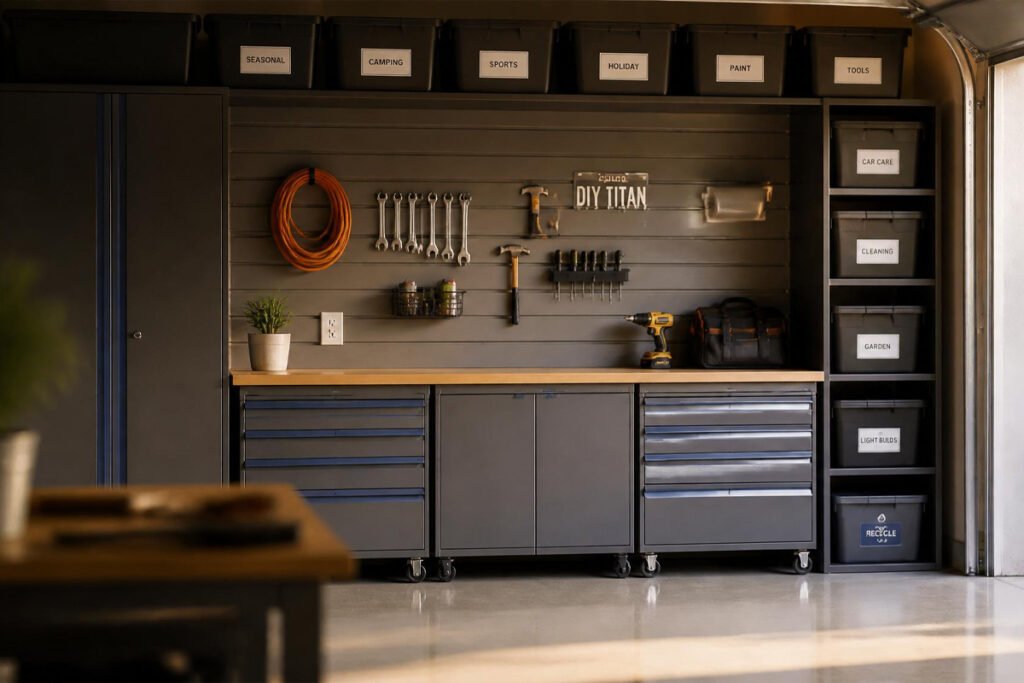
Clean cabinets are one of those upgrades that make the whole garage feel more finished, even before you touch the floor or walls. Once your cabinets are done, a matching garage floor coating or a full pass through your garage organization ideas will round out the space, and a look at our garage safety guide is worth it while everything’s already out of the cabinets.
Frequently Asked Questions {#faq}
Do I need a special cleaner for garage cabinets, or will regular household cleaner work? For light dust, most household all-purpose cleaners work fine on laminate, plastic, and painted surfaces. For grease and oil buildup, especially on steel cabinets, a dedicated degreaser will cut through residue that a general cleaner leaves behind.
How often should I clean my garage cabinets? Two to three times a year is enough for most households, with a quick wipe-down of handles and high-touch areas monthly. Garages used as workshops or near vehicles benefit from more frequent grease spot-cleaning.
Pressure washer or hand cleaning — which is better for cabinets? Hand cleaning is safer for almost all cabinet materials. A pressure washer can force water into seams and hinges on wood, MDF, and even some metal cabinets, leading to swelling or rust. Resin cabinets are the exception and can typically handle a gentle rinse.
Why do my metal cabinets keep rusting even after I clean them? This usually comes down to moisture left in seams, hinges, or scratches in the powder coating. Always dry steel cabinets completely after cleaning, and touch up any bare metal spots with a rust-inhibiting primer.
My cabinets smell musty even after cleaning — what’s causing that? Musty odors usually indicate trapped moisture or early mildew growth inside the cabinet. Check for mildew, improve airflow around the cabinet, and see our garage odor removal guide if the smell persists after a full clean.
Is it safe to use bleach on garage cabinets? Diluted bleach can be used on non-porous surfaces like sealed laminate or plastic for disinfecting, but it should be avoided on painted wood and bare or scratched metal, where it can strip finish or accelerate corrosion. Always ventilate the space well when using it.
Can I clean cabinets while items are still inside them? You can, but it’s far less effective. Buildup collects behind and underneath stored items, and skipping full removal means those spots go uncleaned indefinitely. A full clear-out once or twice a year catches what routine wipe-downs miss.
What’s the fastest way to clean wire shelving specifically? Vacuum with a brush attachment first to remove loose dust, then follow with a damp microfiber cloth along each rail. Because there are no enclosed surfaces trapping moisture, wire shelving dries almost immediately.
Do I need to clean the inside of cabinets, or just the outside? Both matter, but interiors are usually neglected longer. Dust and small debris accumulate on shelves even when doors stay closed, and interiors are where grease drips and pest debris tend to collect unnoticed.
Should I repaint or refinish cabinets after a deep clean reveals damage? If cleaning reveals peeling paint, exposed MDF, or surface rust, it’s worth addressing before the damage spreads. A touch-up primer and paint for wood, or a rust-inhibiting spray for metal, is far cheaper than replacing the cabinet later.
Author: Danial Marquez Last Updated: July 2026






