
Most homeowners will pressure-wash the driveway, scrub the siding, and detail the car long before it occurs to them to clean a garage door. That’s understandable — the door just sits there, opening and closing on command. But it’s also one of the largest exterior surfaces on your home, and it takes a beating that most other surfaces never see: road salt, pollen, bird droppings, oil overspray from the car, and months of UV exposure with almost no attention in between.
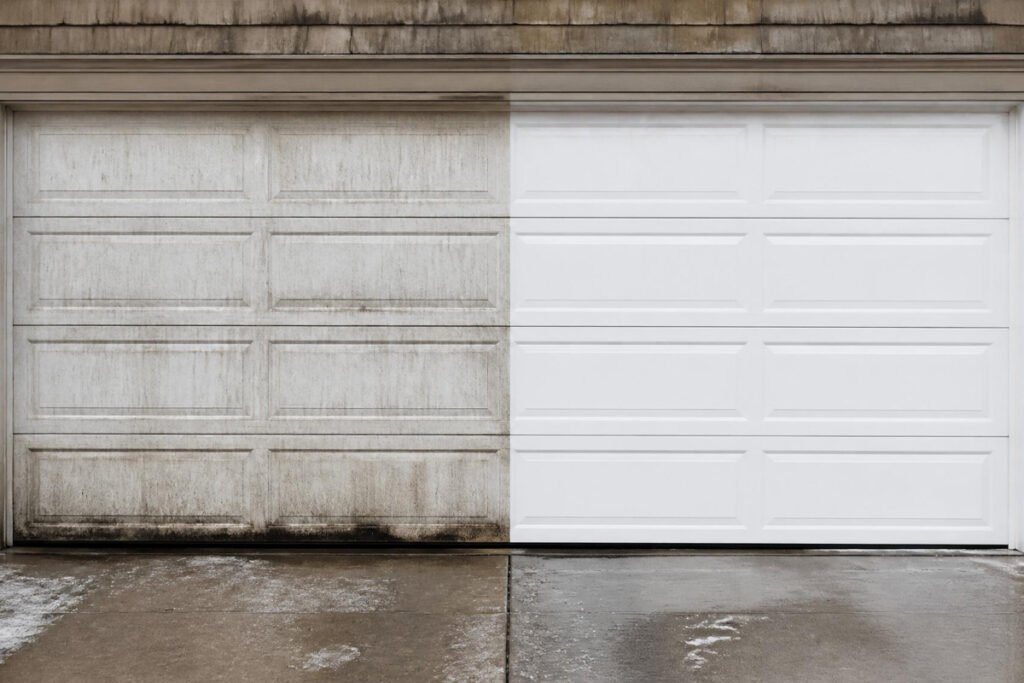
Left alone, that grime does more than dull the finish. It traps moisture against the panel seams, which is exactly how rust gets started on steel doors and how mildew takes hold on wood. A door that’s never washed also makes it harder to spot small problems — a hairline crack, a loose panel, early weatherstripping wear — before they turn into repairs.
The good news: cleaning a garage door properly takes about 20–30 minutes, costs almost nothing, and doesn’t require any special equipment. This guide walks through exactly how to do it for every common door material, what to avoid, and how to build it into a maintenance routine that protects your investment for years.
Quick Answer
The best way to clean a garage door depends on the material, but the core method is the same for nearly all of them: rinse with a hose, wash top-to-bottom with a mild detergent and a soft sponge or brush, rinse again, and dry. Steel and aluminum doors benefit from an occasional coat of car wax for UV protection. Wood doors need a gentler soap, should never be soaked, and may need periodic resealing. Vinyl and composite doors are the lowest-maintenance option and usually just need soap and water once or twice a year. Whatever the material, the one rule that applies across the board: skip the pressure washer.
Table of Contents
- How Garage Door Cleaning Works (and Why It Matters)
- How to Choose the Right Cleaning Approach
- Best Cleaning Methods by Door Material
- Comparison Table
- Cleaning for Different Situations
- How to Clean Your Garage Door Step by Step
- Common Mistakes
- Expert Tips
- Final Thoughts
- Frequently Asked Questions
How Garage Door Cleaning Works (and Why It Matters) {#how-it-works}
Cleaning a garage door isn’t just cosmetic — it’s a maintenance task that happens to also improve curb appeal. Dirt, pollen, and airborne grime are mildly acidic and abrasive. Left to sit, they slowly break down paint and clear coats, which is what allows rust to reach bare steel or moisture to reach raw wood underneath.
There’s also a practical reason to make this a regular habit: most garage door manufacturers actually require periodic cleaning as a condition of the paint and finish warranty. Skipping it for years and then filing a warranty claim over peeling paint or corrosion is one of the more common ways homeowners accidentally void that coverage.
Cleaning time doubles as inspection time. Once the surface is free of grime, it’s much easier to spot the early signs covered in a garage door maintenance checklist — hairline rust spots, chipped paint, a panel that’s started to warp, or hardware that’s come loose. Catching these early is far cheaper than waiting for a full spring replacement or roller repair later on.
Frequency depends mostly on climate. In coastal areas or anywhere road salt is used in winter, plan on cleaning every three months. In milder, drier climates, twice a year is usually enough — once in spring to remove winter grime, once in fall before the wet season.
How to Choose the Right Cleaning Approach {#choose-approach}
Before grabbing a sponge, answer three quick questions:
- What is the door actually made of? Steel, wood, aluminum, vinyl, composite, and fiberglass all respond differently to soap, water, and time. If you’re not sure, check for a manufacturer sticker on the top interior panel — it usually lists the material and model number.
- How dirty is it, really? A light seasonal wash calls for a bucket of soapy water. Years of buildup, mildew stains, or tree sap may call for a stronger (but still non-abrasive) approach.
- What’s the local climate done to it? Salt air, road salt, or heavy pollen seasons all shorten the interval between cleanings and may call for a protective wax coat afterward.
For general guidance on cleaning product safety and disposal, the EPA’s Safer Choice program is a useful reference when picking a detergent that’s tough on grime but won’t harm nearby landscaping or runoff into storm drains.
Best Cleaning Methods by Door Material {#by-material}
Steel Doors
Overview: Steel is the most common residential garage door material, prized for durability and low maintenance — but it’s also the material most vulnerable to rust once the paint or coating is compromised.
Key Features:
- Mix roughly 1 cup of mild, non-abrasive detergent (dish soap works fine) per 2 gallons of warm water
- Use a soft sponge, microfiber cloth, or soft-bristle brush — never steel wool or scouring pads
- Work top to bottom in horizontal strokes to avoid streaking
Best For: Standard raised-panel or flush steel doors, painted or factory-finished.
Pros: ✅ Cheap and fast to clean ✅ Responds well to car wax for extra protection ✅ Rust is easy to spot early on a clean surface
Cons: ❌ Prone to rust if scratched or left dirty for long stretches ❌ Can dent if scrubbed too aggressively near seams
Our Verdict: Wash steel doors at least twice a year, and follow up with a coat of automotive wax for UV and salt protection. If you spot early rust while cleaning, address it before it spreads — see this guide on removing rust from a garage door.
Wood Doors
Overview: Wood garage doors are the highest-maintenance option but offer a look nothing else fully replicates. Moisture is the enemy here, so the cleaning approach is gentler and drier than for metal.
Key Features:
- Use a wood-safe cleaner or a very mild soap solution
- Wipe rather than soak — excess water causes warping and rot over time
- Dry thoroughly with a towel immediately after washing
Best For: Stained or painted solid-wood and wood-composite doors.
Pros: ✅ Unmatched curb appeal ✅ Easy to spot-touch scratches and dings
Cons: ❌ Vulnerable to rot and warping if over-wetted ❌ Needs resealing or repainting periodically
Our Verdict: Clean wood doors once or twice a year and inspect the finish every time. If the sealant looks dull or worn, plan to reseal soon after cleaning — a fresh, clean surface takes a new coat much better.
Aluminum Doors
Overview: Lightweight and naturally rust-resistant, aluminum is one of the easier materials to maintain, though it shows dents and oxidation more visibly than steel.
Key Features:
- Non-abrasive soap and a soft brush or sponge
- Let stubborn spots soak briefly in the soap solution before wiping
- Occasional wax coat helps prevent oxidation
Best For: Lightweight modern doors, especially in coastal climates where rust resistance matters.
Pros: ✅ Won’t rust ✅ Low cleaning frequency needed
Cons: ❌ Dents are hard to fully repair ❌ Oxidation can dull the finish over time
Our Verdict: A once-a-year cleaning is usually plenty for aluminum unless you’re in a high-salt environment, in which case quarterly washing helps prevent surface oxidation.
Vinyl and Composite Doors
Overview: These are the lowest-maintenance materials available and hold up extremely well to sun, moisture, and general neglect.
Key Features:
- Plain soap and water is typically all that’s needed
- No wax or sealant required
- Rinse periodically between full cleanings to prevent uneven fading
Best For: Homeowners who want durability with minimal upkeep.
Pros: ✅ Resistant to dents, fading, and moisture damage ✅ Rarely needs more than an annual wash
Cons: ❌ Limited color options ❌ Darker finishes can fade unevenly without periodic rinsing
Our Verdict: One thorough cleaning a year keeps these doors looking new; more frequent light rinsing helps prevent uneven fade patterns in sun-exposed areas.
Comparison Table {#comparison-table}
| Material | Cleaning Frequency | Solution | Wax/Seal Needed | Key Risk |
|---|---|---|---|---|
| Steel | 2x/year (quarterly in salt climates) | Mild detergent + water | Yes, automotive wax | Rust |
| Wood | 1–2x/year | Wood-safe soap, minimal water | Yes, sealant/stain | Warping, rot |
| Aluminum | 1x/year (quarterly near coast) | Non-abrasive soap | Optional wax | Oxidation, dents |
| Vinyl/Composite | 1x/year | Plain soap and water | No | Uneven fading |
Cleaning for Different Situations {#different-situations}
Coastal and Salt-Heavy Climates
Road salt and sea spray are corrosive to steel and can dull aluminum finishes quickly. In these environments, wash every three months rather than twice a year, and make waxing steel doors a non-negotiable part of every cleaning session. Pay extra attention to the bottom panel and interior-facing edges, where salt tends to collect and where early rust and corrosion usually starts.
Doors With Mildew or Mold Stains
Shaded, north-facing doors or homes in humid climates sometimes develop mildew spotting, especially on wood. A diluted white vinegar solution (roughly one part vinegar to three parts water) left to sit for 5–10 minutes before scrubbing usually handles this without resorting to bleach, which can damage paint and finishes. Always test any solution on a small, hidden section first.
Pre-Painting or Pre-Staining Prep
If you’re planning to repaint or restain the door, cleaning is the essential first step — a fresh coat won’t adhere properly over grime or old wax residue. For the full prep sequence, including sanding and priming, see how to clean garage walls before painting for techniques that carry over well to door surfaces.
How to Clean Your Garage Door Step by Step {#step-by-step}
Before starting, make sure the door is fully closed and the opener is unplugged or disengaged — the same basic precaution recommended before any garage door track or roller work. For safety guidance on ladder use when reaching upper panels, the CPSC’s ladder safety guidelines are a solid reference.
Step 1: Prepare
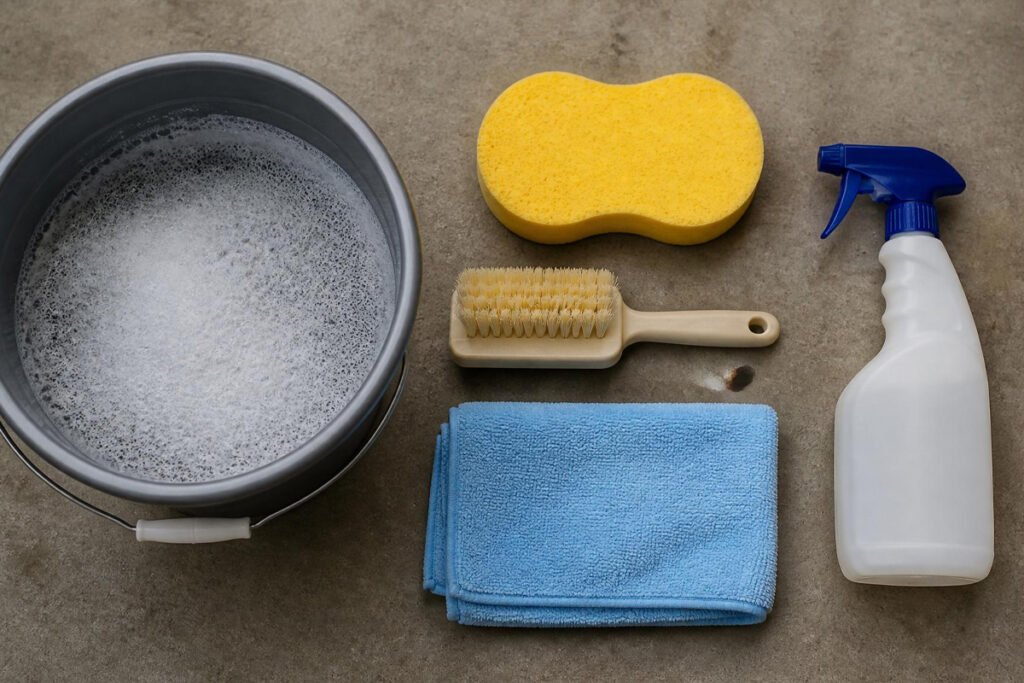
Choose a cloudy day or early morning/evening — direct sun dries soap too fast and causes streaking. Gather a bucket, mild detergent, soft sponge or brush, garden hose, and a microfiber towel.
Step 2: Dust and Rinse
Dust the door with a broom or extendable duster, starting at the top and working down. Then rinse the entire surface with a hose on a wide, gentle spray setting to loosen surface dirt before any scrubbing begins.
Step 3: Wash
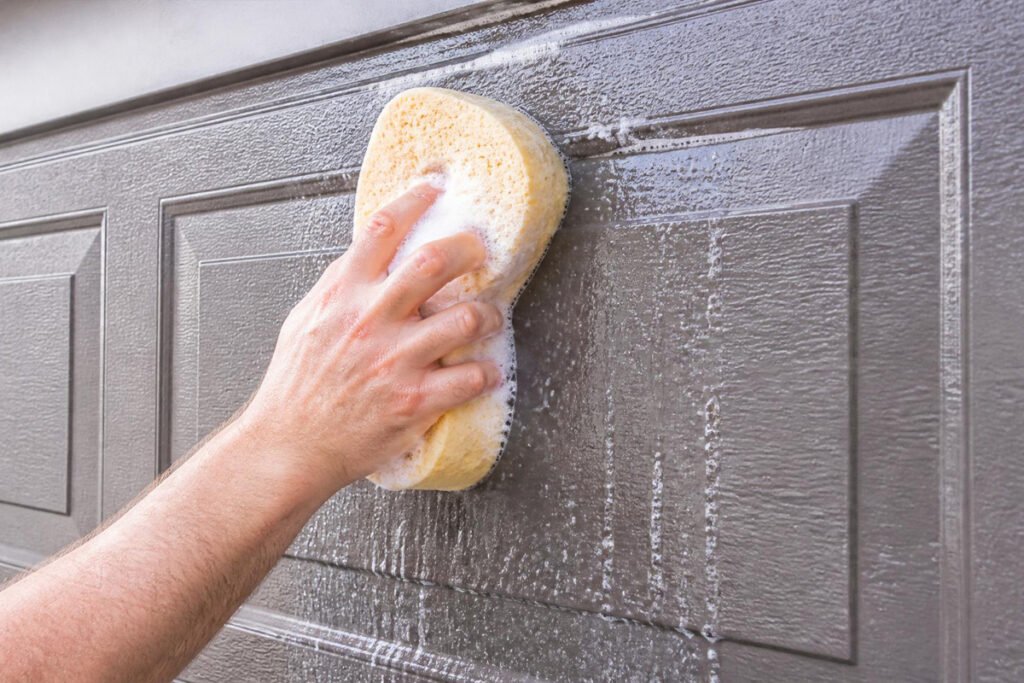
Mix your detergent solution and, working top to bottom in horizontal strokes, wash the full surface with a soft sponge or brush. Pay attention to panel seams and the bottom edge, where grime and salt accumulate most.
Step 4: Rinse Thoroughly
Rinse the entire door again with clean water, making sure no soap residue remains — leftover detergent can leave streaks or slowly degrade the finish over time.
Step 5: Dry and Finish
Dry the door with a towel or squeegee to prevent water spots. For steel or aluminum, this is the moment to apply automotive wax if it’s part of your routine. For wood, inspect the sealant and touch up if it looks worn.
Common Mistakes {#common-mistakes}
Using a pressure washer. It seems like the fast option, but even a low-pressure setting can dent thin steel panels, strip paint, and force water into seams and behind weatherstripping — leading to hidden rust or mold. A garden hose is always the safer choice.
Reaching for bleach or abrasive cleaners. Bleach, ammonia-based products, and abrasive pads like steel wool can strip paint, discolor finishes, and accelerate corrosion. If a stain won’t budge with mild soap, escalate to a diluted vinegar solution before anything harsher.
Skipping the inspection. Cleaning is the easiest time to catch small issues before they become expensive ones — a sticking track, a blinking sensor, or worn bottom seal. Take two extra minutes once the door is clean to look it over.
Expert Tips {#expert-tips}
Wax steel and aluminum doors after every wash. A coat of automotive wax does double duty — it adds shine and creates a barrier against UV rays, salt, and moisture that meaningfully slows corrosion between cleanings.
Clean the weatherstripping too, not just the panels. Mold and mildew tend to collect along the bottom and side seals long before they show up on the door itself. Wiping these down at the same time helps you catch weatherstripping wear before drafts or pests become a problem.
Match your cleaning schedule to your garage door opener maintenance. Since you’ll already have the door open and accessible, it’s an efficient time to also check opener sensors and lubrication as outlined in a full garage door maintenance guide.
Final Thoughts {#final-thoughts}
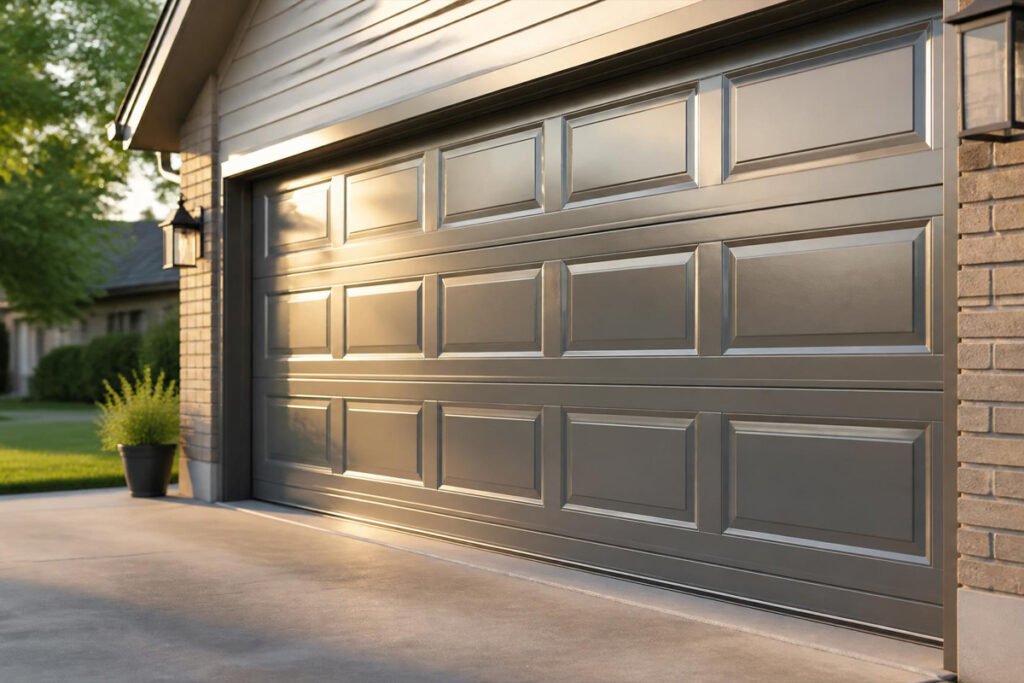
A clean garage door is one of the simplest, cheapest upgrades to your home’s curb appeal — and one of the easiest ways to protect a surface that’s expensive to replace. Best overall approach: mild soap, a soft sponge, and a garden hose, regardless of material. Best for steel doors: wash twice a year and wax after every cleaning. Best for wood doors: clean gently, dry fully, and keep an eye on the sealant. Best for low-maintenance living: vinyl or composite doors need barely more than an annual rinse.
Whatever material you’re working with, the habit matters more than the product. Pair it with a broader garage door maintenance checklist and a periodic safety inspection, and your door will stay both good-looking and mechanically sound for years longer than one that’s never touched.
Frequently Asked Questions {#faq}
Can I pressure wash my garage door? It’s not recommended. Even a low-pressure setting can dent steel panels, strip paint, and push water into seams and behind weatherstripping, leading to hidden corrosion. A garden hose with a gentle spray setting is a safer and nearly as effective alternative.
How often should I clean my garage door? Twice a year for most steel and wood doors, or quarterly if you live near the coast or in an area with heavy winter road salt. Vinyl, composite, and aluminum doors typically only need one thorough cleaning a year.
Do I need to wax my garage door after cleaning? For steel and aluminum doors, yes — a coat of automotive wax adds UV and moisture protection and makes future cleaning easier. Wood doors should be sealed or stained instead, and vinyl or composite doors don’t need either.
What’s the best homemade cleaner for a garage door? A simple mix of one cup of mild dish soap to two gallons of warm water handles most everyday grime safely across nearly every material. For mildew or tough stains, a diluted white vinegar solution (one part vinegar to three parts water) is a gentler alternative to bleach.
Will cleaning my garage door void the warranty? No — in fact, most manufacturers require periodic cleaning as part of the warranty terms. What can void it is using bleach, abrasive pads, or a pressure washer, since these can damage the factory finish.
Can I clean my garage door in direct sunlight? It’s better to avoid it. Direct sun causes soap to dry too quickly, leaving streaks and water spots. Clean on a cloudy day or during early morning or evening hours instead.
How do I clean mildew off a wood garage door? Apply a diluted white vinegar solution, let it sit for 5–10 minutes, then scrub gently with a soft brush and rinse thoroughly. Avoid soaking the wood, and dry it fully afterward to prevent the moisture that caused the mildew in the first place.
Is it safe to use bleach on my garage door? Generally, no. Bleach can strip paint, discolor finishes, and weaken protective coatings on steel, aluminum, and wood doors alike. Stick to mild detergent or diluted vinegar for stubborn spots.
What tools do I actually need to clean a garage door? A bucket, mild detergent, a soft sponge or brush, a garden hose, and a microfiber towel for drying. A step ladder helps for reaching upper panels safely, and automotive wax is optional for steel and aluminum doors.
Does cleaning help me catch garage door problems early? Yes. A clean surface makes it much easier to spot early rust, chipped paint, or panel damage, and it’s a natural moment to check tracks, rollers, and sensors while the door is already open and accessible.
Author: Danial Marquez Last Updated: July 2026






