Unlocking The New Part Of How To Replace Garage Door Weather Stripping
Your garage, often overlooked in the realm of home maintenance, serves as a vital component of your property’s functionality and security. Among the various elements that contribute to its efficiency, weather stripping stands out as a silent guardian, protecting your garage from the unpredictable forces of nature. Over time, weather stripping can wear down, leading to compromised insulation and potential damage. In this guide, we’ll dive into the essential steps for How To Replace Garage Door Weather Stripping.
Table of Contents
From assessment to installation and maintenance, empowering yourself with the knowledge to undertake this task ensures a well-protected and energy-efficient space. Let’s embark on the journey of enhancing your garage’s resilience and functionality.
How To Replace Garage Door Weather Stripping
When it comes to replacing garage doors, weather stripping is a task that can enhance the energy efficiency of your home and protect it from external elements. Before diving into the process, gather the necessary materials, including a replacement weather seal kit, a utility knife, a tape measure, and a ladder.
- Begin by examining the existing weather stripping to identify any damaged or worn-out sections. Use the tape measure to determine the length needed for the replacement strip. Carefully remove the old weather stripping by cutting it away with a utility knife, ensuring you don’t damage the door in the process.
- Next, clean the area where the old weather stripping was attached, removing any adhesive residue or debris. Once the surface is prepped, unpack the replacement weather seal kit and align it along the bottom edge of the garage door. Secure it in place using the provided screws or nails, making sure it sits flush against the door.
- For added durability, consider applying a bead of adhesive along the back of the weather stripping before attaching it to the door. Once installed, trim any excess length with the utility knife.
- Regularly inspect and maintain your garage door weather stripping to ensure it continues to provide optimal insulation and protection. This simple DIY project can make a significant difference in your home’s energy efficiency and overall comfort.
Assessment and Preparation
When it comes to maintaining your garage, weather stripping plays a crucial role in keeping the elements at bay. Begin the replacement process by conducting a thorough inspection of the existing weather stripping.
- Look for signs of wear, tear, or damage.
- Measure the dimensions of the current stripping to ensure accurate replacement. This step is mandatory in guaranteeing a proper fit for the new weather stripping.
- Gather the necessary tools for the task, including a utility knife, measuring tape, and, most importantly, the replacement weather stripping itself.
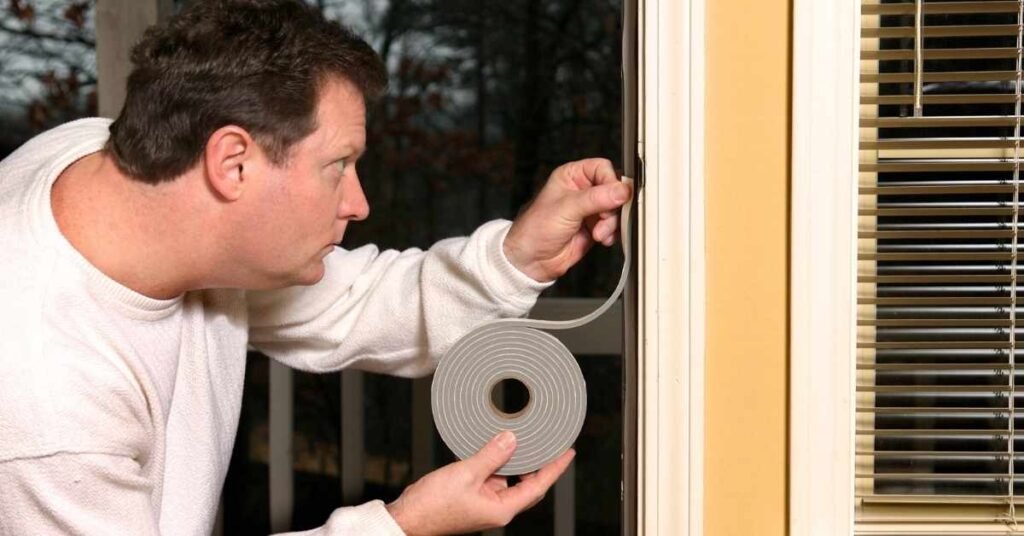
Removal of Old Weather Stripping
With the assessment complete, move on to removing the old weather stripping.
- Use a sharp utility knife to cut and peel away the existing material carefully.
- Take your time to avoid damaging the door or surrounding areas.
Once removed, clean the surface thoroughly to eliminate any adhesive residues or debris left behind. A clean surface ensures optimal adhesion for the new weather stripping.
Selecting the Right Replacement
The next critical step is choosing the correct replacement weather stripping.
- Consider the climate in your area to determine the level of insulation required.
- Go for high-quality materials that can withstand weather conditions and provide long-lasting effectiveness.
- Investing in a durable replacement ensures you won’t find yourself revisiting this task too frequently.
Measuring and Cutting the New Stripping
Accurate measurements are critical to a successful weather-stripping replacement.
- Use the dimensions gathered earlier to cut the new stripping to the correct length. A precise fit is essential for adequate insulation and a seamless appearance.
- Double-check your measurements before making any cuts to avoid unnecessary complications.
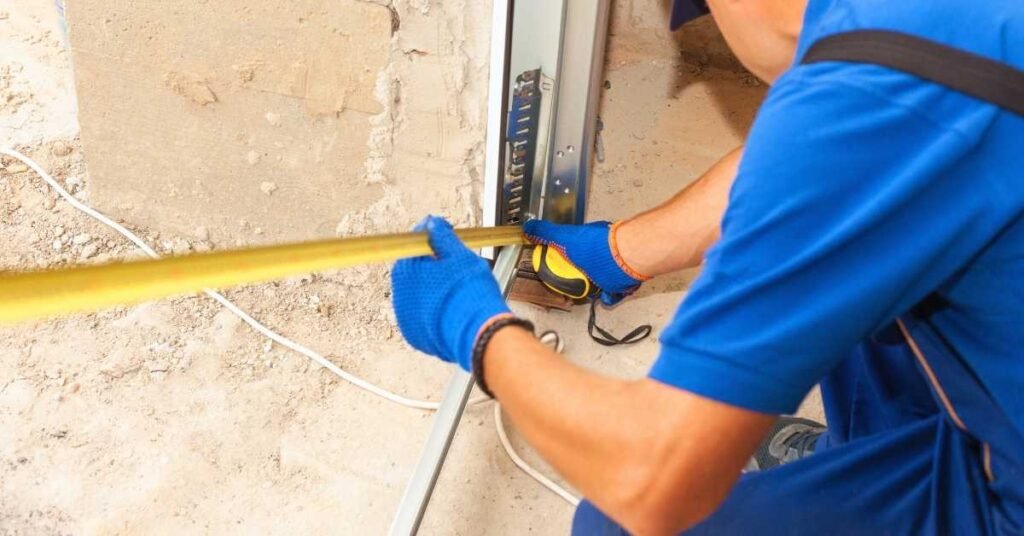
Installing the New Weather Stripping
- Commence the installation by starting at one corner of the garage door.
- Press the weather stripping firmly into the grooves, ensuring it sits snugly. For a secure fit, use a rubber mallet or a block of wood to tap the stripping into place gently.
- Continue this process around the entire perimeter of the garage door.
- Pay attention to any curves or corners, ensuring the stripping follows the contours of the door for complete coverage.
Sealing Corners and Joints
Particular attention should be given to corners and joints during the installation process. These areas are susceptible to gaps, which can compromise the efficiency of the weather stripping.
- Ensure a tight seal by pressing the material firmly into these critical areas.
- Trim any excess material as needed to achieve a seamless connection between sections.
A meticulous approach to corners and joints enhances the overall effectiveness of the weather stripping.
Testing and Adjustments
With the installation complete, it’s time to test the functionality of the garage door.
- Open and close the door multiple times to ensure smooth operation.
- Pay close attention to any signs of resistance, misalignment, or unusual noises.
If issues arise, make the necessary adjustments promptly. This may involve tweaking the positioning of the weather stripping or addressing any underlying problems with the door’s mechanics. A well-functioning garage door contributes to both convenience and longevity.
Maintenance Tips
To prolong the life of your newly installed weather stripping, adopt a regular maintenance routine.
- Periodically inspect the stripping for signs of wear, damage, or detachment.
- Clean the surface to remove dust and debris that could affect the performance.
- Additionally, lubricate the garage door hinges and tracks to facilitate smooth movement.
A proactive approach to maintenance ensures your garage door continues to provide reliable service over the long term.
Benefits of Proper Weather Stripping
Understanding the importance of proper weather stripping emphasizes the significance of this maintenance task. Effective weatherstripping enhances energy efficiency by preventing drafts and minimizing heat loss or gain. It also acts as a barrier against rain, snow, and debris, keeping your garage interior clean and protected. Investing time in replacing weather stripping contributes not only to the functionality of the garage door but also to the overall comfort and durability of your home.
FAQs on How To Replace Garage Door Weather Stripping
Q1. Why is weather stripping important for my garage door?
Weatherstripping acts as a barrier against external elements, preventing drafts, moisture, and debris from entering your garage. It also contributes to energy efficiency by minimizing heat loss or gain.
Q2. How often should I replace garage door weather stripping?
The frequency of replacement depends on factors like climate and the quality of the existing stripping. Generally, inspect it annually and replace it as needed.
Q3. What materials are best for garage door weather stripping?
Go for high-quality materials like rubber, vinyl, or silicone, as they offer durability and adequate insulation.
Q4. Can I install weather stripping on my own, or should I hire a professional?
While it’s a manageable DIY task, hiring a professional ensures precise installation, especially if you need clarification on the process.
Q5. How do I know if my weather stripping needs replacement?
Look for signs of wear, tear, or damage. If you notice drafts, increased energy bills, or visible deterioration, it’s likely time for a replacement.
Q6. Are there specific considerations for extreme weather conditions?
Yes, choose weather stripping designed to withstand the climate in your area. For extreme conditions, consider reinforced or specialized options.
Q7. Can I reuse the old weather stripping?
It’s not recommended, as old weather stripping may have lost its effectiveness. Replacing it ensures optimal insulation and protection.
Q8. Should I replace the weather stripping if I don’t notice any issues?
Preventive replacement is advisable, as worn stripping may not show immediate signs. Regular maintenance contributes to the longevity of your garage door system.
Q9. Is weather stripping replacement a time-consuming task?
With proper preparation, it’s a relatively straightforward task. The time required depends on the size of your garage door and the complexity of the installation.
Q10. What additional benefits come with proper weather stripping?
Beyond insulation, effective weather stripping contributes to a quieter garage door operation, reduces the risk of pests, and provides an overall more comfortable environment.
Conclusion
In conclusion, replacing garage door weather stripping is a practical and essential task for homeowners. By following these steps to learn about How To Replace Garage Door Weather Stripping, you not only ensure the optimal performance of your garage door but also contribute to energy efficiency and protection against the elements. Regular maintenance and attention to detail during installation are critical factors in achieving long-lasting results. Take the time to assess, measure, and install the proper weather stripping, and your garage will remain a secure and well-insulated space for years to come.