The Comprehensive Guide: How to Clean Garage Walls Before Painting
Table of Contents
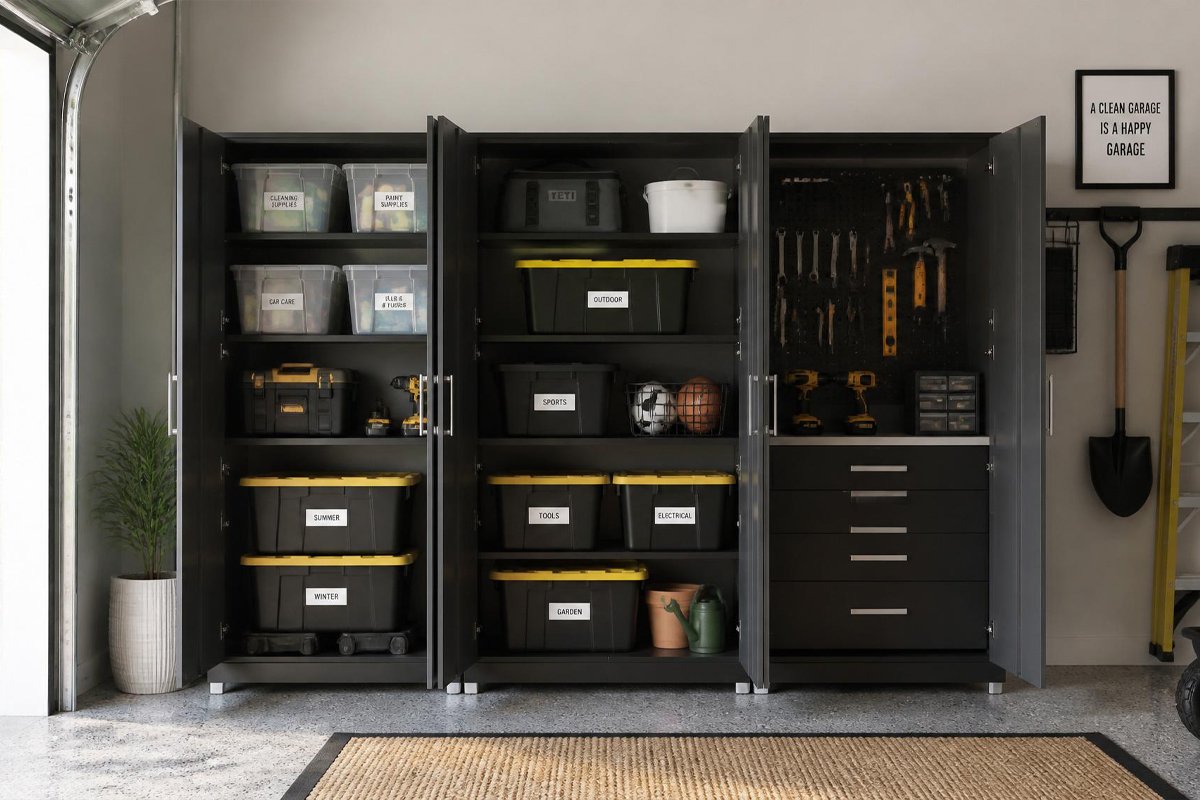
Are you gearing up for a garage transformation with a fresh coat of paint? Cleaning your garage walls before painting is a must-do step to ensure a smooth, long-lasting finish. In this comprehensive guide, we’ll take you through a step-by-step process, offering tips and techniques on How To Clean Garage Walls Before Painting to make your garage walls paint-ready.
Choosing the Right Paint
Select a high-quality paint suitable for garage walls. Latex paints are often recommended for their durability, ease of cleaning, and quick drying time. Consider the finish – a semi-gloss or satin finish is preferable for garage walls as it is easy to clean and provides a smooth surface.
Have a look here
Latex-Based Paint
Ideal for garage walls due to its durability and accessible cleaning properties.
● Dries quickly, allowing for a faster painting process.
● Low in VOCs (Volatile
● Organic Compounds), making it a more environmentally friendly option.
Semi-Gloss or Satin Finish
● These finishes are recommended for garage walls as they are easy to clean.
● Reflective surfaces resist stains and are more resistant to moisture and mildew
Durable and Washable Formulas
● Look for paints formulated explicitly for high-traffic areas.
● These paints are more resistant to scuffs, stains, and cleaning, making them suitable for a garage environment.
Primer-Included or Separate Primer
● Consider whether you need a paint that includes a primer or if a separate primer is necessary.
● For stained or discolored walls, a primer helps enhance adhesion and provides a more even finish.
Water-Based (Acrylic) Paint
● Water-based paints are easier to clean up and have less odor compared to oil-based paints.
● Suitable for garage walls, especially in areas with limited ventilation.
Mold and Mildew Resistance
● Opt for a paint with mold and mildew-resistant properties, especially if your garage tends to be damp or lacks proper ventilation.
Stain-Blocking Formulas
● If your garage walls have existing stains, consider a paint with stain-blocking capabilities for a clean and uniform appearance.
Budget Considerations
● Fix your budget and choose a paint that balances cost-effectiveness with the desired quality.
● Consider the long-term benefits of investing in a higher-quality, durable paint.
Brand and Product Reviews
● Research and read reviews about specific paint brands and products.
● Look for paints that have positive reviews for durability, coverage, and ease of application.
Color and Aesthetic Appeal
● Choose a color that complements your garage’s overall aesthetic and lighting.
● Consider a neutral color to create a clean, bright, and inviting space.
Ease of Application
● Select a paint that is easy to apply, whether using a brush, roller, or sprayer.
● User-friendly paints make the painting process smoother for DIY projects.
The Best Way to Wash Walls Before Painting: Step-by-Step Guide
Before applying a fresh coat of paint to your walls, thorough cleaning is essential to ensure a smooth and long-lasting finish.
Follow these steps for the best way to wash walls before painting:
Step 1: Gather Your Supplies
Collect the necessary supplies for the cleaning process:
– Mild detergent or trisodium phosphate (TSP)
– Clean sponges or soft-bristle brushes
– Clean rags or towels
– Bucket
– Painter’s tape
– Plastic drop cloths
– Safety goggles and gloves
Step 2: Assess the Surface
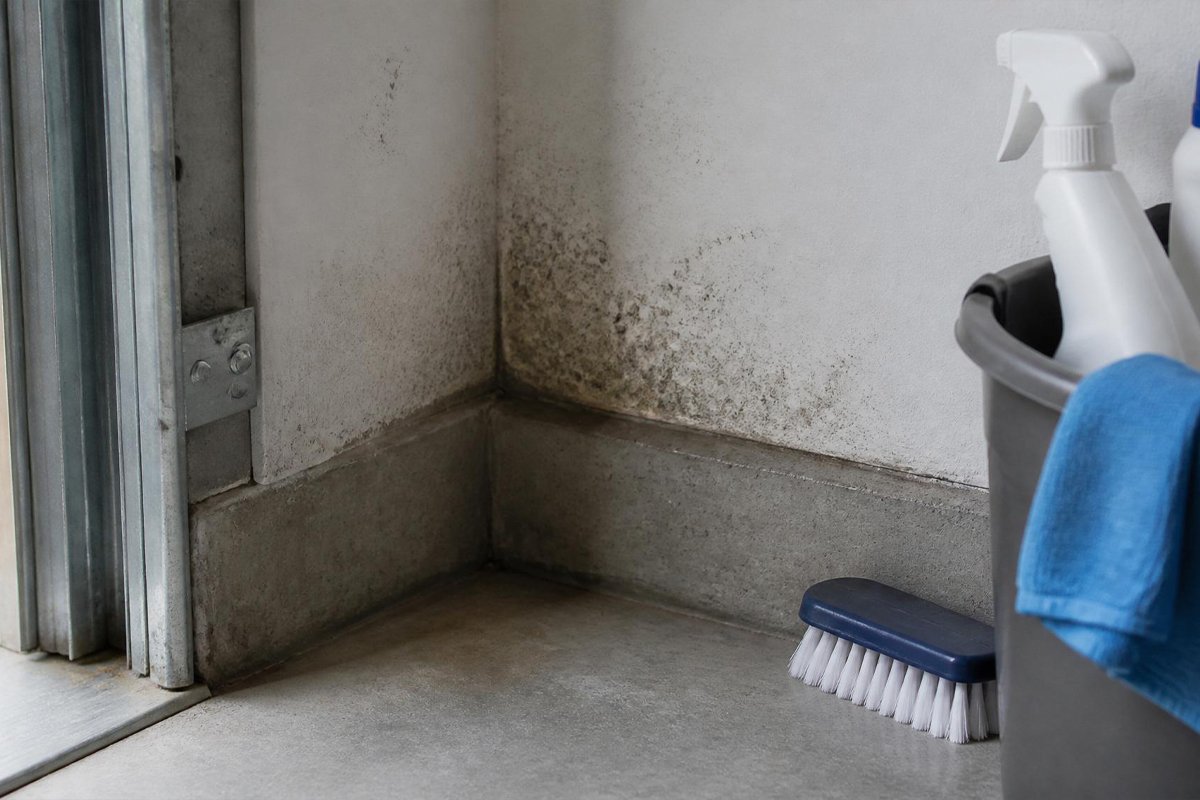
Examine the walls for dirt, grease, or stains. Identify any areas with noticeable grime or marks. This initial assessment helps tailor your cleaning approach to the specific needs of the walls.
Step 3: Clear the Space
Remove items from the walls and clear the room as much as possible. This includes furniture, decorations, and any other objects that might obstruct the cleaning process. Cover remaining items with plastic drop cloths to protect them from cleaning solutions.
Step 4: Dusting and Sweeping
Begin by dusting and sweeping the walls to eliminate loose dirt, cobwebs, and dust. Use a broom or duster with an extension handle to reach high corners and ceilings. This initial step prevents dirt from turning into a muddy mess when cleaning with liquids.
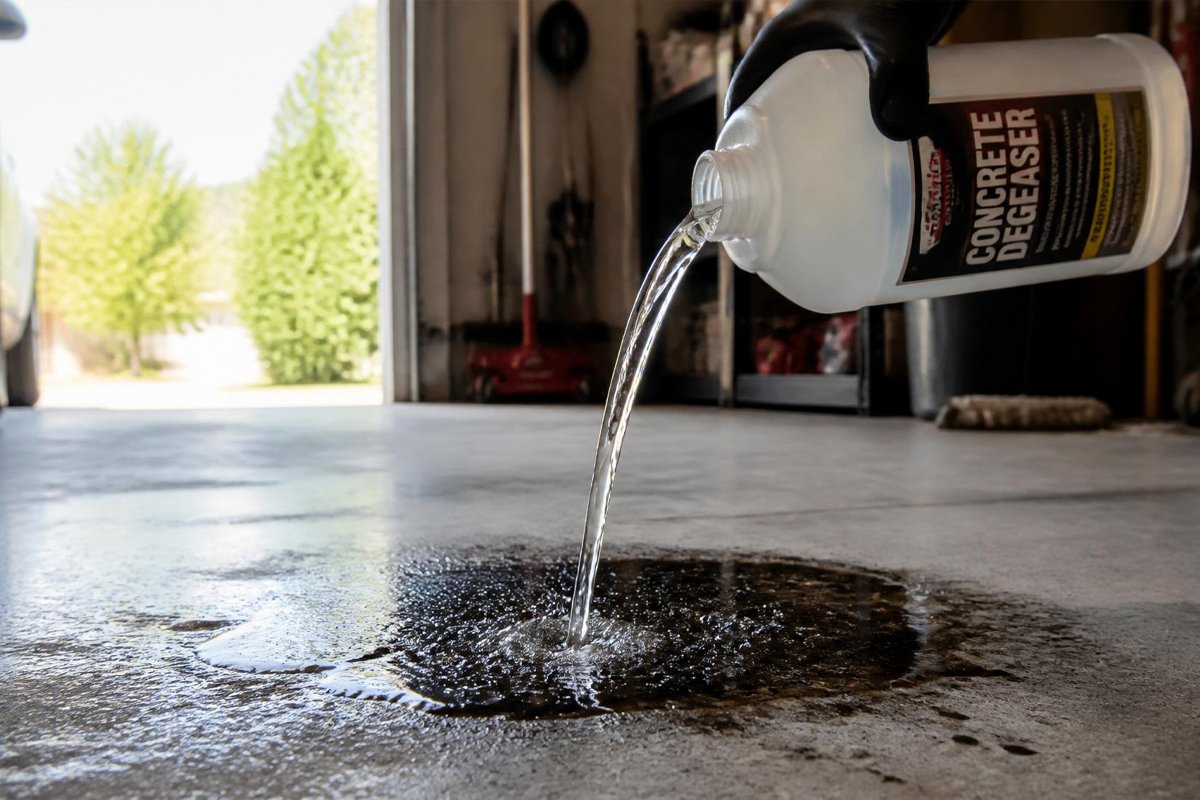
Step 5: Mix Cleaning Solution
Prepare a cleaning solution by mixing mild detergent or trisodium phosphate (TSP) with warm water. Use the recommended amount of detergent or TSP per gallon of water. If your walls require a more robust cleaning, opt for TSP, ensuring you follow safety guidelines.
Step 6: Spot Testing
Perform a spot test in an inconspicuous area to ensure the cleaning solution won’t damage or discolor the paint. Wait for the test area to dry before proceeding. This step is crucial, especially if you need to figure out how the walls will react to the cleaning solution.
Step 7: Address Grease and Stains
For areas with noticeable grease or stains, focus on those spots first. Apply the cleaning solution directly to the stain and gently scrub with a soft-bristle brush or sponge. Take your time, and don’t hesitate to repeat the process for stubborn stains.
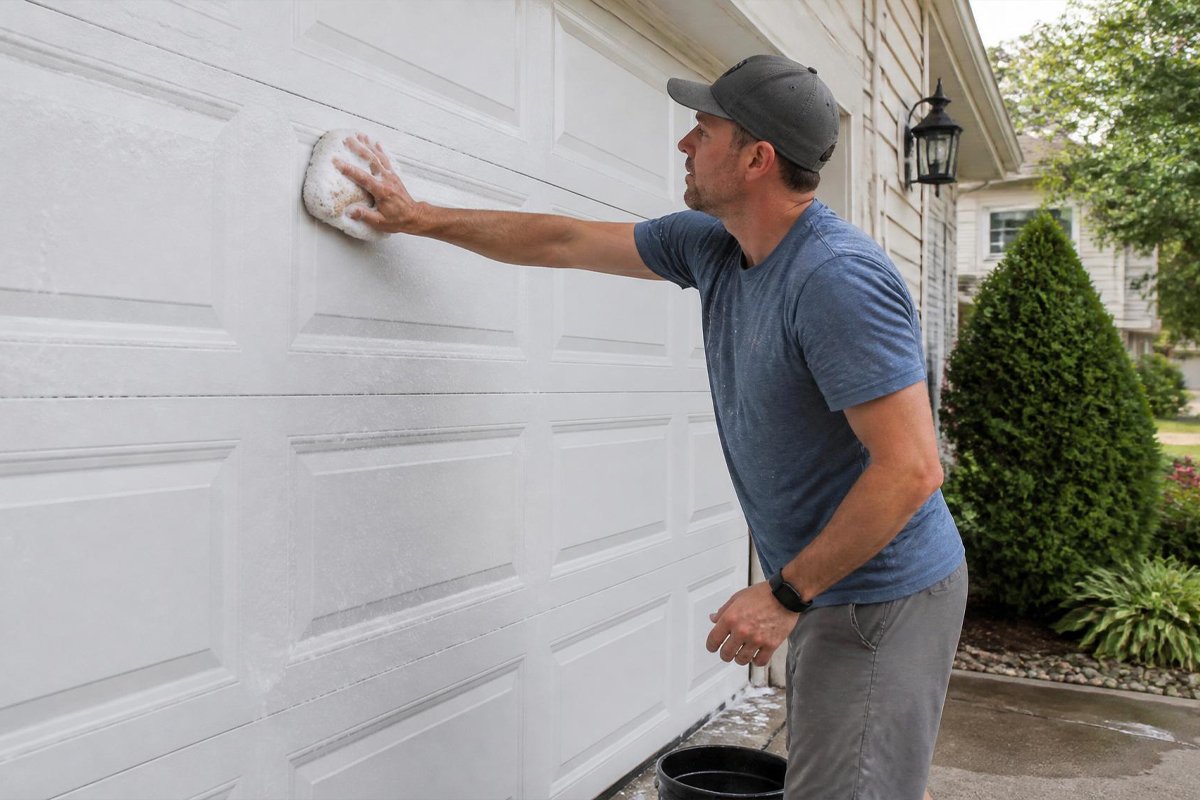
Step 8: Clean the Entire Wall
With spot testing and stain removal complete, clean the entire wall. Dip your sponge or brush into the cleaning solution and start scrubbing from the bottom, working your way up. This helps prevent streaks and ensures that any drips won’t spoil the clean areas below.
Step 9: Rinse Walls Thoroughly
After scrubbing, rinse the walls thoroughly with clean water. Use a sponge or a separate clean cloth for rinsing. It’s crucial to remove all traces of the cleaning solution to prevent any residue affecting paint adhesion.
Step 10: Allow Walls to Dry
Allow the walls to dry completely before moving on to the next steps. Proper drying is crucial for the paint to adhere correctly. Depending on the climate and ventilation, this may take a few hours.
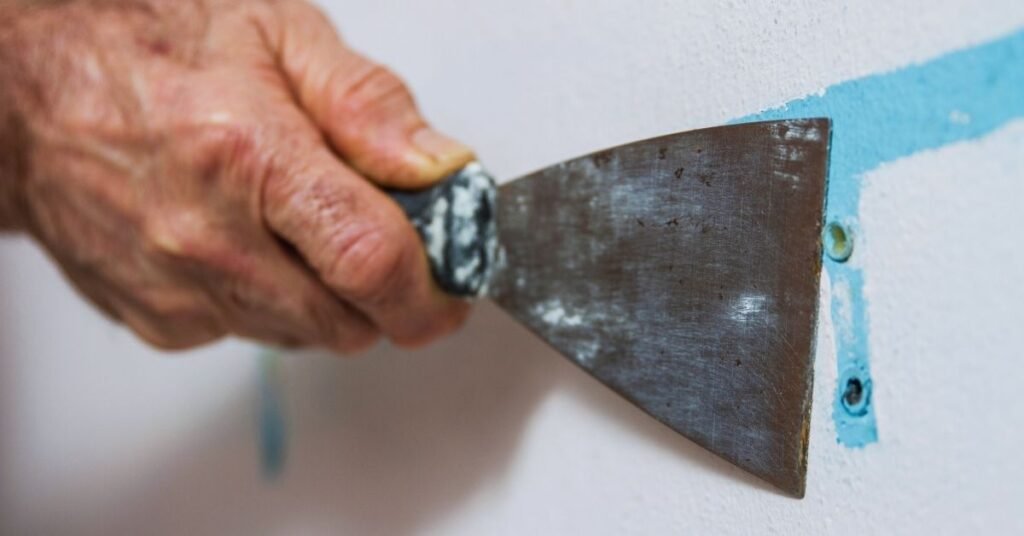
Step 11: Patching and Repairs
Inspect the walls for any cracks, holes, or imperfections. Patch these areas with an appropriate filler, and sand them smooth once dry. Properly patched walls contribute to a professional-looking paint job.
Step 12: Sanding for Smoothness
Even if your walls appear smooth, light sanding can enhance paint adhesion. Use fine-grit sandpaper to sand the entire surface gently. This step promotes a uniform texture and helps the new paint bond effectively.
Step 13: Dust Again
After sanding, dust the walls once more to remove any particles created during the sanding process. A tack cloth is excellent for picking up fine dust without leaving residues.
Step 14: Protect Adjacent Surfaces
Before painting, protect adjacent surfaces such as trim, doors, and windows with painter’s tape. This ensures clean lines and prevents accidental paint splatters.
Prime for Better Adhesion
If your walls are stained or discolored, or if you’re drastically changing the wall color, applying a primer is advisable. Primer enhances paint adhesion and promotes a more even finish.
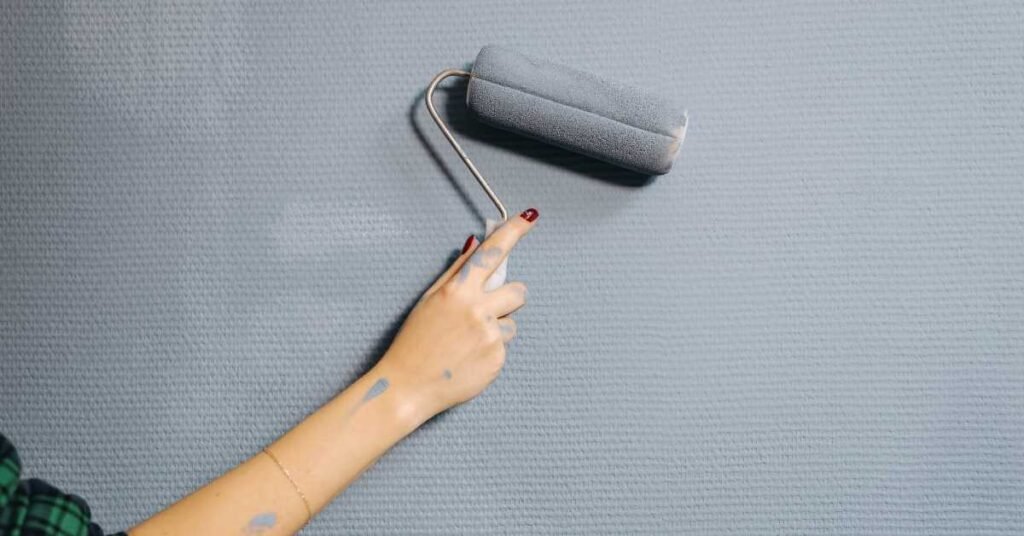
Painting Techniques
Now that your walls are prepped and primed, use efficient painting techniques. Start from the top and work your way down, using long, even strokes. A roller is excellent for covering large areas, while a brush is ideal for edges and corners.
Allow Proper Drying Time
Follow the paint manufacturer’s instructions for drying time between coats. Applying a second coat too soon can lead to uneven coverage and imperfections.
Post-Painting Cleanup
Once your paint is dry and your walls look refreshed, remove the painter’s tape carefully. Inspect your work and touch up any areas if necessary. Proper cleanup ensures a polished final result.
Final Touch
Take a step back and admire your freshly painted garage walls. Gather complete knowledge on How To Clean Garage Walls Before Painting. Conduct a final check to ensure even coverage and address any touch-ups. Your garage is now transformed into a clean, vibrant space. By following these detailed steps, you’ve not only cleaned your garage walls but also set the stage for a successful painting project. A well-prepped surface ensures that your new paint will adhere correctly, providing you with a finished product that’s not only aesthetically pleasing but also durable and long-lasting. Enjoy your revitalized garage space!