By Danial Marquez | Cleaning | Updated July 2026
If there is a single upgrade that does more for how a garage looks, feels, and functions than almost anything else, it’s an epoxy floor coating. A bare concrete slab looks raw and unfinished, stains easily, absorbs oil and chemicals, generates concrete dust, and makes every scuff and spill permanent. An epoxy-coated floor looks like it belongs in a showroom — glossy, clean, and durable — and it takes 10 minutes to wipe down what would have taken an hour to scrub off bare concrete.
The good news is that applying garage floor epoxy is genuinely a one- or two-weekend DIY project. The bad news is that it’s a prep-intensive project where skipping or rushing the preparation steps almost guarantees a poor result — peeling, bubbling, or delaminating coating that fails within months. This guide covers every step in the order it needs to be done, with material choices, common mistakes, and the surface prep details that determine whether your coating lasts two years or twenty.
If you’ve already tackled insulation, soundproofing, or a garage organization overhaul, the floor is often the last finishing touch that ties the whole project together — and it’s the step that makes the biggest visual difference of all.
What Is Epoxy Floor Coating — and What It Isn’t
Before buying materials, it’s important to understand what “epoxy” actually means in the context of garage floors, because the term is used loosely to describe products that perform very differently.
True two-part epoxy is a chemical system consisting of a resin and a hardener that are mixed together just before application. The two components react chemically (this is called cross-linking) to form an extremely hard, dense, and chemically resistant film that bonds directly to concrete. This is the product professional floor coaters use, and it’s what this guide focuses on. True two-part epoxy requires mixing, has a limited working time (“pot life”) after mixing, and typically costs more than alternatives — but it’s dramatically more durable.
One-part epoxy paint or “epoxy-based” paint sold in big-box stores (often marketed as “1-gallon garage floor paint”) contains very little actual epoxy. It applies like latex paint, dries quickly, and is far easier to use — but its durability is similarly far closer to regular floor paint than to true epoxy. Expect to reapply every 1–3 years under normal garage use. These products can be acceptable for low-traffic garages on a tight budget, but they’re not what people mean when they talk about a “proper” epoxy floor.
Polyurea and polyaspartic coatings are professional-grade alternatives to epoxy, applied by contractors. They cure faster, tolerate more temperature range during application, and are more UV-stable (epoxy yellows in UV light over time), but they are significantly more expensive and more difficult to apply correctly — generally not DIY territory.
For this guide, unless otherwise noted, “epoxy” means a quality two-part water-based or solvent-based epoxy system designed for garage floor application.
Is Your Garage Floor a Good Candidate?
Not every concrete slab is ready to accept an epoxy coating, and applying epoxy to a slab that has fundamental problems will fail regardless of how carefully you apply it.
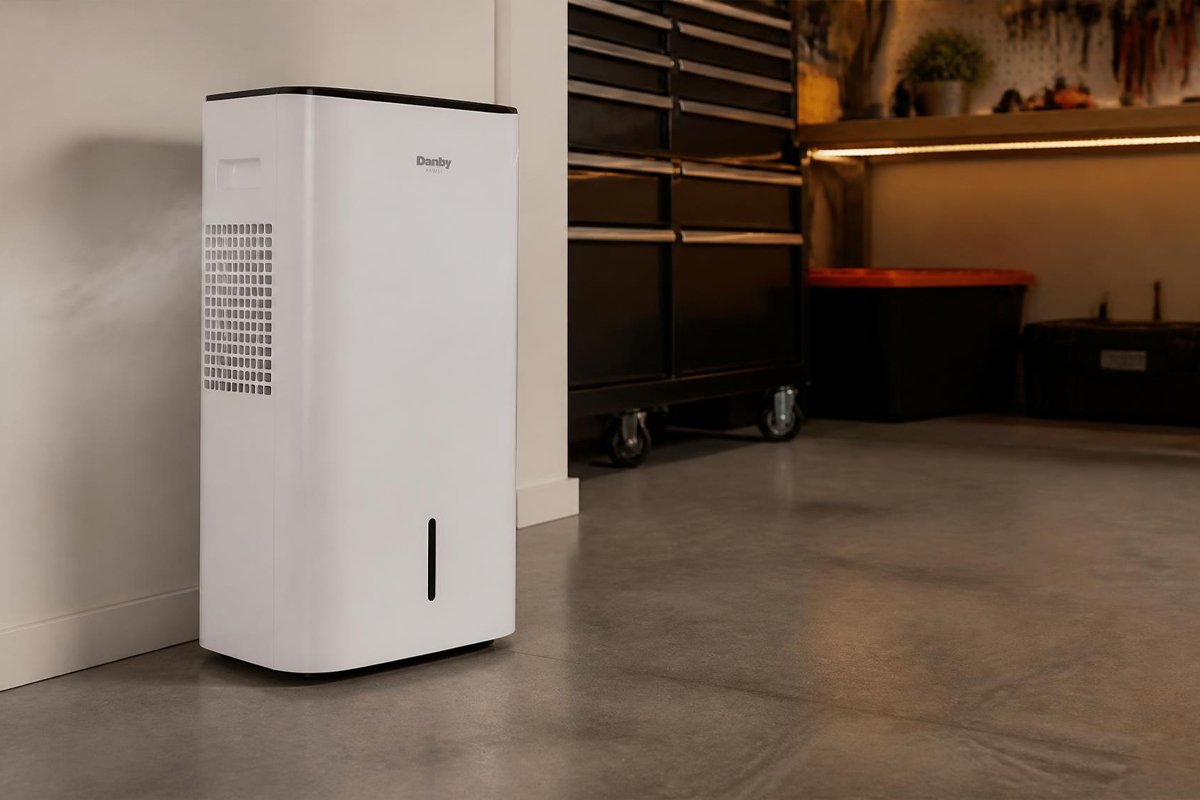
Check for moisture. This is the single most important test before any floor coating project. Tape a 24-inch square of plastic sheeting to the garage floor with duct tape, sealing all four edges completely, and leave it for 24–48 hours. If you lift the plastic and find moisture droplets on the underside or see darkening of the concrete below it, you have a moisture problem. Epoxy does not bond reliably to concrete that is damp from below, and moisture vapor pushing through a cured epoxy coating will cause it to delaminate in blisters. A moisture vapor barrier primer (moisture-mitigation epoxy) can address mild vapor transmission, but active water seeping through the slab requires addressing the drainage or waterproofing issue first.
Check for sealers. Many concrete slabs have had a clear concrete sealer applied at some point, and epoxy will not bond to a sealed surface. The easiest test: drip a few drops of water on the floor. If the water beads up and sits on the surface rather than soaking in, there’s likely a sealer present that must be removed through mechanical grinding before epoxy will bond.
Check for existing paint or coating. If a previous floor coating is peeling, bubbling, or delaminating, it must be removed before new epoxy goes down. Applying over a failing old coating simply transfers the adhesion failure to the new product.
Check for cracks and damage. Minor cracks (hairline to 1/4 inch) can be filled with an epoxy crack filler before coating. Large structural cracks, heaving sections from frost damage, or significant spalling (chipping and pitting) indicate slab problems that may need professional attention before coating.
Choosing the Right Epoxy Product
Walk into any hardware store and you’ll find several products marketed as garage floor epoxy. Here’s how to navigate the options.
Water-based two-part epoxy (e.g., Rust-Oleum EpoxyShield Professional, Behr Premium 1-Part Epoxy) is the most DIY-friendly option. Easier cleanup with water, lower odor than solvent-based, and generally more forgiving to apply. Adequate for typical home garages with one or two vehicles and moderate foot traffic. Film thickness per coat is lower than solvent-based options, so two coats are typically recommended.
Solvent-based two-part epoxy offers a harder, thicker final film and better chemical resistance — better suited for workshop garages where oil, solvents, and heavy tools are part of daily life. Stronger odor during application requires excellent ventilation and a respirator. Cleanup requires solvents. More durable long-term than water-based for high-demand applications.
100% solids epoxy is the highest-performance DIY option — essentially zero water or solvent, so the full volume of mixed material becomes the final film thickness. This produces the thickest, hardest, most durable coating available to DIYers. It’s also the least forgiving: pot life after mixing is very short (sometimes 20–30 minutes), and it must be applied quickly and spread evenly before it begins to cure. Best for experienced DIYers who have done this before.
For most first-time applicators: a water-based two-part epoxy system from a reputable brand, applied in two coats with a decorative color-chip broadcast between coats, produces excellent results that will last 5–10 years in a typical family garage.
Coverage to buy: Most two-part epoxy systems cover 200–250 square feet per gallon for the base coat at recommended thickness. For a standard two-car garage (approximately 400–500 square feet), plan for 2 gallons of base color and a topcoat sealer. Always calculate coverage from the product label, not from general estimates.
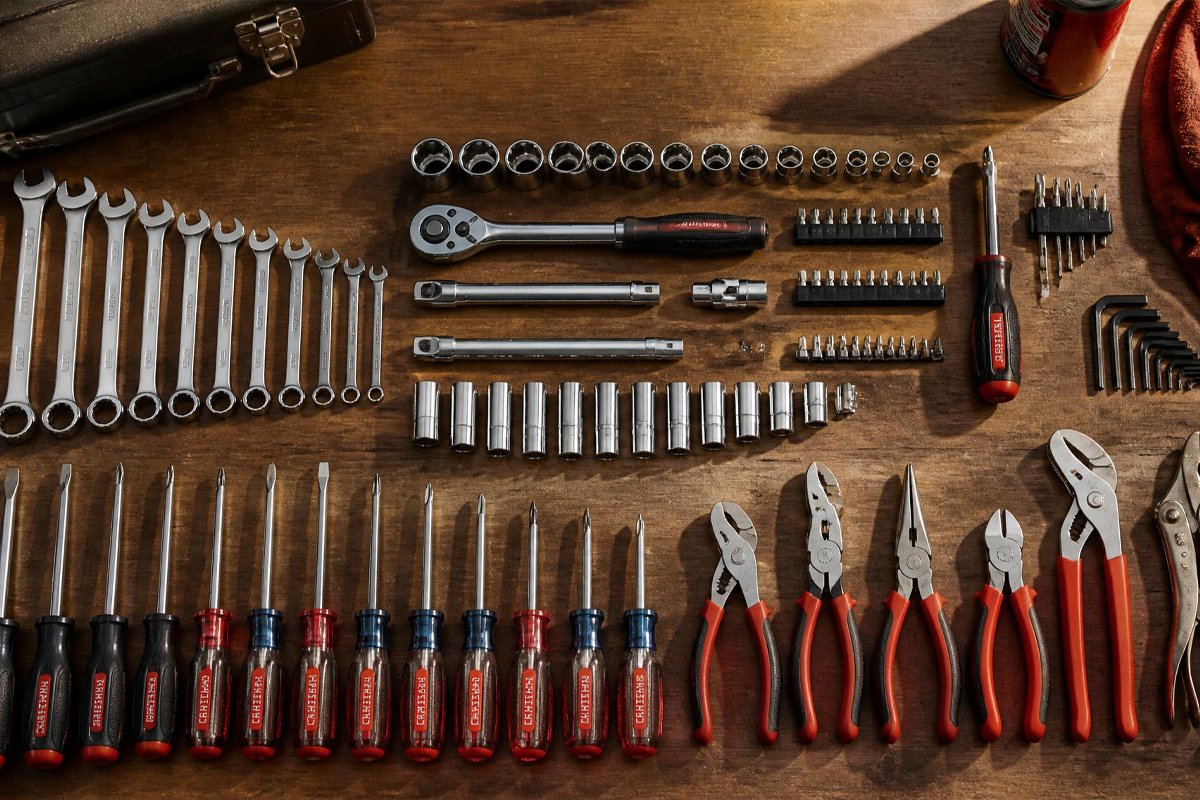
Tools and Materials You’ll Need
Before starting, gather everything so the project doesn’t stall mid-step. Epoxy has a working time after mixing — stopping to make a hardware run is not an option.
- Concrete etching solution (muriatic acid or phosphoric acid etch — most epoxy kits include this) OR a diamond floor grinder (rental equipment)
- Concrete crack filler (epoxy-based)
- Concrete degreaser (or TSP)
- Stiff-bristle scrub brush or floor scrubber
- Wet/dry shop vacuum (essential)
- Garden hose or pressure washer access
- Painter’s tape and plastic sheeting for walls and trim
- 9-inch paint roller with a 3/8-inch nap cover (epoxy requires a specific nap thickness — too thick or too thin creates problems)
- Extension pole for the roller
- 4-inch chip brush for edges and corners
- Two mixing buckets (5-gallon)
- Mixing paddle attachment for a drill
- Decorative color flake chips (optional but popular)
- Topcoat sealer (polyurethane or polyaspartic, or a kit that includes it)
- Chemical-resistant gloves, safety glasses, and a half-face respirator rated for organic vapors
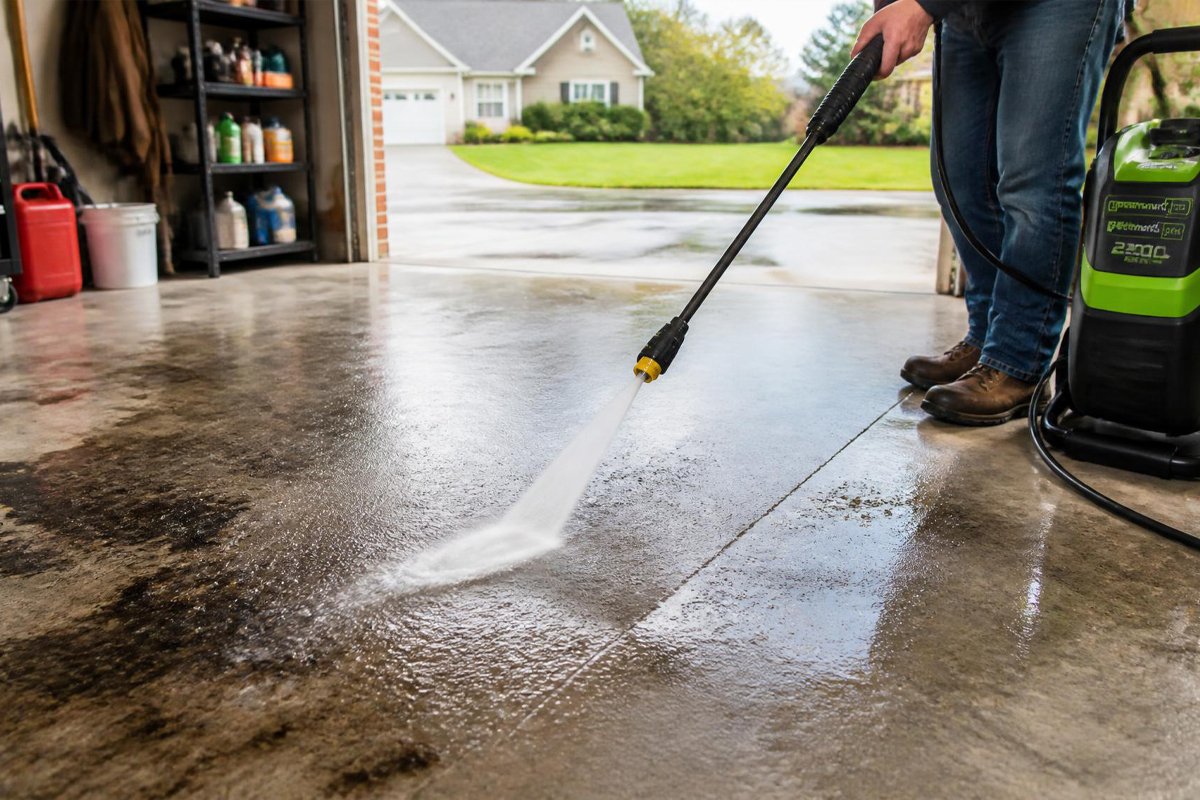
Step 1: Deep Clean and Degrease the Floor
The concrete surface must be completely free of oil, grease, dust, curing compounds, and any other contaminant before etching or coating begins. This is not a job for a quick mop — it requires a systematic, thorough approach.
Start by removing everything from the garage floor completely. If your garage is well-organized following our complete guide to organizing a garage, this step is easier — but even a clean garage needs its floor cleared entirely for this project.
Apply a concrete degreaser (or TSP mixed per package directions) to the entire floor surface and scrub with a stiff brush, paying special attention to areas where vehicles have dripped oil or where tools have been stored. Grease and oil are the most common causes of epoxy adhesion failure, and they’re often more widespread than they appear — even “clean” concrete has surface contamination from years of use.
For heavy oil staining — multiple layers of old vehicle oil, for example — our detailed guide on how to clean oil off the garage floor covers the full process for removing stubborn staining before you reach the etching stage. Old oil stains that aren’t fully removed will bleed through the epoxy coating and cause adhesion failure in those spots.
Rinse the floor thoroughly with clean water and a pressure washer or garden hose. Allow to dry completely — minimum 24 hours, ideally 48 hours in humid conditions — before moving to the etching step.
Step 2: Etch or Grind the Surface — The Most Critical Prep Step
This is the step most DIYers are tempted to skip, and it’s the reason most DIY epoxy floors fail within a year or two.
Bare concrete has a smooth surface at the microscopic level that epoxy cannot grip reliably. Etching (acid treatment) or mechanical grinding opens the pores of the concrete and creates a rough, receptive surface — often described as the texture of 80-grit sandpaper — that epoxy can mechanically bond to. Without this step, even the best epoxy sits on top of the concrete rather than bonding into it, and peeling is inevitable.
Acid etching (the method included in most kit systems): Mix the etching solution (muriatic or phosphoric acid) with water per the instructions — typically 1 part acid to 10 parts water, always adding acid to water, never the reverse. Apply to the dampened concrete surface and work in small sections with a stiff brush. The solution will bubble and fizz as it reacts with the concrete — this is normal and expected. Work it into the surface for the specified contact time (usually 10–15 minutes). Rinse thoroughly with a garden hose or pressure washer until the water runs clear with no foaming. Neutralize any remaining acid per the product instructions (typically a baking soda and water rinse). Allow to dry fully — 24 to 48 hours minimum. Wear chemical-resistant gloves, eye protection, and work in a well-ventilated garage throughout this process.
Mechanical grinding (diamond floor grinder, rented from equipment rental shops): The professional standard and a better choice for slabs that have a sealer, multiple old coatings, or significant oil contamination that acid etching alone won’t resolve. A walk-behind diamond grinder opens the surface mechanically without the acid chemistry — cleaner and more effective on difficult slabs. Plan to rent for a half-day and vacuum thoroughly after grinding before inspecting the surface.
After etching or grinding, run your hand across the dry concrete. It should feel like rough sandpaper. If it still feels smooth, repeat the etch or continue grinding.
Step 3: Fill Cracks and Repair Surface Defects
With the surface etched and dry, inspect carefully for cracks, chips, and pitting that need to be filled before coating.
Hairline cracks (less than 1/16 inch) can typically be filled with the epoxy coating itself as it flows into the crack during application — no separate treatment needed.
Medium cracks (1/16 to 1/4 inch) should be filled with a two-part epoxy crack filler, applied with a putty knife and tooled flush with the surrounding surface. Allow to cure fully before proceeding.
Large cracks or significant spalling may require a hydraulic cement or polyurethane foam injection for structural movement, followed by a skim coat of concrete resurfacer to create a smooth surface before epoxy application. If you’re seeing cracks that appear to have moved or shifted (one side higher than the other), consult a concrete professional before coating — epoxy does not bridge structural movement.
After all repairs are cured, vacuum the floor thoroughly with a shop vacuum. Even fine concrete dust will compromise epoxy adhesion. Follow the vacuum with a tack cloth wipe-down of the entire surface immediately before mixing the epoxy.
Step 4: Tape Off and Protect
Apply painter’s tape along the base of all walls, columns, and door thresholds. Extend plastic sheeting up the walls by 6–12 inches and tape securely — epoxy splatter is extremely difficult to remove from painted walls once cured.
If your garage has a floor drain, cover it with tape and plastic — you don’t want etching solution or epoxy flowing into it. Remove the plastic from the drain before applying water rinse during the etching step, then re-cover before epoxy application.
Step 5: Mix and Apply the Epoxy
Read the full product instructions before opening any containers — working times, mix ratios, and application temperature ranges vary significantly between products, and exceeding the pot life results in wasted material and a failed application.
Temperature matters enormously. Most epoxy systems require the concrete surface temperature to be between 50°F and 85°F during application, and the concrete must be warmer than the dew point temperature to prevent moisture from forming on the surface. Do not apply epoxy when the garage floor temperature is below 55°F — the epoxy will not cure properly and adhesion will be compromised. Early summer mornings in a cool garage are often ideal conditions.
Mixing: Combine Part A (resin) and Part B (hardener) in the exact ratio specified on the label — typically 1:1 or 2:1 by volume. Mix thoroughly with a paddle mixer attached to a drill for the full specified time (usually 3–5 minutes), scraping the sides and bottom of the bucket. Then let the mixed material “induction cure” (rest) for the time specified in the instructions before applying — typically 15–30 minutes. This induction period is not optional — skipping it results in uneven cure.
Application sequence: Work from the far corner of the garage toward the door so you don’t paint yourself into a corner. Cut in the edges and corners with a chip brush first (2–3 inches from the wall), then follow immediately with the roller on the main floor area. Apply with the roller in a W or N pattern to distribute the material evenly, then finish with light straight passes in a consistent direction to level the coating.
Work in sections of roughly 100–150 square feet at a time, maintaining a wet edge between sections to avoid lap marks. The entire floor should be coated in one continuous session — stopping and restarting the next day creates visible lines between old and new material.
Apply the color flake chips (if using) immediately after each section is rolled — while the epoxy is still wet. Hold a handful loosely and toss upward so the chips fall randomly onto the wet surface, creating a scattered, natural look. Apply generously — the excess that doesn’t stick will be swept up after the base coat cures. This is the step that transforms a plain grey floor into the speckled, showroom-style finish seen in most modern garage makeovers.
Step 6: Apply the Second Coat (If Required)
Most quality epoxy systems benefit significantly from two coats. The first coat soaks into the opened concrete pores and bonds mechanically. The second coat builds film thickness and creates the durable, abrasion-resistant surface layer.
Allow the first coat to cure per the product timeline before applying the second — typically 16–24 hours for water-based systems, or until the surface is firm enough that touching it leaves no fingerprint. Do not wait too long between coats (generally no more than 72 hours for most products) — some epoxies lose their ability to chemically bond to themselves after the first coat fully cures, requiring mechanical abrasion between coats if the window is missed.
If you broadcast color flake chips in the first coat, lightly sweep or blow off any loose excess before rolling the second coat. The second coat locks the chips in place and smooths over them.
Step 7: Apply the Topcoat Sealer
A clear topcoat sealer is the final and most important durability layer. Epoxy alone, while hard, can scuff and abrade over time and is susceptible to UV yellowing (especially in garages with windows or open door exposure to sunlight). A polyurethane or polyaspartic clear topcoat over the cured epoxy significantly extends the life of the coating, adds chemical resistance, and produces the deep gloss that makes epoxy floors so visually striking.
Apply the topcoat with a clean roller using the same technique as the epoxy coats. One coat is usually sufficient. Allow to cure per product instructions before walking on the surface or moving anything back in.
Curing Time and Getting Back to Normal
This is where patience is required. Epoxy coatings cure in stages:
- Foot traffic: 24 hours after the final coat (light traffic only — no shoes with heels or cleats)
- Vehicle traffic: 72 hours after the final coat minimum; 7 days preferred
- Full chemical cure: 28–30 days for complete hardness
During the cure period, keep the garage as warm and well-ventilated as possible — warmth accelerates the chemical curing process. Avoid placing rubber-backed mats on the floor during the first 7 days, as they can trap moisture under themselves and leave discoloration marks on the curing surface.
When you’re ready to bring items back into the garage, this is a natural moment to implement the organization system from our garage organization guide — a freshly coated floor and properly organized storage make the entire space feel genuinely new.
Maintaining an Epoxy Floor
A properly applied epoxy floor is extremely low-maintenance compared to bare concrete — which is most of the point.
Routine cleaning: Sweep or blow out dust and debris regularly. Mop with a diluted mild cleaner (dish soap and water works fine) when needed. Avoid abrasive cleaners or steel wool pads that can scratch the surface.
Oil and chemical spills: Wipe up promptly — the sealed surface prevents absorption, but oil left sitting for extended periods can degrade some topcoat formulations over time. Our guide on how to clean oil off the garage floor is written for bare concrete, but for epoxy floors the process is simpler: most spills wipe up completely with a clean rag on a properly sealed surface.
Touch-up: Small chips or scratches can be touched up with matching epoxy and a brush. Large areas that delaminate or peel indicate adhesion failure from the prep stage and will need to be stripped and recoated properly.
Recoating: A well-maintained epoxy floor typically lasts 5–10 years for water-based systems and 10–20 years for high-solids professional systems before recoating is needed. When the time comes, lightly abrade the existing coating with a floor buffer or diamond grinder and apply a fresh topcoat — a much simpler project than the original installation.
How Much Does It Cost?
DIY budget range:
Basic water-based epoxy kit (covers 1-car garage, ~250 sq ft): $80–$150 Full two-car garage with quality two-part epoxy, color chips, and topcoat: $250–$500 Tool rental (floor grinder if needed): $60–$120/day Total DIY cost for a two-car garage: $250–$600
Professional installation:
$3–$12 per square foot installed, depending on product, number of coats, prep required, and region. A two-car garage professionally coated with a polyaspartic system typically runs $1,500–$4,500. The DIY savings are substantial — and with careful preparation, DIY results can match or exceed what many lower-end professional applicators deliver.
Common Mistakes That Cause Epoxy Floors to Fail
Skipping or rushing the moisture test. There is no fix for epoxy applied over a wet slab — it must come up and the moisture issue must be resolved first.
Insufficient etching. A surface that still feels smooth after etching hasn’t opened enough. Etch again or switch to mechanical grinding.
Applying in cold temperatures. Epoxy applied when the concrete is below 55°F will not cure properly. Plan your project for late spring through early fall in most climates.
Mixing without measuring. Epoxy ratios must be exact. Eyeballing it produces under- or over-catalyzed material that won’t cure to full hardness.
Not reading the pot life. Mixed epoxy that’s been sitting too long becomes too thick and won’t level. Mix only what you can apply within the working time.
Coating over a previously sealed or painted floor without proper removal. New epoxy bonds to the old coating, not to the concrete — and when the old coating fails, it takes the new one with it.
Final Thoughts
A garage floor epoxy project is the kind of weekend investment that genuinely transforms how a space looks and functions — not in a subtle way, but dramatically and immediately. The floor is the largest visual surface in the garage, and the difference between bare concrete and a clean, glossy, chip-finished epoxy coating is the difference between a storage room and a space you’re proud to use every day.
Take the prep seriously — moisture test, full degreasing, proper etch — and the application itself is straightforward. Rush the prep and the coating will fail, guaranteed. Follow this guide methodically and you’ll have a floor that lasts a decade or more and wipes clean in minutes.
For the full picture of what a renovated garage can become, pair this project with our guides on how to insulate a garage, how to soundproof a garage, and how to organize a garage — together, they represent the complete transformation from raw storage space to a fully functional, comfortable room you’ll actually want to spend time in.
Finished your epoxy floor? Drop a comment below with your before-and-after results — and browse our full Cleaning guides for more ways to deep-clean and upgrade your garage in 2026.