
Discovering mold in your garage is unsettling — dark spots creeping across drywall, a fuzzy patch on stored cardboard, or that unmistakable musty smell that won’t go away no matter how many times you sweep. Garage mold removal isn’t just about appearance; left untreated, mold can damage stored belongings, compromise drywall and wood framing, and in some cases affect indoor air quality if your garage shares walls or ductwork with your home.
Garages are prime real estate for mold because they combine everything mold needs to thrive: limited airflow, temperature swings that cause condensation, and porous surfaces like concrete, drywall, and cardboard that hold onto moisture. The good news is that most garage mold problems are treatable with the right process, and future growth is very preventable once the moisture source is under control.
This guide covers how to identify mold safely, the best removal methods for different surfaces, and how to stop it from coming back. If a musty smell is your main concern rather than visible mold, our garage odor removal guide covers that angle in more depth, and if humidity is the root cause, our garage ventilation guide explains how to fix airflow for good.
Quick Answer
Garage mold removal depends on the surface and how far the mold has spread. Small patches on hard, non-porous surfaces (concrete, metal, sealed wood) can usually be cleaned with a mold-killing solution and a scrub brush. Mold on porous materials like drywall, cardboard, or untreated wood often can’t be fully removed — the affected material typically needs to be cut out and replaced, since mold roots grow into the material itself. Large infestations (more than about 10 square feet, per EPA guidance) or mold following flooding are generally best handled by a professional remediation service. In every case, the mold will return unless the underlying moisture problem is also fixed.
Table of Contents
- Why Mold Grows in Garages
- How to Identify Mold Before You Treat It
- Best Garage Mold Removal Methods
- Comparison Table
- Mold Removal for Different Surfaces
- How to Remove Garage Mold Step by Step
- Common Mistakes
- Expert Tips
- Final Thoughts
- Frequently Asked Questions
Why Mold Grows in Garages {#why-mold-grows}
Mold needs three things to grow: moisture, an organic food source, and still air — and a typical garage offers all three. Concrete floors and drywall absorb and hold moisture longer than living spaces do, especially in garages with poor insulation where condensation forms on cold surfaces during temperature swings between seasons.
Garages also tend to store the exact materials mold feeds on: cardboard boxes, wood shelving, paper, and fabric. When any of these get damp — from a leak, high humidity, or even just being stored against an exterior wall — they become an ideal mold host. Limited airflow makes it worse, since there’s rarely enough air movement to dry these materials out before mold has a chance to establish itself.
Attached garages face an additional risk: shared walls with the living space mean that a mold problem left unaddressed can eventually affect indoor air quality inside the home itself, not just the garage. A worn or gapped garage door seal can also let in humid outside air, quietly feeding the same moisture cycle that leads to mold.
How to Identify Mold Before You Treat It {#how-to-identify}
Not every dark spot is mold, and treatment approaches differ depending on what you’re dealing with.
Check the texture and color. Mold is typically fuzzy, slightly raised, and appears in shades of black, green, gray, or white. A flat, dark stain with no texture is more likely mineral deposits or dirt rather than active mold growth.
Smell for mustiness near the spot. Active mold growth almost always comes with a musty odor concentrated at the source, which fades as you move away from it.
Consider the surface. Mold on hard, sealed surfaces is usually surface-level and cleanable. Mold on drywall, cardboard, insulation, or untreated wood has likely grown into the material and may not be fully removable through cleaning alone.
Assess the size. The EPA generally advises that mold covering more than about 10 square feet is a job for a professional remediation service rather than a DIY cleanup, due to the health and structural considerations involved.
Best Garage Mold Removal Methods {#best-methods}
1. White Vinegar Solution
Overview: Undiluted white vinegar is a mild acid that kills a large percentage of common household mold species without the fumes or harshness of bleach, making it a good first option for smaller, contained spots.
Key Features:
- Safe on most sealed surfaces including concrete, tile, and sealed wood
- No harmful fumes or ventilation requirements
- Inexpensive and always available
Best For: Small mold spots on hard surfaces, especially in enclosed garages where ventilation is limited.
Pros: ✅ Low odor and low toxicity ✅ Effective on many mold species ✅ Safe around pets
Cons: ❌ Less effective on large or established infestations ❌ Won’t penetrate porous materials
Our Verdict: A reliable first-line treatment for small, early-stage mold spots before reaching for stronger chemicals.
2. Diluted Bleach Solution
Overview: Bleach is one of the most effective mold killers on non-porous surfaces, but it needs to be used carefully — it doesn’t penetrate porous materials and produces fumes that require good ventilation.
Key Features:
- Kills mold spores on contact on hard surfaces
- Works well for larger surface-level spots
- Widely available and inexpensive
Best For: Concrete floors, sealed walls, and metal surfaces with visible mold that hasn’t spread deep into the material.
Pros: ✅ Strong, fast-acting ✅ Effective on most surface mold
Cons: ❌ Strong fumes requiring ventilation ❌ Can damage some finishes and fabrics ❌ Not effective on porous materials
Our Verdict: Best reserved for concrete and other hard, sealed surfaces — always ventilate the garage well during and after use.
3. Commercial Mold and Mildew Remover
Overview: Purpose-built mold removal products combine cleaning agents with mold-specific enzymes or fungicides, often giving more consistent results than household solutions for moderate infestations.
Key Features:
- Formulated specifically for mold and mildew removal
- Many include a residual barrier that helps prevent immediate regrowth
- Available in spray or concentrate form
Best For: Moderate mold coverage that’s beyond a small spot but not severe enough for professional remediation.
Pros: ✅ More consistent results than DIY solutions ✅ Often includes prevention benefits
Cons: ❌ More expensive than vinegar or bleach ❌ Some products still require good ventilation
Our Verdict: A solid middle-ground option when vinegar isn’t strong enough but the problem doesn’t yet require professional help.
4. Removal and Replacement of Porous Materials
Overview: For drywall, cardboard, insulation, or untreated wood, cleaning often isn’t enough — mold roots grow into the material itself. The most reliable fix is removing and replacing the affected section entirely.
Key Features:
- The only fully reliable method for porous materials
- Prevents mold from regrowing from roots left behind in the material
- Can be paired with a mold-resistant replacement product
Best For: Mold on drywall, wood framing, insulation, or any cardboard and paper-based storage.
Pros: ✅ Fully removes the mold source ✅ Long-term fix
Cons: ❌ More labor and cost involved ❌ May require drywall or framing repair skills
Our Verdict: Don’t skip this step if mold has reached porous building materials — cleaning the surface without replacing the material underneath is a temporary fix at best.
5. Professional Mold Remediation
Overview: For large infestations, recurring mold after previous cleanup attempts, or mold following a flood or major leak, a professional remediation service has the equipment and containment procedures to handle it safely and thoroughly.
Key Features:
- Proper containment prevents spores from spreading during removal
- Identifies and addresses moisture sources as part of the process
- Often includes air quality testing before and after
Best For: Infestations larger than roughly 10 square feet, recurring mold, or any mold following flooding.
Pros: ✅ Most thorough and safest option for serious cases ✅ Reduces risk of health issues from improper DIY handling
Cons: ❌ Significantly more expensive ❌ Requires scheduling and access
Our Verdict: Worth the cost when the infestation is large or has already come back after a DIY attempt — some mold problems aren’t worth the health risk of tackling alone.
Comparison Table {#comparison-table}
| Method | Best For | Cost | Effort | Fixes Root Cause? |
|---|---|---|---|---|
| White vinegar | Small spots, hard surfaces | Very Low | Low | No (surface only) |
| Diluted bleach | Larger surface mold, concrete | Low | Medium | No (surface only) |
| Commercial mold remover | Moderate coverage | Medium | Low-Medium | No (surface only) |
| Remove/replace porous material | Drywall, wood, cardboard | Medium-High | High | Yes |
| Professional remediation | Large or recurring infestations | High | Low (for you) | Yes |
Mold Removal for Different Surfaces {#different-surfaces}
Concrete Floors and Walls
Concrete is porous but non-organic, which means mold sits mostly on the surface rather than growing roots into the material. A diluted bleach solution or commercial mold remover, followed by a thorough rinse and full drying, is usually enough. If staining remains after the mold is gone, our garage floor cleaning guide covers deeper stain removal, and sealing the floor afterward — see our epoxy coating guide — makes future mold growth far less likely by reducing porosity.
Drywall and Wood Framing
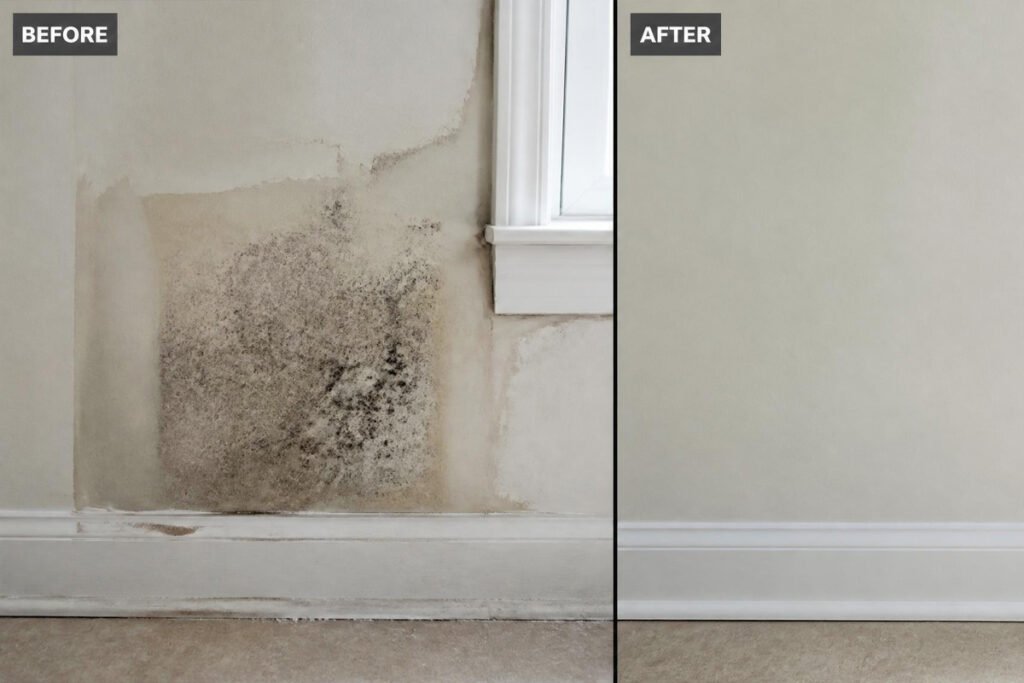
This is where removal and replacement usually becomes necessary rather than optional. Mold that’s visibly spread across drywall has almost certainly grown into the paper backing, and painting over it or wiping the surface will not stop regrowth. Cut out the affected section with a margin beyond the visible mold, replace it, and address the moisture source before closing the wall back up.
Stored Items (Cardboard, Fabric, Paper)
Porous stored items are rarely worth trying to save once mold has set in — the cost of professional cleaning often exceeds the value of the item. Discard affected cardboard and paper, and for valuable fabric items, a specialized mold-safe fabric cleaner or professional cleaning service is the safer route. Going forward, switching to sealed plastic totes instead of cardboard prevents this problem for future storage.
How to Remove Garage Mold Step by Step {#step-by-step}
Step 1: Protect Yourself First
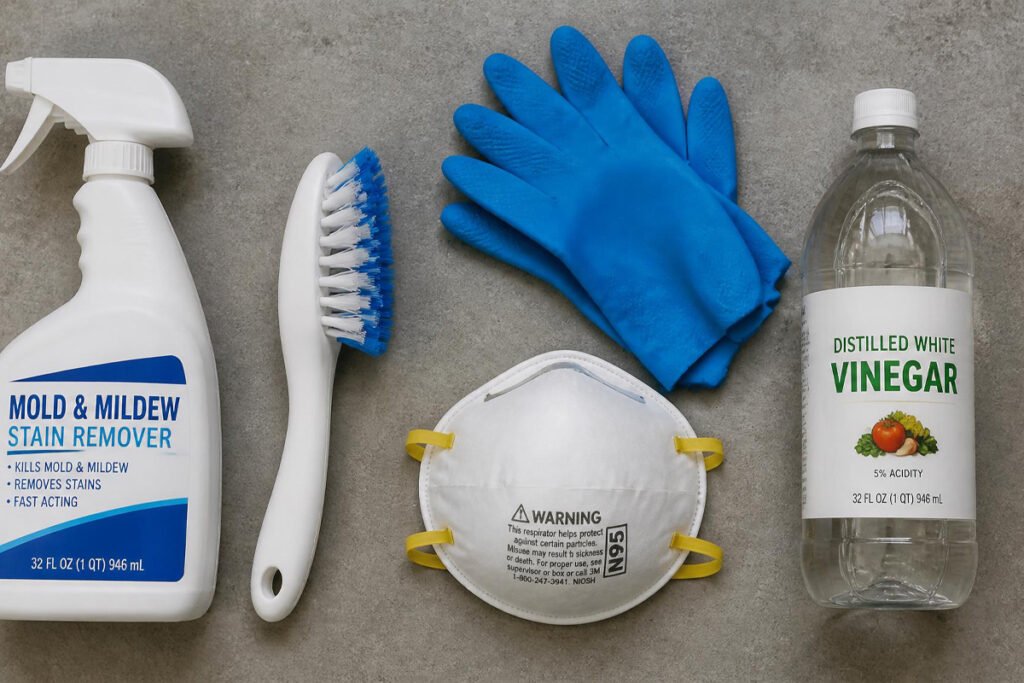
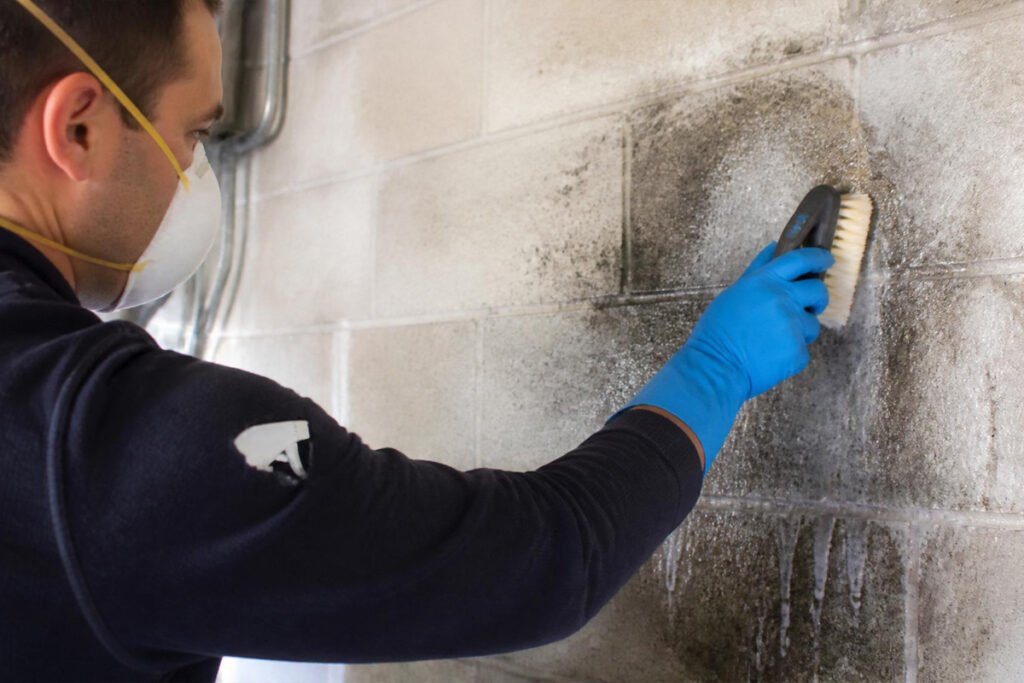
Wear gloves, an N95 mask or better, and eye protection before disturbing any mold. Mold spores become airborne easily once agitated, and protective gear prevents inhalation and skin contact.
Step 2: Contain the Area
Close off the affected area from the rest of the garage where possible, and avoid running fans that blow directly across visible mold before cleaning, since this spreads spores further.
Step 3: Remove Affected Porous Materials
Discard any cardboard, insulation, or severely affected wood that can’t be reliably cleaned. Bag these items before carrying them through the rest of the space to limit spore spread.
Step 4: Clean Hard Surfaces
Apply your chosen solution (vinegar, diluted bleach, or a commercial mold remover), scrub thoroughly, and rinse. Ventilate the garage well during this step, especially if using bleach.
Step 5: Dry the Area Completely
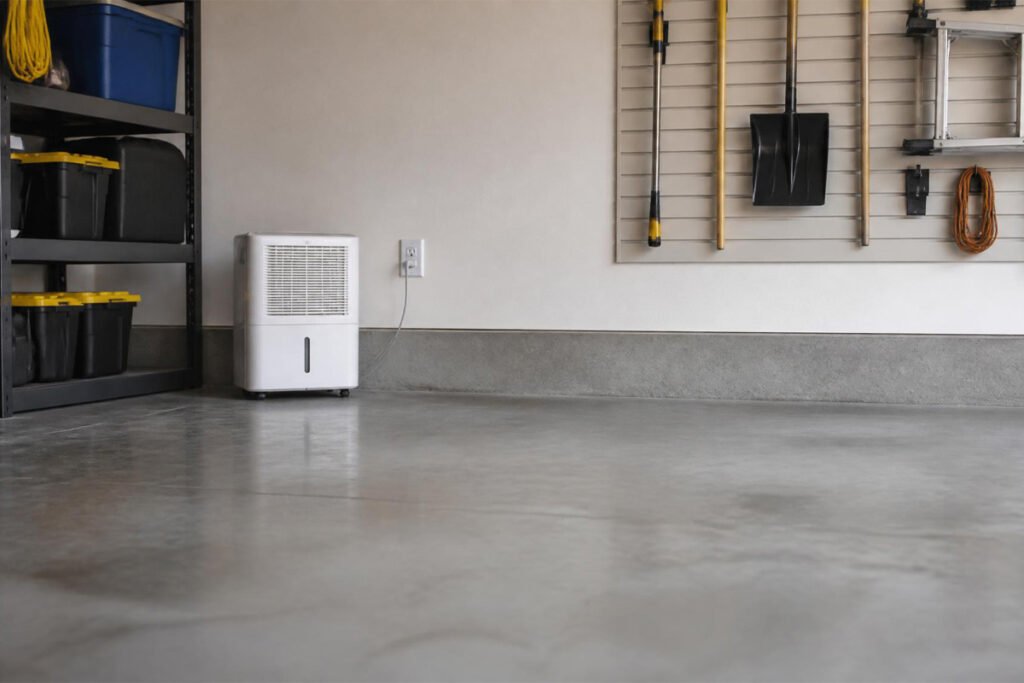
Use fans and, if available, a dehumidifier to fully dry the treated area. Mold can’t regrow without moisture, so this step is as important as the cleaning itself.
Step 6: Address the Moisture Source
Identify and fix whatever caused the dampness in the first place — a leak, poor ventilation, or a gapped door seal. Skipping this step means the mold is likely to return within weeks.
Common Mistakes {#common-mistakes}
Painting over mold instead of removing it. Paint doesn’t kill mold or stop it from growing — it only hides the problem temporarily while the mold continues to spread underneath. Related issues with hidden moisture are covered in our garage door maintenance troubleshooting guide.
Cleaning without fixing the moisture source. This is the single most common reason mold returns — the surface gets cleaned, but the humidity or leak that caused it in the first place is never addressed.
Skipping protective gear. Scrubbing mold without a mask and gloves increases spore exposure significantly, which can trigger respiratory irritation even in people without prior sensitivities.
Expert Tips {#expert-tips}
Keep humidity below 50% year-round. This is the single biggest factor in preventing mold from returning after removal — a hygrometer costs very little and takes the guesswork out of monitoring garage humidity.
Inspect stored items before returning them. After a mold cleanup, check anything that was stored in the affected area before putting it back — a single overlooked moldy box can restart the entire problem.
Don’t ignore small spots. A coin-sized mold patch left untreated can spread across an entire wall section within a few humid months, so early treatment is always faster and cheaper than waiting.
Final Thoughts {#final-thoughts}
Best overall fix: clean hard surfaces with a commercial mold remover, replace any affected porous materials, and control humidity going forward. Best budget fix: white vinegar for small, early-stage spots on concrete or sealed surfaces. Best for large infestations: professional remediation — not worth the health risk of a DIY attempt on 10+ square feet. Best for beginners: start with the step-by-step process above, and don’t skip the moisture-source step even if the visible mold is already gone.
Garage mold removal is really a two-part job: clean up what’s already there, and fix the moisture problem that let it grow in the first place. Skip either half and the mold comes back. For related maintenance that keeps moisture out in the first place, see our garage ventilation guide and garage odor removal guide.
Frequently Asked Questions {#faq}
Do I need to hire a professional for garage mold removal? Only for larger infestations — the EPA generally suggests professional remediation for mold covering more than about 10 square feet, or for any mold resulting from flooding. Smaller, contained spots on hard surfaces are typically safe to handle yourself with proper protective gear.
How long does garage mold removal take? Cleaning a small, contained spot can take under an hour, but a full process including drying time and moisture-source repairs often spans several days to a week, especially if drywall or wood replacement is involved.
Garage mold removal vs. just painting over it — what’s the difference? Painting over mold seals in the existing spores and moisture without killing the mold, and growth typically continues underneath the paint, often reappearing within a few months. Actual removal addresses the mold and its moisture source directly.
Why does mold keep coming back after I clean it? This almost always means the underlying moisture source — humidity, a leak, or a gapped seal — was never fixed, so the conditions that caused the mold in the first place are still present.
Is bleach or vinegar better for garage mold removal? Bleach is generally more effective on larger, more established surface mold, while vinegar is a gentler option well-suited to smaller spots and doesn’t produce the fumes bleach does. Neither is effective on porous materials where mold has grown into the material itself.
Can mold in the garage affect the air quality inside my house? Yes, particularly in attached garages that share walls, doors, or ductwork with the living space — untreated mold can allow spores to migrate into the home over time, making garage moisture control relevant to indoor air quality as well.
What does black mold in a garage look like? It typically appears as dark, greenish-black, slightly fuzzy patches, often starting small before spreading across a surface if left untreated. Confirming the exact species usually requires lab testing, though visible characteristics combined with a musty smell are a strong indicator.
How do I stop mold from coming back after removal? Keep garage humidity below roughly 50%, improve airflow with fans or vents, fix any water intrusion points like a worn door seal, and avoid storing damp or cardboard items directly against exterior walls.
Is it safe to clean garage mold myself? For small, contained spots on hard surfaces, yes, with proper protective gear including a mask, gloves, and eye protection. Larger infestations or mold following flooding carry higher health risks and are better handled by a professional.
Does a dehumidifier help prevent garage mold? Yes, significantly — since mold requires moisture to grow, keeping garage humidity consistently low removes one of the core conditions mold needs, making a dehumidifier one of the most effective prevention tools available.
Author: Danial Marquez Last Updated: July 2026






