If your garage floor is stained, cracked, dusty, or just plain ugly, garage floor epoxy coating is one of the most dramatic and cost-effective upgrades you can make to your home. In a single weekend, you can transform a dull, oil-stained concrete slab into a durable, glossy surface that looks like it belongs in a professional auto shop.
But here is the truth most DIY guides skip: epoxy coating is not as simple as rolling paint on a floor. Done wrong, it peels within months. Done right, it lasts 10 to 20 years.
In this complete guide, you will learn everything about garage floor epoxy coating — what it is, how to choose the right product, how to prepare your floor correctly (the most critical step), how to apply it step by step, and how to maintain it for maximum longevity.
Let’s turn that garage floor into something you are proud of.
What Is Garage Floor Epoxy Coating?
Epoxy is not paint. This distinction matters enormously when you are shopping for products and setting expectations.
Paint sits on the surface of concrete. It is thin, flexible, and relatively weak. Most “garage floor paint” you find at hardware stores is latex-based or oil-based floor paint — it is easy to apply but peels easily under the weight of vehicles, tire heat, and chemical spills.
Epoxy is a two-part thermosetting resin. When the resin (Part A) and the hardener (Part B) are mixed together, they undergo a chemical reaction that creates an incredibly hard, plastic-like surface that bonds molecularly with the concrete. The result is a coating that is:
- Up to 3x harder than standard concrete
- Highly resistant to oil, chemicals, and stains
- Non-porous (easy to clean)
- Impact and abrasion resistant
- Available in dozens of colors and finishes
This is why garage floor epoxy coating is the preferred choice for homeowners, auto enthusiasts, woodworkers, and anyone who uses their garage as a functional workspace — not just a parking spot.
Types of Garage Floor Epoxy: Which One Is Right for You?
Before buying anything, you need to understand the different types of epoxy available. The market is flooded with products that call themselves “epoxy” but vary dramatically in quality.
Water-Based Epoxy
The most beginner-friendly option. Water-based epoxy has lower VOCs (volatile organic compounds), dries faster, and is easier to apply. However, it produces a thinner coating — typically 2–3 mils thick — and is less durable than solvent-based options.
Best for: Homeowners doing their first epoxy project, garages in temperate climates, light vehicle use.
Solvent-Based Epoxy
Stronger, thicker, and more durable than water-based. Solvent-based epoxy penetrates deeper into the concrete and produces a harder, more chemical-resistant finish. The tradeoff: stronger fumes, longer drying time, and more challenging application.
Best for: Garages with heavy vehicle traffic, hot tire pick-up concerns, chemical exposure.
100% Solids Epoxy (Professional Grade)
The highest quality option available. 100% solids epoxy contains no water or solvent to evaporate, meaning the full product thickness stays on your floor. It produces coatings 10–15 mils thick. This is what professional garage floor installers use.
Best for: Garages where maximum durability is required, commercial applications, high-end garage transformations.
Epoxy Paint (Avoid for Serious Projects)
Marketed aggressively at big-box stores, epoxy paint contains only a small percentage of actual epoxy mixed into standard latex paint. It is inexpensive and easy to apply, but it does not bond to concrete the way true epoxy does and will peel.
Bottom line: If you want lasting results, invest in a genuine two-part epoxy system. The extra cost is worth it — especially when you consider how much effort goes into floor preparation.
Before You Start: Is Epoxy Right for Your Garage Floor?
Epoxy does not work on every concrete floor. Before purchasing anything, you need to check two critical things.
The Moisture Test
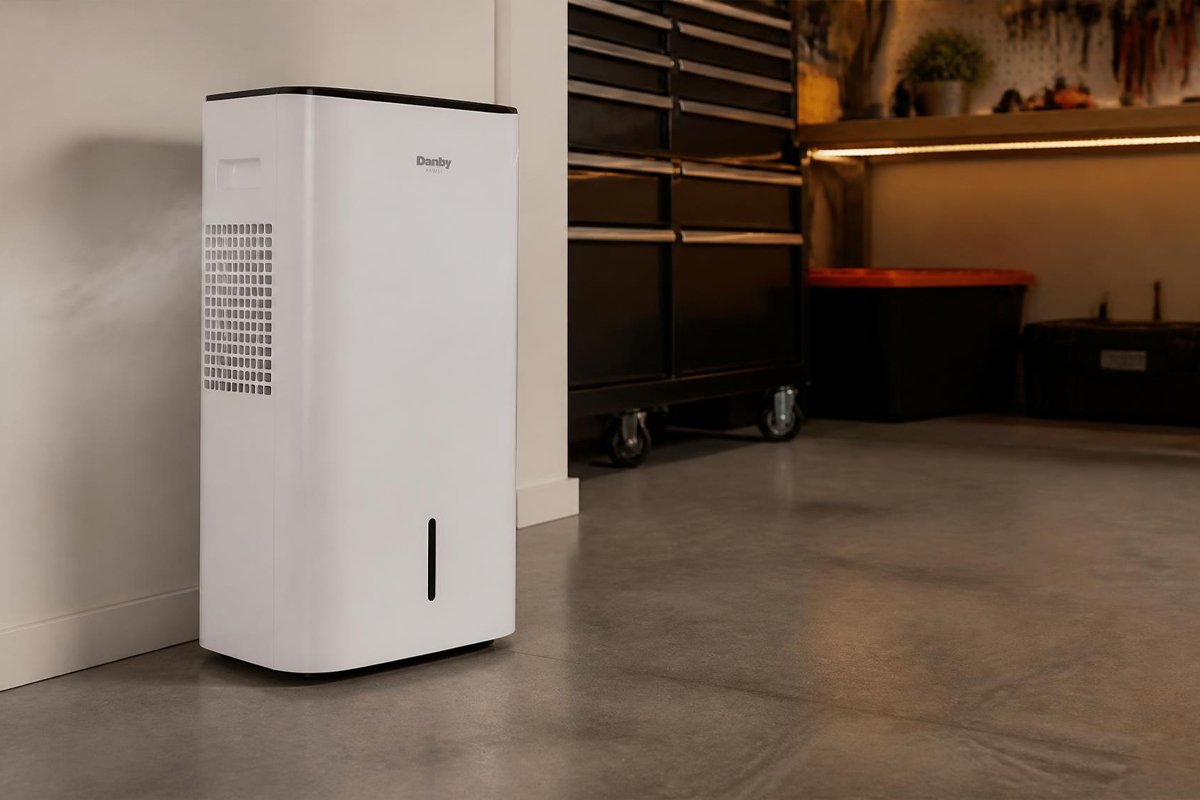
Moisture coming up through your concrete slab is the number one reason epoxy fails. Concrete is porous, and if your slab sits over moist soil without adequate vapor barrier, moisture vapor will push up through the concrete and break the epoxy bond from below.
How to test: Tape a 2-foot square piece of plastic sheeting to your garage floor using duct tape on all four edges. Leave it for 24–48 hours. If moisture droplets form on the underside of the plastic, or if the concrete beneath is darker or damp when you lift it, you have a moisture problem that must be addressed before applying epoxy.
A topical epoxy system will not solve a moisture problem — you need a moisture-mitigation primer designed specifically for this purpose, or you need to address the source of the moisture.
The Existing Sealer Test
If your garage floor has previously been sealed or treated with any product, standard epoxy may not bond properly.
How to test: Pour a small amount of water on the floor. If the water beads up and sits on the surface, a sealer is present. If the water darkens the concrete and absorbs into it, the floor is bare and ready for epoxy.
If a sealer is present, you will need to mechanically grind or chemically etch the floor more aggressively to remove it before applying epoxy.
Tools and Materials You Will Need
Having everything ready before you begin saves time and prevents costly interruptions mid-project.
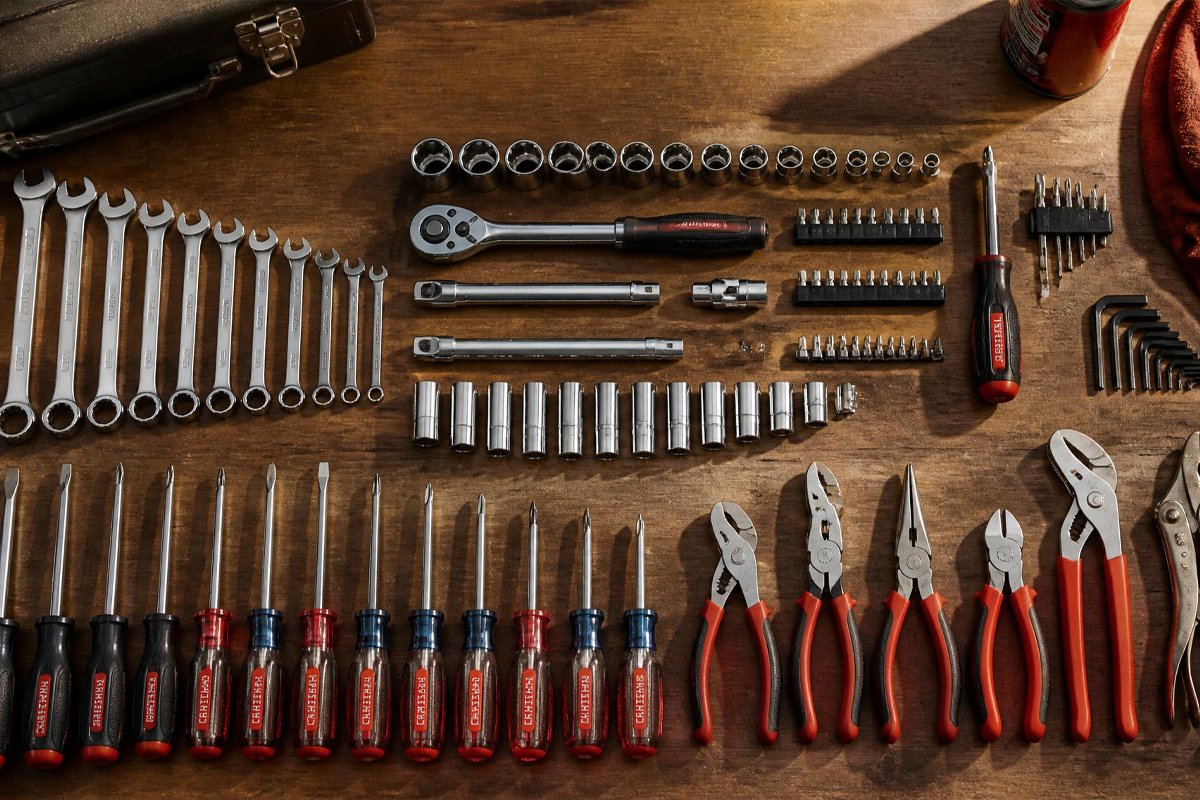
Required Tools
- Floor buffer or angle grinder with diamond grinding disc (for surface preparation)
- Shop vac or industrial vacuum
- Stiff-bristle push broom
- 3/8-inch or 1/2-inch nap roller covers (solvent-resistant)
- 9-inch roller frames and extension poles
- Paintbrushes (2–3 inch, for edges and cuts)
- Mixing paddle and drill
- Mixing buckets (at least 5-gallon)
- Squeegee (for spreading heavy-bodied epoxy)
- Spiked shoes or roller shoes (to walk on wet epoxy without leaving marks)
- Painter’s tape
- Plastic sheeting (to protect walls and protect non-epoxy areas)
Required Materials
- Two-part epoxy kit (sized for your square footage — always buy 10–15% extra)
- Concrete etching solution (muriatic acid or proprietary concrete etcher)
- Concrete degreaser
- Color flakes / chips (optional, for decorative finish)
- Clear polyurethane or polyaspartic topcoat (optional, for maximum durability)
- Crack filler / concrete patch (for any cracks or divots)
Step-by-Step: How to Apply Garage Floor Epoxy Coating
This is the heart of the project. Take your time on each step — rushing is the most common cause of epoxy failure.
Step 1: Clear and Clean the Garage Completely
Remove everything from your garage: vehicles, storage, workbenches, and anything stored on the floor. You need completely unrestricted access to every inch of the floor.
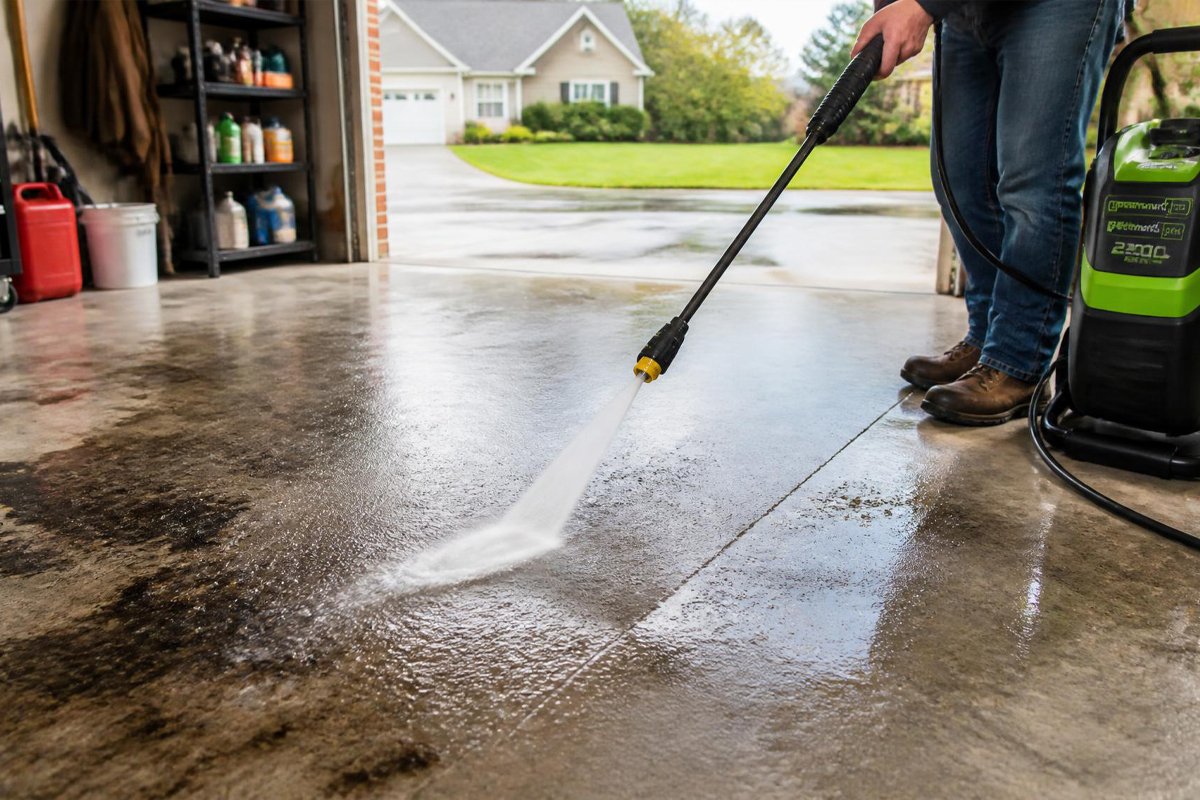
Once clear, sweep thoroughly. Use your shop vac to remove all dust, debris, and loose particles from every corner. Pay special attention to the edges along walls, where dust and grime accumulate.
This is also a good time to assess the overall condition of the floor and check for cracks, spalling, or areas of previous damage. For a thorough approach to deep cleaning your garage floor before treatment, review our guide on how to clean a garage floor step by step.
Step 2: Repair All Cracks and Surface Defects
Epoxy is not a crack filler — it is a coating. Any crack you leave in the concrete will either telegraph through your epoxy coat or become a point of failure over time.
Use a concrete repair product (such as hydraulic cement, epoxy crack filler, or polyurethane caulk designed for concrete) to fill all visible cracks, chips, and divots. Follow the product’s curing time before proceeding.
For large cracks, use an angle grinder to widen the crack slightly into a V-shape (called “chasing” the crack) before filling. This gives the filler more surface area to bond with and creates a stronger, longer-lasting repair.
Allow all repairs to cure completely — typically 24–48 hours — before moving to the next step.
Step 3: Degrease the Floor
Oil and grease are invisible enemies of epoxy bonding. Even small amounts of oil contamination on the concrete surface will prevent the epoxy from bonding and cause peeling.
Apply a commercial concrete degreaser generously to the entire floor surface. Work it into the concrete with a stiff-bristle push broom, paying extra attention to areas where vehicles park — under engine areas, near the front where oil drips are common.
Rinse thoroughly with water and squeegee or mop up the runoff. Allow to dry completely.
If you have significant oil staining, you may need to repeat the degreasing process two to three times. Deep oil contamination can penetrate several millimeters into concrete and requires persistent effort to remove.
Step 4: Profile the Concrete (Etching or Grinding)
This is the most critical step in the entire process, and the one most DIYers rush or skip — leading to peeling epoxy within months.
Concrete needs to be “profiled” — meaning its smooth surface needs to be made slightly rough and porous — so the epoxy can mechanically and chemically bond with it. The goal is a surface that looks and feels like 80-grit sandpaper and has the texture of fine orange peel.
Method A: Acid Etching Dilute muriatic acid (typically 1 part acid to 10 parts water) or use a proprietary concrete etching product. Apply to the damp floor, scrub with a stiff brush, allow to dwell for 5–10 minutes (you will see fizzing — this is normal), then rinse thoroughly with water. Neutralize with baking soda solution.
Acid etching is affordable and effective for bare concrete in good condition, but it can struggle with dense, hard concrete (often found in newer slabs) and does not work well if any contamination remains.
Method B: Mechanical Grinding (Recommended) Rent a floor buffer with a diamond grinding disc or an angle grinder for edges. Mechanical grinding opens up the concrete pores more consistently and aggressively than acid etching, removes any thin surface treatments or sealers, and is more reliable for achieving consistent bonding.
Most professional epoxy installers use mechanical grinding because it creates a more predictable profile. For a first-time DIY project, it is also recommended.
After profiling, vacuum the entire floor thoroughly to remove all dust. Do not touch the floor with bare hands after this step — skin oils can contaminate the profiled surface.
Step 5: Apply the Epoxy Primer (Optional but Recommended)
A primer coat seals the concrete, improves adhesion, and prevents outgassing (air bubbles pushing up through the epoxy from pores in the concrete, which cause craters or pinholes in the finish coat).
Mix the primer according to manufacturer’s instructions. Apply it with a roller in thin, even coats. Allow to dry to a tack-free state but not fully cured — check your product’s recoat window, typically 4–8 hours.
Step 6: Mix the Epoxy
This is where chemistry matters. Two-part epoxy requires careful, thorough mixing.
Pour Part B (hardener) into Part A (resin) in the ratio specified by your manufacturer (typically 2:1 or 1:1 by volume). Mix with a drill and paddle mixer for a full 3 minutes, scraping the sides and bottom of the bucket. Do not rush this step — incomplete mixing results in soft, sticky areas in your finished floor.
After mixing, let the epoxy “induct” (rest) for 5–30 minutes depending on your product. This induction period allows the chemical reaction to begin and improves the coating’s performance.
Critical: Once mixed, epoxy has a limited “pot life” — typically 20–40 minutes at 70°F (21°C) before it begins to harden in the bucket. Work quickly and deliberately.
Temperature matters: most epoxies require ambient and floor temperatures between 50°F and 90°F (10°C–32°C). Too cold and the epoxy will not cure. Too hot and the pot life shortens dramatically.
Step 7: Apply the Base Coat
Start by cutting in edges with a brush along walls, door thresholds, and any fixed obstacles. Work quickly.
Pour the mixed epoxy onto the floor in ribbons approximately 12–18 inches wide. Use a squeegee to spread it to an even thickness, then back-roll with a 3/8-inch or 1/2-inch nap roller for a consistent finish and to eliminate streaks.
Work in 10×10 foot sections, moving steadily. Maintain a “wet edge” by overlapping each section slightly before the previous section begins to set.
Apply at the manufacturer’s recommended coverage rate — do not stretch product too thin. Thin application reduces durability significantly.
Step 8: Add Decorative Flakes (Optional)
If you want a decorative chip or flake finish (the colored fleck pattern seen in most professional garage floors), this is the time to broadcast them.
While the base coat is still wet, throw handfuls of color flakes across the surface, varying your aim and angle to achieve even distribution. For a full broadcast (maximum flake coverage), throw flakes liberally until the surface stops absorbing them. For a partial broadcast, use a lighter hand for a flecked appearance.
The flakes add texture (improving slip resistance), hide imperfections, and create a visually appealing, professional-looking finish. They also make the floor easier to maintain because minor scratches and scuffs are far less visible.
Allow the base coat to cure per manufacturer’s instructions — typically 12–24 hours — before proceeding.
Step 9: Apply the Topcoat
A clear topcoat is what gives garage floor epoxy its characteristic gloss and greatly extends durability. Options include:
Clear Epoxy Topcoat: Maintains the chemical resistance of epoxy throughout. Good balance of cost and performance.
Polyurethane Topcoat: More UV-stable than epoxy (which can yellow in sunlight), more flexible, and more abrasion-resistant. Good for garage floors near windows or in sunny climates.
Polyaspartic Topcoat: The premium choice. Polyaspartic coatings cure faster than epoxy or polyurethane, are more UV-stable, and offer excellent chemical and abrasion resistance. They are also more expensive and require faster application due to their short working time.
Mix and apply the topcoat in the same manner as the base coat. Two thin coats are always better than one thick coat — the first coat seals the base, and the second coat provides the durable wear surface.
Step 10: Cure and Return to Service
This is the hardest part — waiting.
Most garage floor epoxy systems require:
- Light foot traffic: 24–48 hours
- Vehicle traffic: 72 hours minimum (7 days is better for full-cure hardness)
- Full chemical cure: 7–30 days depending on product and temperature
Do not park hot vehicles (driven less than 30 minutes ago) on a freshly coated floor during the first 30 days — thermal shock from hot tires can cause the coating to lift if it has not fully bonded.
Common Epoxy Application Mistakes to Avoid
Skipping or rushing floor prep. No step matters more. Beautifully applied epoxy over poorly prepped concrete will peel within months.
Applying in wrong conditions. Cold, humid conditions dramatically extend cure times and can prevent proper bonding. Check both air temperature and concrete surface temperature before beginning.
Using too little product. Stretching the epoxy to save money produces a thin coat that chips and wears prematurely. Apply at the manufacturer’s recommended coverage rate.
Not mixing thoroughly. Incompletely mixed epoxy leaves sticky, soft spots that never cure. Mix for a full 3 minutes every time.
Applying when concrete has recently been washed. Concrete needs to be dry — not just surface dry, but dry through several millimeters. After washing or etching, allow at least 24 hours of drying time before applying epoxy.
Recoating outside the recoat window. Every epoxy product has a defined window during which a second coat will bond to the first. Apply too early and you trap solvents; apply too late and the surfaces become incompatible and can delaminate.
How Long Does Garage Floor Epoxy Last?
With proper preparation and application, quality garage floor epoxy coating lasts:
- DIY water-based kits: 3–7 years
- DIY solvent-based epoxy: 5–10 years
- 100% solids / professional grade: 10–20+ years
The single biggest factor affecting longevity — beyond product quality — is surface preparation. A perfectly applied budget epoxy over well-prepared concrete will always outlast an expensive product applied over improperly prepared concrete.
Maintenance also plays a role. Sweep regularly, clean spills promptly, and avoid dragging heavy objects across the surface.
Garage Floor Epoxy Cost: DIY vs. Professional
Understanding the cost helps you decide whether to DIY or hire a professional installer.
| Option | Cost per Sq Ft | Total Cost (2-car garage, ~500 sq ft) |
|---|---|---|
| DIY Water-Based Kit | $0.40–$0.80 | $200–$400 |
| DIY Solvent-Based Epoxy | $0.80–$1.50 | $400–$750 |
| DIY 100% Solids Epoxy | $1.50–$3.00 | $750–$1,500 |
| Professional Installation | $3.00–$7.00 | $1,500–$3,500 |
DIY saves significant money, but it requires time, physical effort, and attention to detail. If your floor has severe moisture issues, significant damage, or you have a large commercial-grade garage space, professional installation may be the better investment.
How to Maintain Your Epoxy Garage Floor
Once your floor is coated, maintaining it is straightforward:
Daily/Weekly: Sweep or dust mop to remove dirt and grit before they scratch the surface. Use a soft-bristle broom, not stiff metal.
As needed: Clean spills immediately — especially acidic substances like battery acid, which can etch the epoxy if left to dwell.
Monthly: Mop with warm water and a pH-neutral cleaner. Avoid bleach, ammonia, and citrus-based cleaners — these can dull or degrade the epoxy finish over time.
Annually: Inspect for chips, scratches, or areas of wear. Minor touch-ups are easy if done within the coating’s recoat window.
For comprehensive floor maintenance strategies and other ways to keep your garage in top shape, our guide on how to organize your garage covers the broader approach to maintaining a clean, functional space.
Pairing Epoxy Flooring with Other Garage Upgrades
A beautifully coated floor deserves a beautifully upgraded garage. Here are the natural next steps many homeowners take after completing an epoxy project:
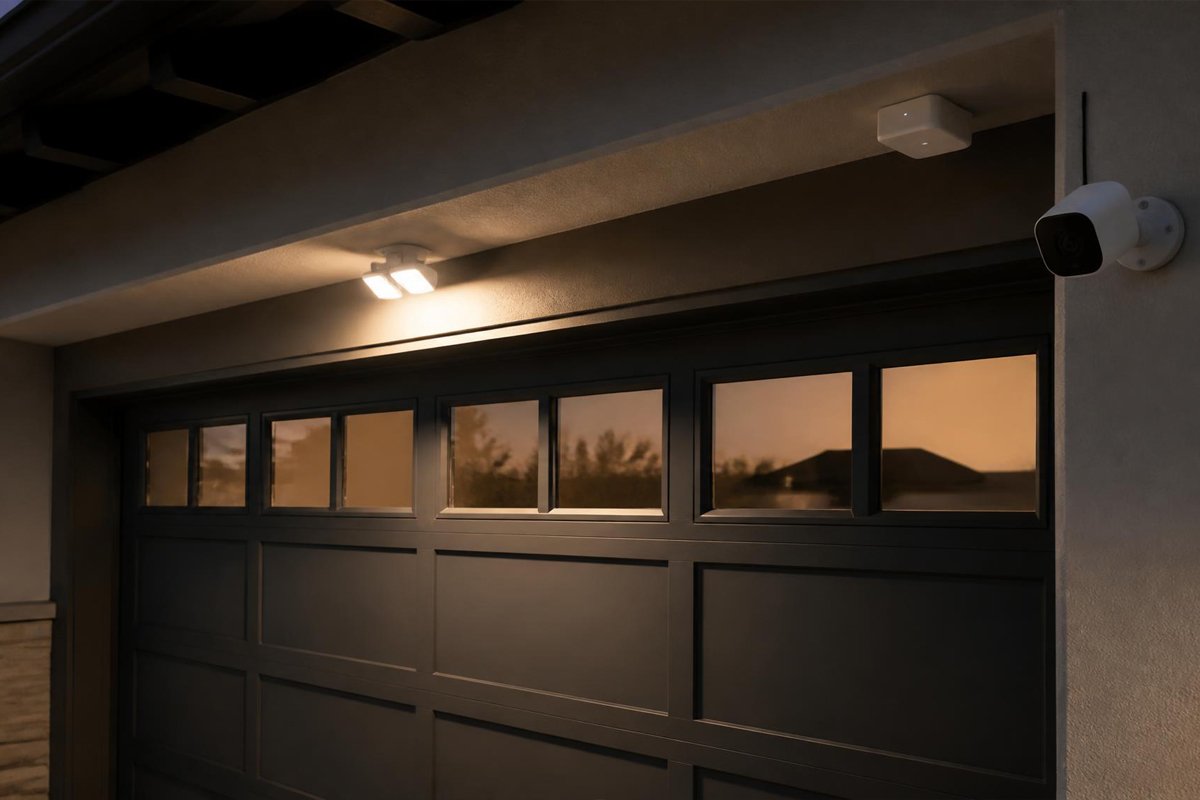
Lighting upgrade. A glossy epoxy floor reflects light beautifully — but only if you have enough light to reflect. Upgrading to high-output LED shop lights dramatically enhances the look and functionality of your space. Our complete garage lighting guide covers everything you need to know about choosing and installing the right lights.
Wall storage. With a professional floor, the next step is getting everything off it. Proper wall-mounted storage systems keep your floor visible and functional. Explore our guide on 25 best garage wall storage ideas for inspiration and practical solutions.
Insulation. An epoxy floor is part of a larger garage comfort upgrade. If your garage gets extremely hot in summer or freezing in winter, adding insulation makes the entire space more usable year-round. See our step-by-step guide on how to insulate a garage.
Workshop setup. Many homeowners who coat their garage floors are creating dedicated workshop spaces for woodworking, automotive work, or hobbies. A clean, durable epoxy floor is the foundation of a great workshop. Read our complete guide to setting up a garage workshop.
Home gym. A coated garage floor is also an ideal base for a home gym. Add rubber mats over epoxy for a professional-grade workout surface. See our guide on how to convert your garage into a home gym.
Garage Floor Epoxy Safety Tips
Working with epoxy requires attention to safety:
Ventilation is critical. Epoxy fumes — especially from solvent-based products — can be harmful in enclosed spaces. Open all garage doors and windows. Set up fans to move air through the space. Wear a respirator rated for organic vapors (N95 masks are not sufficient for epoxy fumes).
Skin and eye protection. Wear chemical-resistant gloves and safety glasses throughout mixing and application. Epoxy hardener (Part B) is a skin sensitizer and can cause allergic reactions with repeated contact.
Dispose of materials properly. Mixed epoxy that has cured in buckets can be disposed of with regular trash in most areas (check local regulations). Leftover liquid epoxy must be taken to a hazardous waste disposal facility — never pour it down a drain.
Non-slip topcoats for safety. Epoxy floors can become slippery when wet. Consider adding anti-slip aggregate (aluminum oxide or shark grip) to your topcoat to improve traction. This is especially important if you wash vehicles inside your garage or live in a climate with frequent rain or snow tracked in. For broader garage safety considerations, our garage safety guide covers 20 essential tips every homeowner should know.
Frequently Asked Questions About Garage Floor Epoxy Coating
Q: Can I apply epoxy over existing epoxy? Yes, if the existing epoxy is in good condition (no peeling, lifting, or widespread cracking) and you are within the product’s recoat window. If the existing coating is peeling or deteriorating, it needs to be removed first via grinding before applying a new coat.
Q: How long do I need to stay off the floor after applying epoxy? Typically 24 hours for light foot traffic and 72 hours minimum for vehicles. Most manufacturers recommend waiting 7 days before heavy use or parking vehicles for extended periods.
Q: Will epoxy crack if my concrete cracks? If your concrete develops new cracks after the epoxy is applied, the epoxy will likely crack in the same location. Epoxy follows the movement of the substrate beneath it. Properly filled and stabilized existing cracks will usually not cause issues.
Q: Can I apply garage floor epoxy myself, or should I hire a professional? A motivated, detail-oriented DIYer can absolutely achieve professional-quality results. The key is investing time in floor preparation. If you rush prep or skip steps, even an expensive product will fail. Professionals are worth the cost for very large spaces, severe moisture issues, or high-end commercial applications.
Q: Does epoxy work in cold climates? Yes, but application must happen within the correct temperature range (typically 50°F–90°F). In cold climates, choose your application timing carefully — ideally in late spring or summer when temperatures are stable. Once cured, epoxy handles cold temperatures well.
Q: What is the difference between epoxy and polyurea coating? Polyurea is a newer coating chemistry that cures faster, has better UV stability, and is more flexible than standard epoxy. Professional polyurea/polyaspartic systems can be applied and returned to service in a single day. They are more expensive but are increasingly preferred by professional installers for their performance and speed.
Q: Can I apply epoxy over a painted floor? Generally not recommended. Paint does not provide the mechanical bond that concrete does. The epoxy bonds to the paint, not the concrete, and if the paint fails — which it often does under vehicle weight and thermal stress — the epoxy fails with it. Remove the paint first via grinding.
Final Thoughts: Is Garage Floor Epoxy Coating Worth It?
Absolutely — when done correctly, garage floor epoxy coating is one of the best value-per-dollar upgrades you can make to your home. A quality epoxy floor:
- Increases the usability and comfort of your garage
- Dramatically improves the appearance of the space
- Makes cleaning and maintenance effortless
- Protects your concrete slab from oil, chemicals, and wear
- Adds real value to your home
- Lasts a decade or more with minimal upkeep
The total cost of a quality DIY epoxy project — materials, tools, and a weekend of effort — is typically $500–$1,000 for a standard two-car garage. Professional installation ranges from $1,500–$3,500. In either case, you get a floor that looks and performs like a professional auto shop or showroom for years to come.
The investment is real, but so is the return — every time you pull into your garage and see that clean, glossy floor, you will know it was worth it.
Upgrade your garage further with these related guides:
- How to Organize Your Garage: The Ultimate Step-by-Step Guide
- 25 Best Garage Wall Storage Ideas
- The Complete Garage Lighting Guide
- How to Insulate a Garage: Complete Step-by-Step Guide
- How to Set Up a Garage Workshop
- How to Convert Your Garage Into a Home Gym
- Garage Safety Guide: 20 Essential Tips
- How to Clean a Garage Floor