
A cracked, stained concrete slab is the single biggest thing holding a garage back from looking finished, no matter how organized the shelving or how good the lighting is. Epoxy coating fixes that in a weekend for a few hundred dollars — a fraction of the $2,000-4,000 a professional installation typically runs — but the DIY kit aisle is genuinely confusing. “Epoxy” gets used loosely to describe everything from a simple one-part acrylic paint to a true two-part 100% solids industrial system, and those products differ enormously in durability, cost, and how forgiving they are of imperfect application.
This guide breaks down 5 of the best epoxy and epoxy-adjacent garage floor coating kits available for DIY installation, what separates them, and which type of garage each one actually fits. If you haven’t set up your workshop layout yet, our garage workshop organization guide covers floor planning alongside storage and workbench placement, and pairs well with a fresh coating.
One-Part vs. Two-Part: The Distinction That Actually Matters
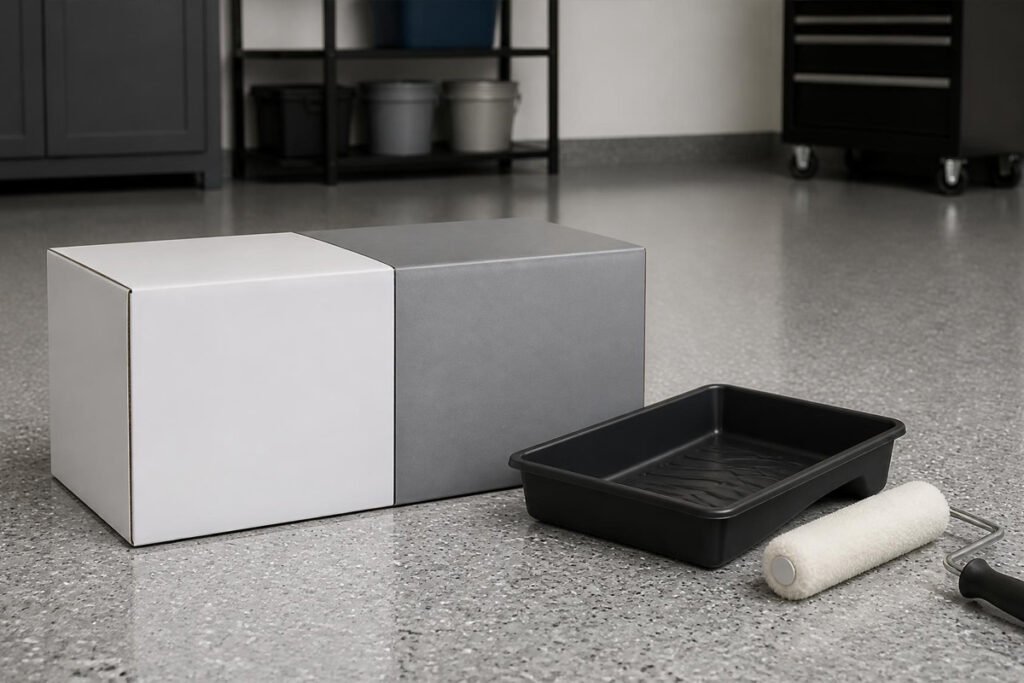
The single most important thing to understand before buying is that not everything marketed as “epoxy” chemically is epoxy. True epoxy is a two-part system — a resin and a hardener mixed together that cross-link into a genuinely hard, chemically bonded surface. Many budget “garage floor epoxy paints” are actually one-part acrylic products, applied straight from the can with no mixing, that sit on top of the concrete rather than chemically bonding into it. One-part products are far easier for a first-timer to apply and cost less, but they typically last 2-4 years under vehicle traffic before showing wear, compared to 10-15+ years for a properly applied two-part system. Neither is a wrong choice — it depends on whether you want a quick, low-effort refresh or a long-term floor system.
1. Rust-Oleum EpoxyShield Garage Floor Coating Kit
The Rust-Oleum EpoxyShield kit is the most widely available true two-part epoxy in the DIY category, sold at nearly every major hardware store. It includes the epoxy base, a hardener, and decorative color chips in one box, covering roughly a two-car garage per kit. Being a genuine two-part system, it chemically bonds to properly prepped concrete rather than just sitting on the surface, giving it meaningfully better durability than one-part paints at a similar price point.
The trade-off is a shorter working window once mixed — the epoxy begins curing as soon as the two parts combine, so the application has to move at a steady pace across the whole floor in one session. Surface prep (etching or grinding) also matters more here than with a one-part product, since a true epoxy’s bond depends on a properly profiled concrete surface.
Best for: DIYers wanting genuine two-part durability at an accessible, widely available price point.
2. KILZ 1-Part Epoxy Acrylic Concrete and Garage Floor Paint
The KILZ 1-Part is the easiest entry point on this list — no mixing, no working-time pressure, straight application from the can like standard paint. It’s genuinely budget-friendly, often covering a two-car garage for under $50, and its slip-resistant satin finish works well for garages, but also porches, walkways, and pool decks if there’s leftover product.
Because it’s a one-part acrylic rather than a true cross-linked epoxy, it doesn’t match the chemical resistance or wear life of a two-part system — expect a shorter lifespan under regular vehicle traffic, particularly with hot-tire pickup (soft coating lifting where a hot tire sits after driving) being a more common complaint on one-part products generally.
Best for: First-time DIYers wanting the simplest possible application and lowest upfront cost.
3. ArmorGarage Armor Chip Garage Epoxy Flooring Kit
Armor Chip is a 100% solids two-part epoxy system, a step above standard hardware-store epoxy kits in both cost and expected lifespan. “100% solids” means the product contains no solvents that evaporate during curing, so the coating builds significantly more film thickness per coat than a solvent-based epoxy — a major factor in long-term wear resistance and one of the reasons professional-grade systems specify solids percentage prominently.
It’s marketed as self-priming and self-leveling, aimed at reducing common DIY mistakes like uneven coverage and visible roller marks. The kit includes a military-grade topcoat option rated for jack stands, dropped tools, and heavy workshop use, positioning it as a legitimate step toward garage-specific durability rather than a general-purpose floor paint repurposed for garages.
Best for: Workshop floors and garages seeing heavy tool use, jack stands, or frequent impact.
4. Rust-Oleum RockSolid Polycuramine Garage Floor Coating
RockSolid uses polycuramine — a hybrid chemistry combining polyurethane and epoxy properties — rather than standard epoxy. The result is a coating that cures faster than traditional two-part epoxy while offering strong UV stability, which matters for garages with windows or a door left open regularly, since standard epoxy can yellow with sun exposure over time in ways polyurethane-based coatings resist better.
It’s positioned as a premium option, priced above standard EpoxyShield-style kits, but with a faster full-cure timeline that lets vehicles back on the floor sooner than a comparable traditional epoxy system — a meaningful convenience for a garage that can’t sit empty for several days.
Best for: Garages with significant natural light exposure, and anyone who needs faster full-cure turnaround.
5. Quikrete Epoxy Garage Floor Coating Kit
Quikrete’s kit sits in the middle of the pack — a genuine two-part epoxy at a price closer to one-part budget products than premium 100% solids systems. It’s a practical choice for anyone who wants real epoxy chemistry without stepping up to a premium-tier price, and Quikrete’s wide retail availability means replacement or top-up product is easy to find if a small section needs touch-up work down the line.
It doesn’t include the decorative color chip or advanced topcoat options some premium kits bundle in, so the finished look is more utilitarian than showroom-glossy — a reasonable trade for buyers prioritizing function and cost over aesthetics.
Best for: Budget-conscious buyers who still want genuine two-part epoxy rather than a one-part paint.
Comparison at a Glance
| Kit | Chemistry | Expected Life | Best For |
| Rust-Oleum EpoxyShield | Two-part epoxy | 5-8 years | Accessible true-epoxy durability |
| KILZ 1-Part | One-part acrylic | 2-4 years | Simplest, lowest-cost application |
| ArmorGarage Armor Chip | 100% solids two-part epoxy | 15+ years | Heavy workshop/tool use |
| RockSolid Polycuramine | Polycuramine hybrid | 10-15 years | UV exposure, fast cure |
| Quikrete Epoxy Kit | Two-part epoxy | 5-8 years | Budget true-epoxy option |
How to Choose the Right Kit for Your Garage
Match the chemistry to how you actually use the space. A garage used mainly for parking two cars has very different demands than a workshop with a rolling tool chest, a jack, and dropped-tool impacts daily. One-part paint is fine for the former; heavy workshop use calls for a genuine two-part or 100% solids system.
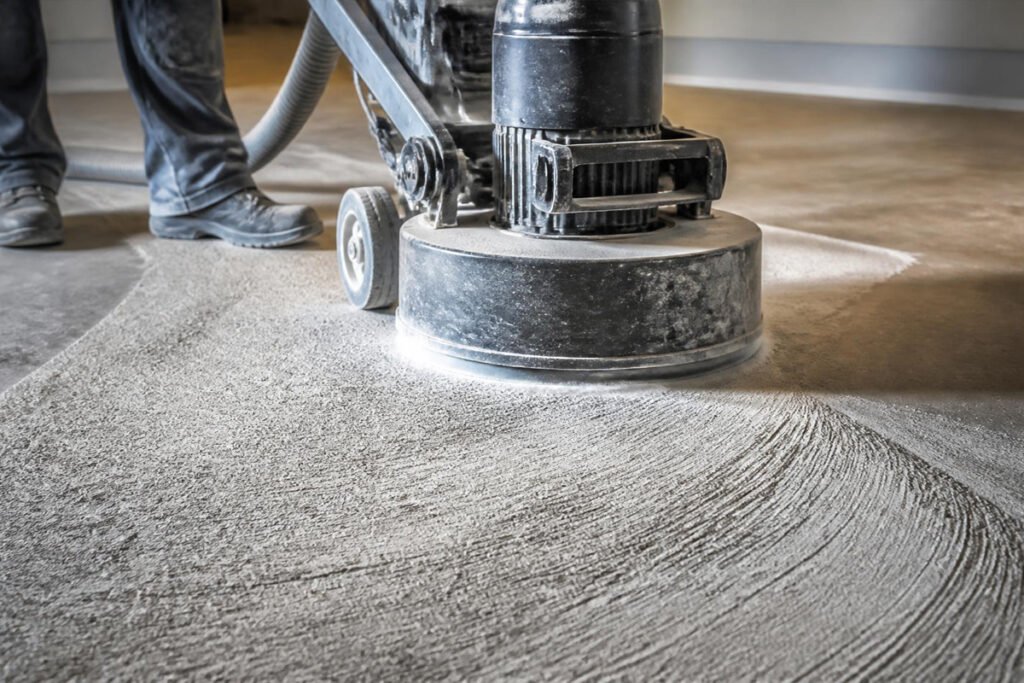
Don’t skip surface prep regardless of which kit you choose. Every epoxy and epoxy-adjacent coating on this list depends on proper concrete profiling — acid etching or mechanical grinding — before application. Skipping this step is the single most common cause of coating failure and peeling, independent of which product was used.
Check for moisture issues before committing to epoxy. Slab-on-grade garages without a vapor barrier can push moisture up through concrete, which causes epoxy to bubble or delaminate regardless of product quality. A simple plastic-sheet moisture test taped to the floor overnight can reveal this before you buy anything.
Factor in cure time against how long you can leave the garage empty. Standard epoxy often needs several days before it’s ready for vehicle traffic, while polycuramine systems cure faster — a real consideration if the garage is your only parking option.
A freshly coated floor is also the ideal moment to plan the rest of the space — our garage lighting guide covers how flat LED panel lighting pairs with a finished epoxy floor for a genuinely polished look, and our garage insulation guide is worth reviewing if you’re tackling floor and wall upgrades in the same project.
Frequently Asked Questions
Can I apply epoxy over an existing coating? Generally no — most epoxy systems need to bond directly to properly profiled bare concrete. An existing coating usually needs to be ground or chemically stripped off first, not painted over.
How long before I can drive on a new epoxy floor? Light foot traffic is often fine within 24 hours, but most standard epoxy systems need 3-7 days of cure before vehicle traffic, longer in cold or humid conditions. Faster-curing polycuramine systems can shorten this.
What causes hot tire pickup, and how do I avoid it? Hot tire pickup happens when a coating hasn’t fully cross-linked or lacks sufficient film thickness, and a hot tire softens and lifts it. Full cure time before driving and choosing a coating with adequate solids content are the two main preventive factors.
Final Thoughts
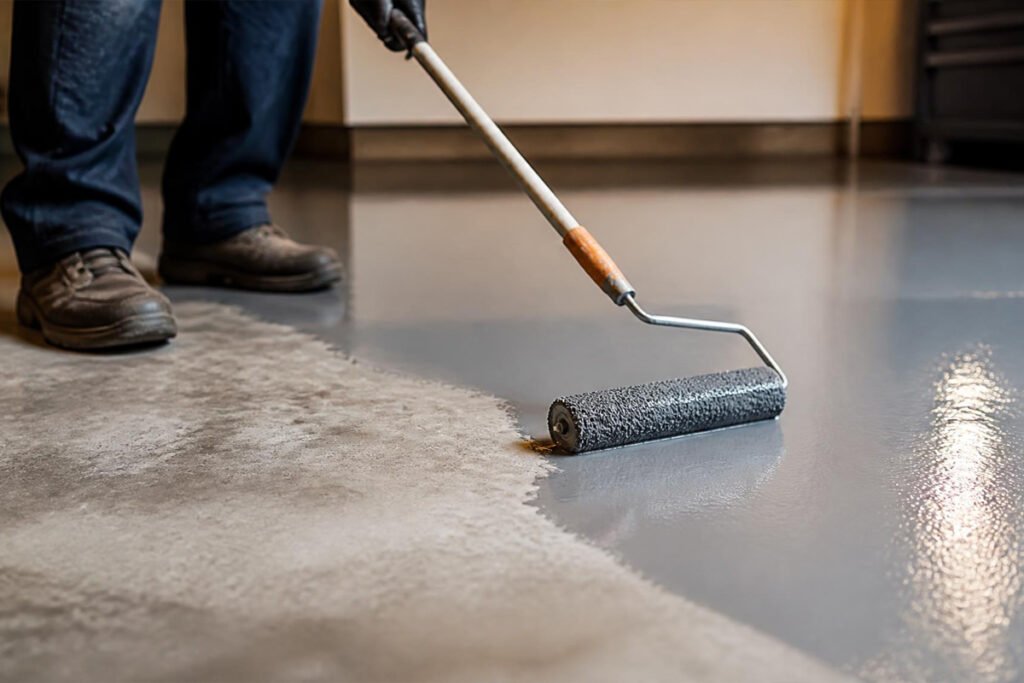
The right epoxy kit depends far more on how the garage actually gets used than on which product has the flashiest marketing. A one-part paint refreshes a lightly used garage for very little money and effort; a true two-part or 100% solids system is the right call for a workshop or heavily driven space that needs to look good for a decade or more. Whichever you choose, proper concrete prep does more for the final result than the specific brand on the label.
Last Updated: August 2026






