Winter can be brutal on your garage. Freezing temperatures, ice buildup, drafty walls, and frozen pipes can turn your garage from a functional space into a liability. Whether you use your garage for parking, storage, or as a workshop, winterizing it properly can save you hundreds — even thousands — of dollars in repairs.
The good news? You don’t need to be a contractor to get it done. With a weekend and a few affordable supplies, you can protect your garage doors, plumbing, vehicles, and floors before the cold season hits.
Follow this complete step-by-step guide to winterize your garage the right way.
Why Winterizing Your Garage Matters
Most homeowners focus on winterizing the interior of their home but forget the garage. This is a costly mistake. Your garage is one of the most vulnerable areas of your home during winter because it’s often partially insulated, has large door openings, and may contain exposed pipes or water lines.
When cold air enters your garage, it doesn’t just make the space uncomfortable. It can freeze pipes, damage your garage door components, harm your vehicle’s battery and tires, and even raise your home’s overall heating costs. A properly winterized garage acts as a buffer zone between the harsh outdoors and the warm interior of your home.
Step 1: Inspect and Seal All Gaps
The first line of defense against winter cold is a well-sealed garage. Even small gaps around doors, windows, and walls can let in surprisingly large amounts of cold air.
Start by doing a thorough visual inspection of your entire garage. Walk around the perimeter and look for cracks in the walls, gaps around window frames, and worn seals around doors. On a sunny day, turn off all garage lights and look for any light coming through — wherever you see light, cold air can enter.
- Use weatherstripping along the sides and top of your garage door frame.
- Apply exterior-grade caulk around any cracks in the walls or gaps around window frames.
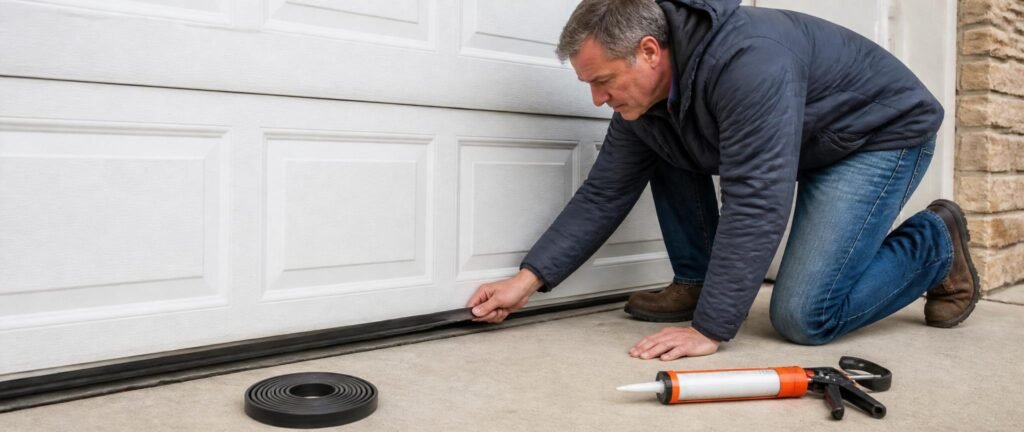
- Check the rubber seal at the bottom of your garage door. If it’s cracked, flattened, or missing sections, replace it immediately.
- If your garage has a side entry door, inspect and replace its weatherstripping as well.
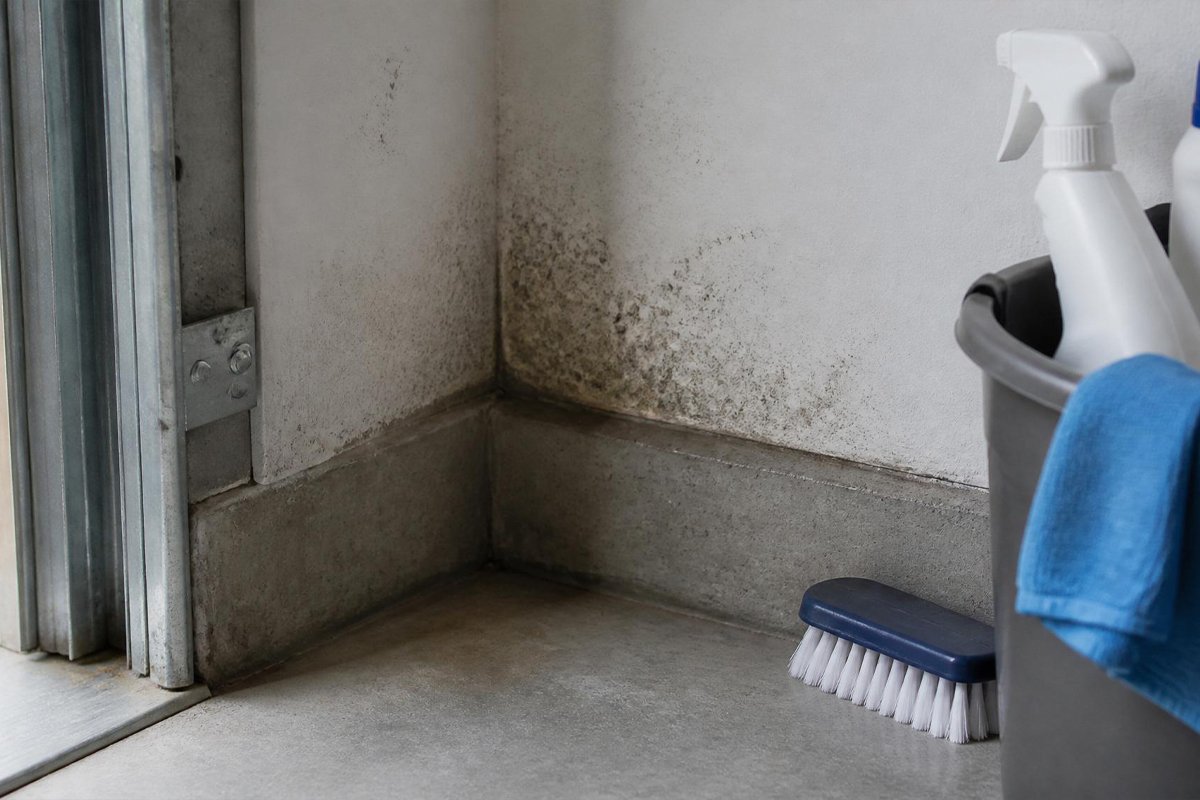
Don’t overlook the area where the garage walls meet the floor. This junction is a common entry point for cold drafts and even pests seeking warmth.
Pro Tip: On a cold night, hold a candle or lighter near potential gap areas. If the flame flickers, you’ve found a draft that needs sealing.
Step 2: Insulate Your Garage Door and Walls
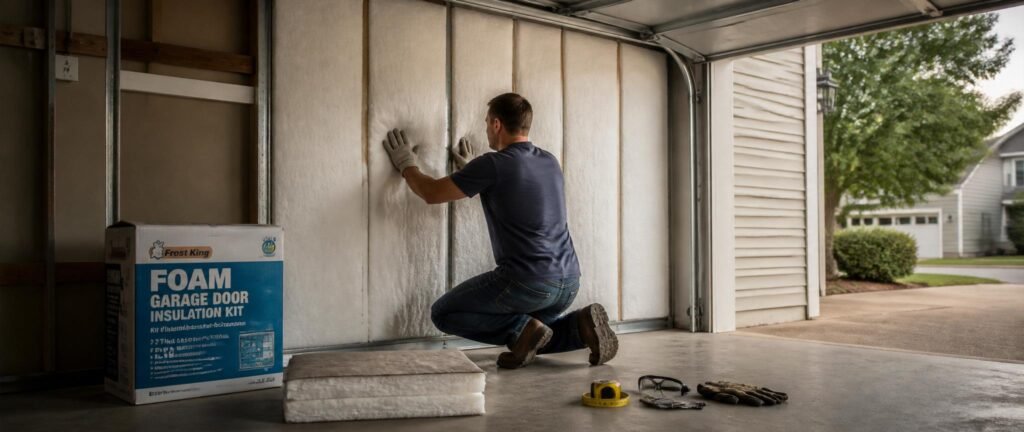
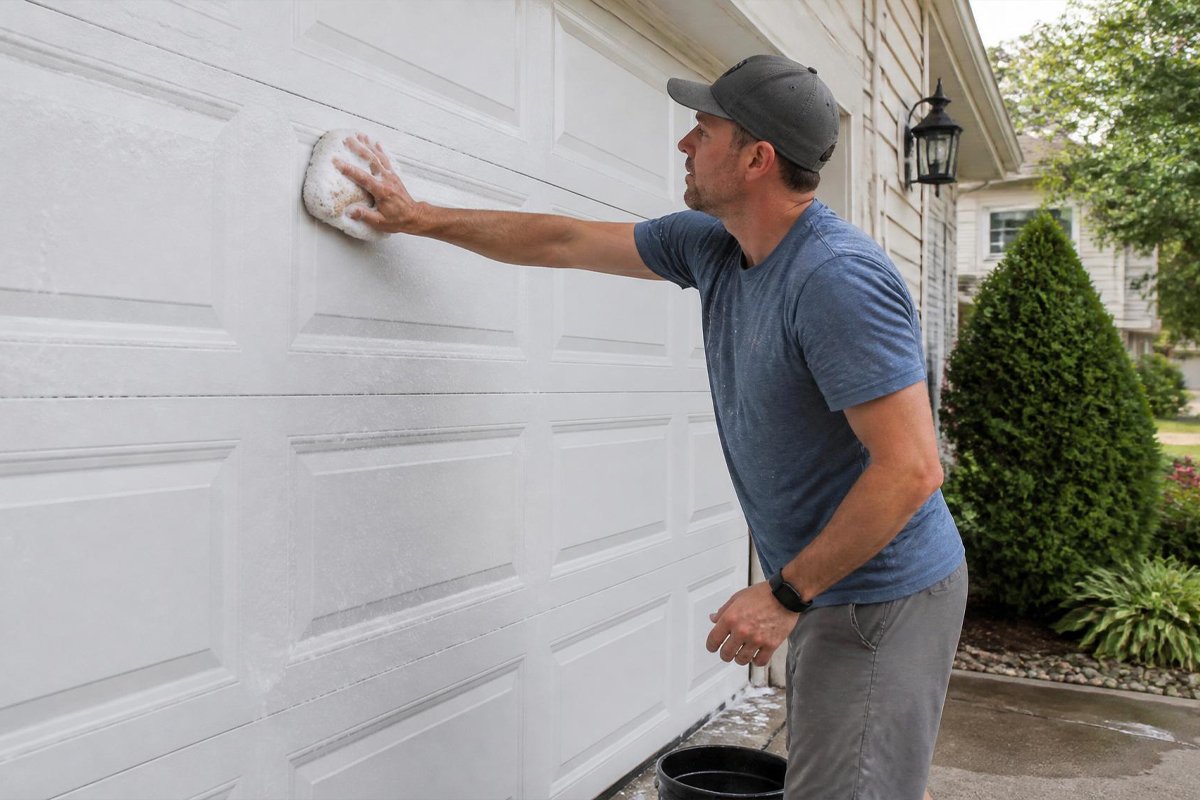
If your garage door is uninsulated, this winter is the right time to fix that. Uninsulated garage doors are one of the biggest sources of heat loss in a home.
You can purchase garage door insulation kits at most home improvement stores. These kits typically include foam or reflective insulation panels that fit between the door’s frame sections. They’re easy to install and make a noticeable difference in temperature.
If your budget allows, consider upgrading to an insulated garage door entirely. Modern insulated doors have R-values between 6 and 18, which significantly reduces heat transfer.
For the walls, if your garage is attached to your house, adding fiberglass batt insulation between the wall studs will keep both your garage and your home warmer. Detached garages benefit from insulation too, especially if you use the space regularly during winter.
Step 3: Protect Pipes from Freezing
Frozen pipes are one of the most expensive winter disasters a homeowner can face. When water inside a pipe freezes, it expands and can crack or burst the pipe — leading to flooding and major repair bills.
If your garage has any exposed water pipes, take these steps immediately:
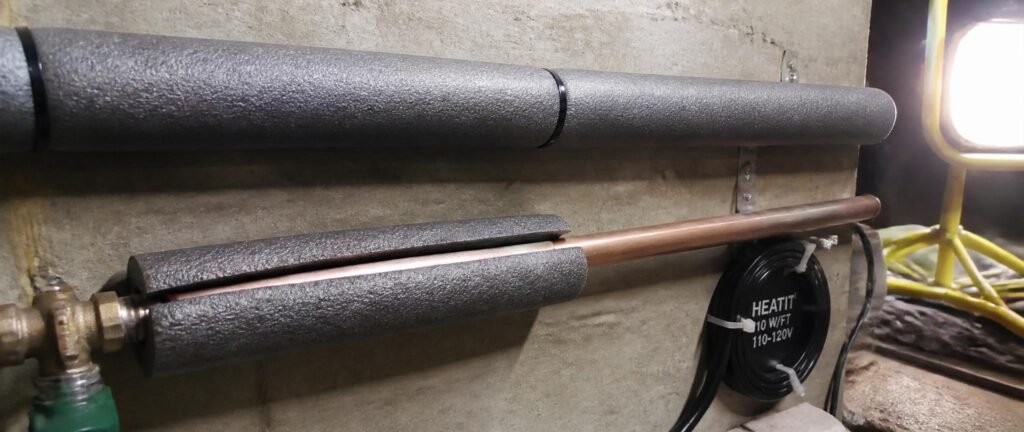
- Wrap pipes with foam pipe insulation sleeves, which are inexpensive and easy to find at hardware stores.
- For extra protection in extremely cold climates, use electric heat tape, which warms the pipe automatically when temperatures drop.
- If there’s a utility sink or faucet in your garage, keep it dripping slightly during periods of extreme cold. Moving water is much harder to freeze than still water.
- Shut off and drain any outdoor hose bibs connected to the garage before the first freeze.
- Make sure the door connecting your garage to the interior of your home has a proper seal. Heat from the house can help keep garage temperatures just above freezing.
If you live in an area where temperatures regularly drop below 20°F (-6°C), consider adding a small electric space heater set to a low temperature just to keep the pipes above freezing.
Step 4: Prepare Your Garage Door for Cold Weather
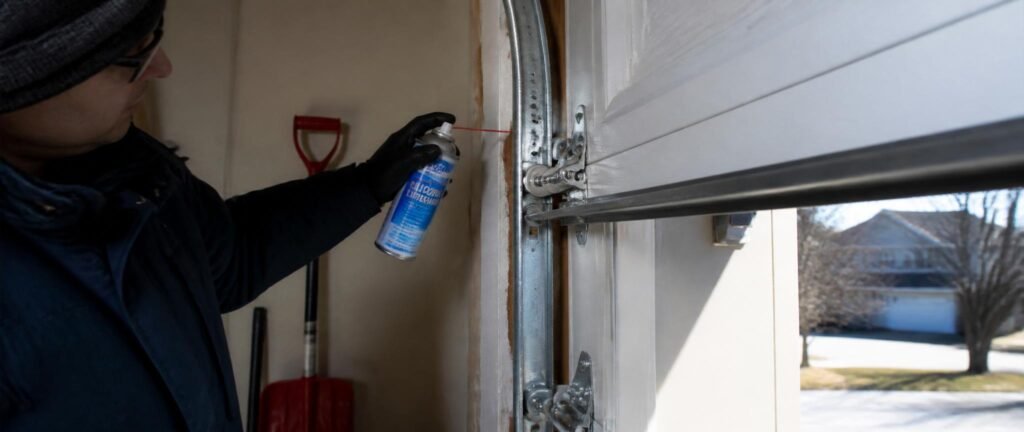
Cold temperatures affect your garage door in more ways than you might expect. Metal components contract in the cold, lubricants thicken, and springs can become brittle and snap without warning.
- Lubricate all moving parts including rollers, hinges, tracks, and the garage door opener chain or screw with a silicone-based spray lubricant. Avoid WD-40 as it can attract dirt and gum up the mechanism.
- Inspect the door springs carefully. Torsion and extension springs are under high tension and can break in cold weather. If you notice any gaps or visible damage, call a professional immediately — do not attempt to repair springs yourself.
- Test your garage door opener in cold conditions. Some openers have cold-weather settings or require battery replacement to function properly in low temperatures.
- Make sure the door’s sensors are clean and properly aligned. Ice or debris on the sensors can cause the door to malfunction.
Step 5: Protect Your Vehicle Inside the Garage

Your garage’s primary job for most homeowners is protecting their vehicle. Winter is especially tough on cars, even when they’re stored inside.
- Always bring a clean, dry car into the garage. Snow, salt, and moisture trapped under the car can accelerate rust.
- If your garage is drafty or only partially insulated, use a breathable car cover for an extra layer of protection.
- Check your tire pressure every two to three weeks during winter. For every 10°F drop in temperature, tires lose approximately 1 PSI of pressure.
- Keep your car’s battery in mind. Cold weather reduces battery efficiency. If your battery is older than three years, consider having it tested before winter sets in.
- Store a winter emergency kit in your car including a snow brush, ice scraper, jumper cables, and a small bag of sand or kitty litter for traction if you get stuck.
Step 6: Keep the Garage Floor Safe and Clean
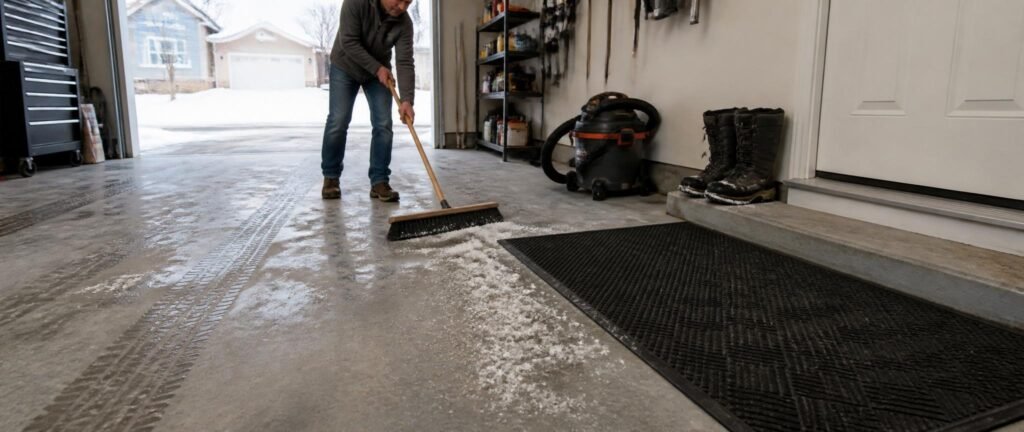
Winter brings snow, slush, road salt, and mud into the garage every time you park your car. This buildup can make the floor slippery and even damage concrete over time.
- Sweep or use a wet/dry vacuum to remove snow and standing water regularly.
- Place heavy-duty absorbent mats at entry points to catch moisture and salt before it spreads.
- Apply an anti-slip coating or use rubber garage floor tiles in high-traffic areas to reduce the risk of slipping.
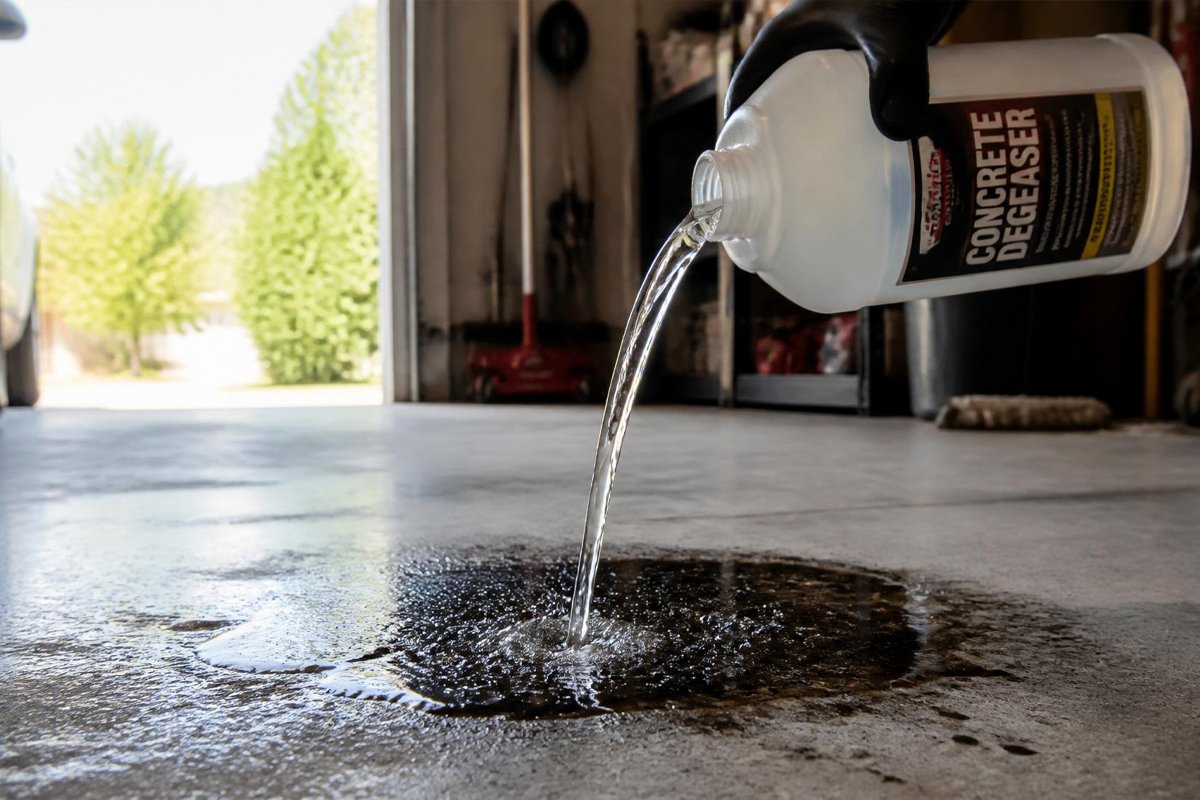
- Consider sealing your concrete garage floor with a penetrating sealer before winter. Road salt is highly corrosive to unsealed concrete and can cause pitting and cracking over time.
- If you have a floor drain, make sure it’s clear and functional so melting snow has somewhere to go.
Step 7: Upgrade Your Lighting and Electrical Safety
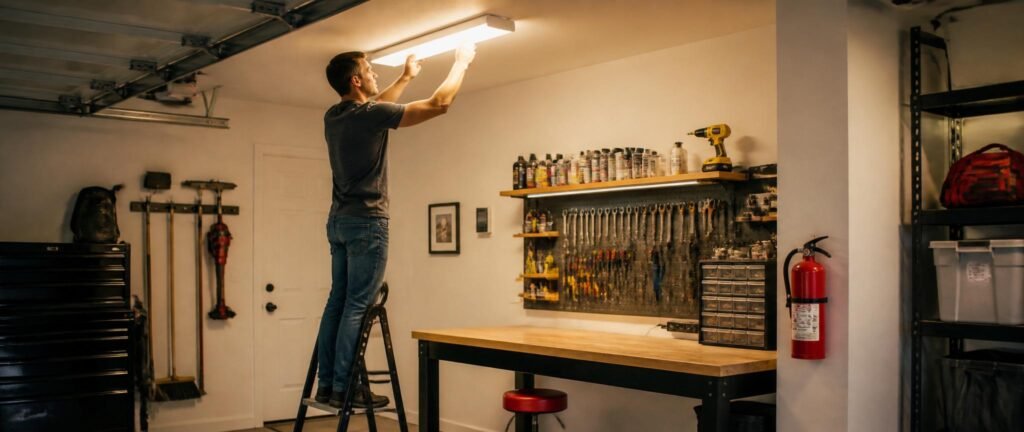
Winter means shorter days and longer nights. Make sure your garage is well-lit and electrically safe during the season.
- Replace burned-out bulbs with LED lights, which work better in cold temperatures than fluorescent bulbs.
- Check extension cords and power strips for wear or fraying. A garage fire in winter is especially dangerous.
- If you use a space heater, make sure it’s rated for garage use and has an automatic shutoff feature.
- Keep a working fire extinguisher mounted visibly in your garage.
Winterizing your garage doesn’t have to be an overwhelming project. By taking it step by step — sealing gaps, insulating properly, protecting your pipes, maintaining your door, and keeping your floor safe — you can create a garage that functions smoothly all winter long.
The time and money you invest now in winterizing will pay for itself many times over by preventing expensive repairs, protecting your vehicle, and keeping your home more energy efficient throughout the cold season. Don’t wait until the first freeze to start — begin your winterization checklist today.