Your garage floor and driveway take a beating every single day — oil drips, tire marks, mud, road salt, mold, and years of accumulated grime. Regular sweeping and mopping barely scratch the surface. What actually works is a pressure washer.
Pressure washing transforms a stained, grimy concrete surface in an afternoon. Done correctly, it removes years of embedded dirt, lifts oil and grease stains, eliminates mold and algae growth, and leaves the surface looking dramatically cleaner — all without harsh chemicals when done right.
Done incorrectly, it damages concrete, drives water into cracks, strips sealers and coatings, and creates more problems than it solves.
This guide covers everything: choosing the right pressure washer and nozzle, prepping correctly, the specific technique for garage floors vs. driveways, how to handle stubborn stains, and what to do after washing to protect your results.
Pressure Washer Basics: What You Need to Know First
Before turning anything on, understanding pressure washer fundamentals prevents the most common mistakes.
PSI and GPM — The Two Numbers That Matter
PSI (Pounds per Square Inch): The pressure of the water stream. Higher PSI = more cleaning power, but also more potential for surface damage.
GPM (Gallons Per Minute): The water flow rate. Higher GPM cleans faster and rinses more effectively.
Cleaning power = PSI × GPM. A 2,000 PSI machine at 2.0 GPM has the same cleaning power as a 1,600 PSI machine at 2.5 GPM. Both numbers matter.
Pressure Washer Types for Concrete
| Type | PSI Range | Best For | Limitations |
|---|---|---|---|
| Electric (light duty) | 1,300–1,800 PSI | Light cleaning, patios, decks | Underpowered for heavy concrete stains |
| Electric (medium duty) | 1,800–2,400 PSI | General garage floor, light driveway | Cord/outlet requirement |
| Gas (medium duty) | 2,400–3,000 PSI | Garage floors, driveways | Heavier, more maintenance |
| Gas (heavy duty) | 3,000–4,000 PSI | Heavily stained concrete, large areas | Overkill for most home use |
For garage floors and driveways: 2,000–3,000 PSI is the ideal range. Below 2,000 PSI you’ll struggle with embedded stains. Above 3,500 PSI on standard residential concrete risks surface etching.
Nozzle Selection — The Most Important Variable
The nozzle controls the spray angle and, therefore, the pressure concentration. Using the wrong nozzle damages surfaces or cleans ineffectively.
| Nozzle Color | Spray Angle | Use On Concrete |
|---|---|---|
| Red | 0° (pinpoint) | ❌ Never on concrete — damages surface |
| Yellow | 15° | Stripping paint, heavy rust stains only |
| Green | 25° | ✅ General concrete cleaning (primary nozzle) |
| White | 40° | Light rinsing, final pass |
| Black | 65° (soap) | Applying detergent only |
Surface cleaner attachment: For large flat areas (driveways, garage floors), a spinning surface cleaner attachment is dramatically more effective and consistent than a standard wand. It creates even cleaning without the streaking that wand-washing causes. Most homeowners who rent or own a 2,500+ PSI machine should use one.
Materials You’ll Need
Gather everything before starting — stopping mid-job creates problems on partially wet concrete.
- Pressure washer (2,000–3,000 PSI recommended)
- 25° green nozzle (primary cleaning)
- 40° white nozzle (rinsing)
- Black soap nozzle (detergent application)
- Surface cleaner attachment (highly recommended for flat areas)
- Concrete degreaser or pressure washer detergent
- Stiff-bristle scrub brush or push broom
- Safety glasses and waterproof boots
- Ear protection (gas models)
- Hose with adequate length
- Tarps or plastic sheeting (to protect vehicles, plants, and adjacent surfaces)
Step 1: Prepare the Area
Preparation prevents damage and makes the cleaning far more effective.
Clear the space completely:
- Remove all vehicles, tools, furniture, and items from the garage floor and driveway
- Sweep away loose debris, leaves, and gravel — loose material becomes a projectile under high pressure
- Move potted plants well away from the work area
Protect adjacent surfaces:
- Cover vehicle tires if they’ll be near the cleaning area (water and detergent can degrade rubber over time with repeated exposure)
- Cover any plants near the driveway with plastic sheeting — concentrated detergent and high-pressure water both damage vegetation
- Close all garage doors and windows to prevent water intrusion
- Cover any electrical outlets, junction boxes, or wiring near the work area with plastic bags taped securely
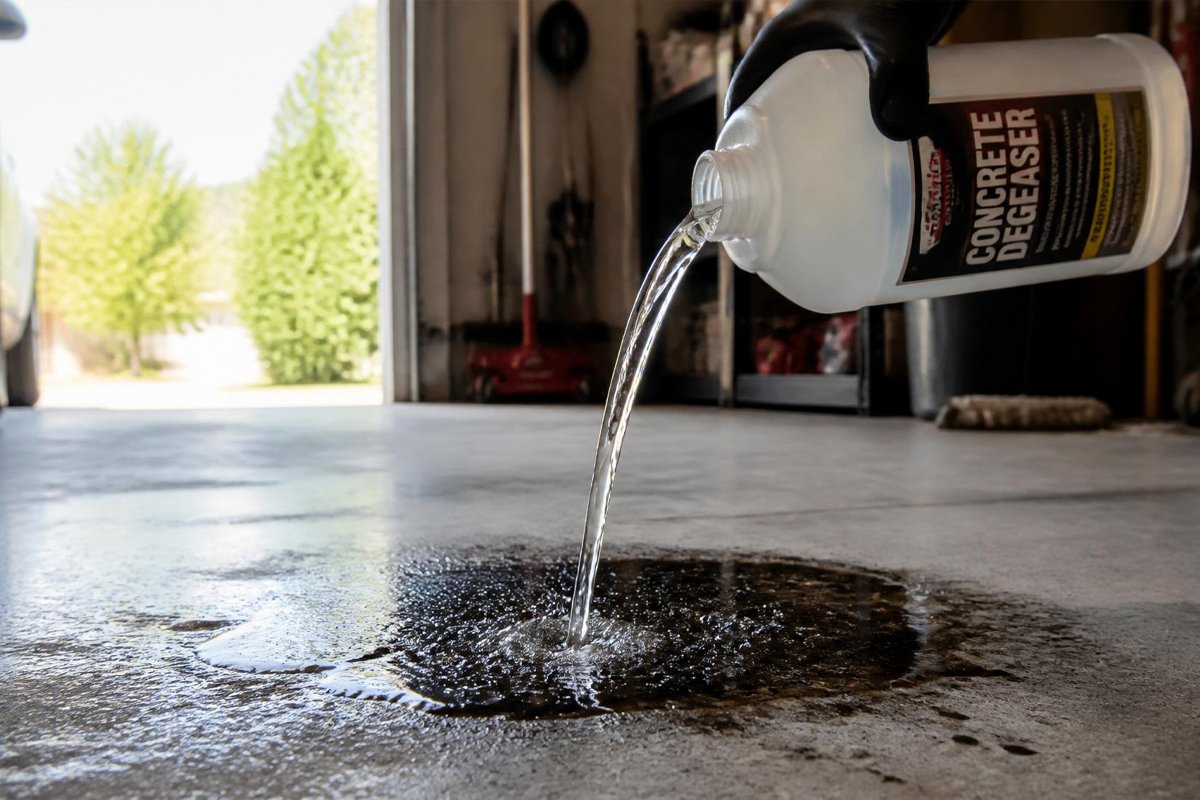
Pre-treat stubborn stains: Apply a concrete degreaser to oil stains, grease marks, and heavy organic deposits before pressure washing. Allow it to dwell for 5–15 minutes per product instructions — this breaks down the contamination so pressure washing can remove it rather than just pushing it around.
For old, deep oil stains that have penetrated the concrete, our dedicated guide on how to clean oil off the garage floor covers targeted treatment methods including cat litter absorption, enzyme cleaners, and repeated degreaser applications for the most stubborn stains before pressure washing.
Step 2: Apply Detergent First
Working detergent into the surface before pressure washing dramatically improves results — it loosens embedded dirt that water pressure alone can’t dislodge.
How to apply:
- Connect your black soap nozzle (low-pressure soap application)
- Apply concrete-specific detergent or pressure washer detergent evenly across the surface
- Work in manageable sections — 10×10 foot areas at a time
- Allow to dwell for 5–10 minutes (check product label)
- Do not let detergent dry on the surface — work in sections to prevent this
Detergent options:
- Concrete-specific degreasers (Zep Concrete Cleaner, Simple Green Concrete Cleaner): Best for garage floors with oil and grease contamination
- All-purpose pressure washer detergent: Good general option for driveways and moderately soiled surfaces
- TSP (Trisodium Phosphate): Excellent for heavy grime and mold — requires gloves and eye protection
- Bleach solution (1 part bleach: 10 parts water): For mold, algae, and biological growth — do not mix with other cleaners
Important: Never mix different cleaning products. Rinse thoroughly between different chemical applications.
Step 3: Pressure Wash the Garage Floor
The garage floor and driveway require slightly different techniques due to their different contamination types and drainage situations.
Garage Floor Technique
Key challenge: Garage floors are enclosed, so water has limited drainage options. Work systematically toward the drain or garage door opening.
Setup:
- Start with the 25° green nozzle for cleaning passes
- Hold the wand 6–8 inches from the surface for concentrated cleaning power
- For stubborn areas, move to 4–6 inches — no closer on standard concrete
- Or use a surface cleaner attachment at the manufacturer’s recommended height
The cleaning pass technique:
- Work in overlapping passes, moving consistently in one direction (toward the drain or exit)
- Move at a steady pace — about 1–2 feet per second for standard cleaning
- Overlap each pass by 25–30% to prevent uneven cleaning lines
- Do not stop moving while the trigger is depressed — stationary high-pressure water etches concrete
For expansion joints and cracks: Direct the stream parallel to cracks, not perpendicular into them. Forcing water directly into cracks can widen them over time.
Drainage management:
- If your garage floor has a central drain, work outward from walls toward the drain
- If it drains toward the door, work from the back wall forward
- Use a squeegee or push broom to help direct water toward the exit as you work
For a heavily contaminated garage floor: Two passes are more effective than one slower pass. Complete the first pass, allow 5 minutes for the loosened contamination to surface, then make a second cleaning pass.
Driveway Technique
Key challenge: Driveways often have embedded tire marks, oil stains, and road contamination across a large area. Consistent, overlapping technique prevents striping.
For asphalt driveways: Use significantly reduced pressure — 1,200–1,500 PSI maximum. Asphalt is softer than concrete and high pressure strips the surface binder, accelerating deterioration. Use the 40° white nozzle at greater distance (12–15 inches).
For concrete driveways:
- Start from the garage end and work toward the street so dirty water flows away from the cleaned area
- Work in lanes 2–3 feet wide using consistent overlapping passes
- A surface cleaner attachment produces the most even results on large driveway surfaces
- Pay extra attention to the expansion joints between driveway sections — these accumulate significant contamination
Tire marks: Black rubber tire marks are among the most stubborn driveway stains. Pre-treat with a rubber/tire mark specific degreaser, allow to dwell, agitate with a stiff brush, then pressure wash. Repeat if needed — some marks require 2–3 treatment cycles.
Step 4: Address Stubborn Stains
Standard pressure washing removes surface grime effectively but may not fully eliminate deep-set stains. These require targeted treatment.
Oil and Grease Stains
Concrete is porous — oil penetrates deeply and standard pressure washing only removes what’s on the surface.
Treatment sequence:
- Apply concrete degreaser generously to the stain
- Agitate with a stiff-bristle brush to work the degreaser into the pores
- Allow to dwell 10–20 minutes
- Pressure wash at maximum effective distance (6–8 inches)
- Repeat if necessary — old stains may require 3–4 treatment cycles
For very old, deeply penetrated oil stains: Poultice method — apply a paste of powdered clay (diatomaceous earth or cat litter ground to powder) mixed with acetone or commercial solvent, cover with plastic sheeting, and allow to sit 12–24 hours before removing. The poultice draws oil out of the concrete pores.
Rust Stains
Rust stains from metal furniture, tools, or water with high iron content require acid-based treatment — pressure washing alone won’t touch them.
Apply a commercial rust remover (oxalic acid-based) per product instructions. Allow to react (the stain will begin to lighten). Rinse thoroughly with water. Neutralize with a baking soda and water solution if the product requires it. Then pressure wash normally.
Do not use bleach on rust stains — it sets them permanently.
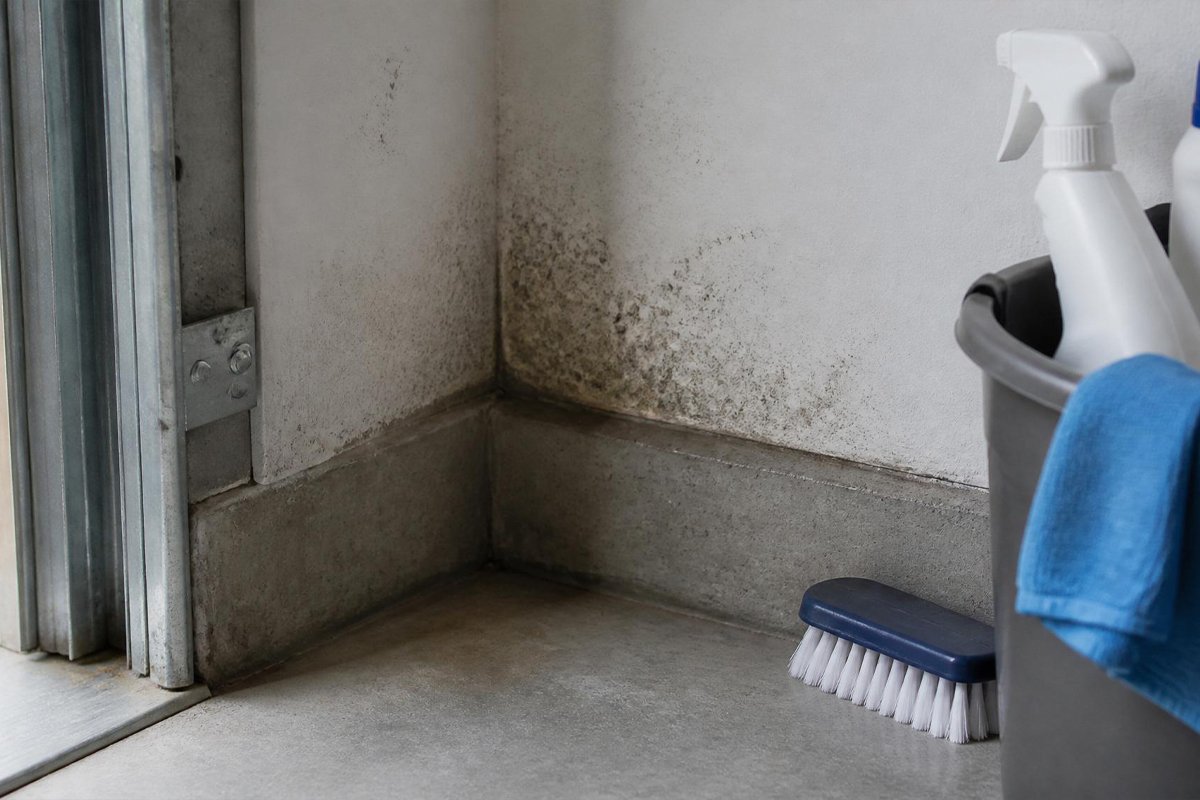
Mold and Algae (Green or Black Growth)
Biological growth requires killing before removal — pressure washing alone spreads live spores.
- Apply a bleach solution (1:10 bleach to water) or commercial mold/mildew cleaner
- Allow to dwell 10–15 minutes
- Agitate with a stiff brush
- Pressure wash thoroughly
- Consider applying a concrete sealer afterward to reduce future biological growth
Paint or Sealer Overspray
Use the 15° yellow nozzle at close range (4–6 inches) for paint and sealer removal. This is aggressive — test in an inconspicuous area first. Chemical strippers may be needed for thick paint layers before pressure washing.
Step 5: Final Rinse
After cleaning passes, a thorough rinse removes all detergent, loosened contamination, and cleaning chemical residue.
Rinsing technique:
- Switch to the 40° white nozzle for rinsing
- Work from the farthest point toward the drain or exit
- Use overlapping passes to ensure complete coverage
- Continue rinsing until water runs clear — detergent residue left on concrete creates a slippery film and attracts dirt faster
Check for missed areas: Walk the cleaned surface at a low angle — uneven cleaning shows up clearly in raking light. Address any missed spots while the surface is still wet.
Step 6: Allow to Dry Completely
Concrete must dry completely before sealing, coating, or driving on it.
Drying times:
- Touch dry: 2–4 hours in warm weather (65°F+, low humidity)
- Traffic ready: 24 hours minimum
- Ready for sealer or epoxy coating: 48–72 hours minimum, or until no moisture is visible and a moisture test shows dry
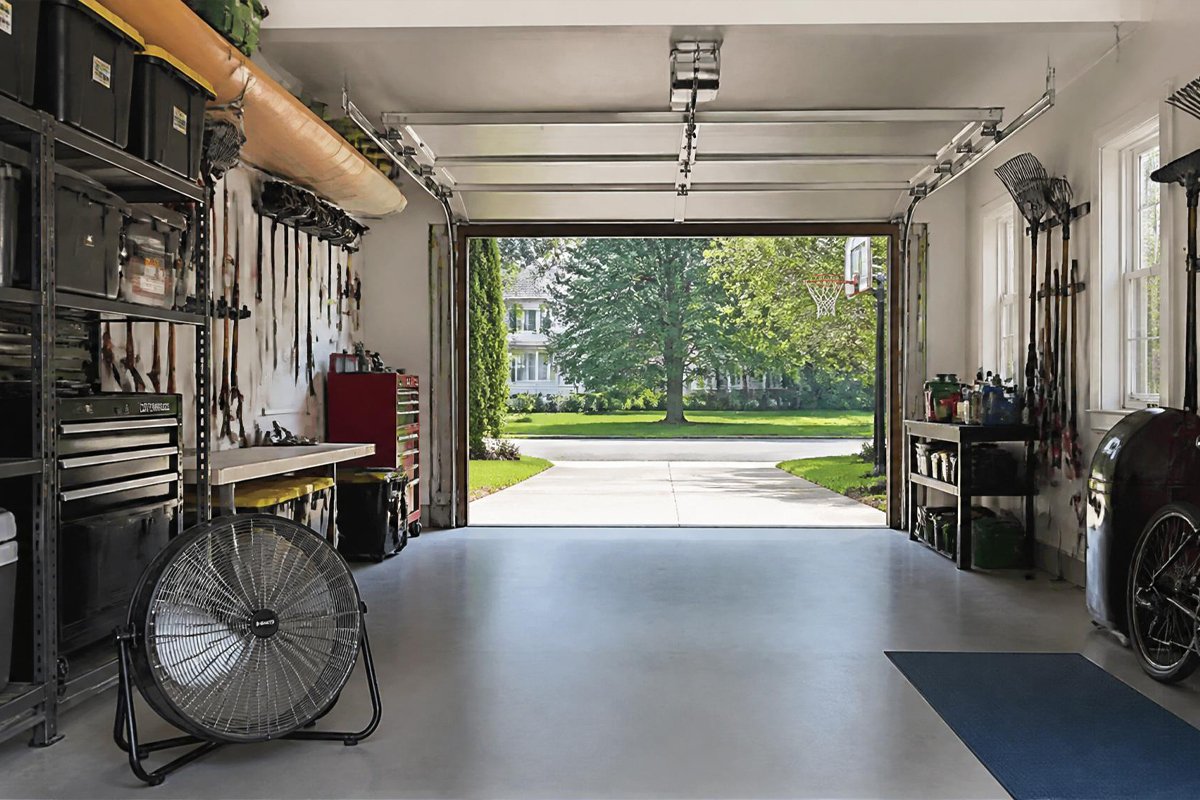
Accelerating drying: Open garage doors fully for maximum airflow. A leaf blower swept across the surface speeds surface drying. Avoid pressure washing in cold or humid conditions when drying time extends significantly.
After Pressure Washing: Protect Your Results
Pressure washing removes contamination — protecting the surface prevents it from returning quickly.
Concrete Sealer
A penetrating concrete sealer applied to a clean, dry surface:
- Reduces porosity, making the concrete less absorbent to future oil and water penetration
- Makes future cleaning significantly easier
- Resists staining from automotive fluids, road chemicals, and organic matter
- Extends the life of the surface by reducing freeze-thaw water absorption damage
Application: Apply per product instructions using a roller or pump sprayer. Most penetrating sealers require one coat; surface sealers may need two. Allow full cure before vehicle traffic.
Sealer types:
- Penetrating/impregnating sealers: Soak into the concrete, invisible finish, best for driveways and heavy-use areas
- Acrylic sealers: Surface-level protection with a slight sheen; good for garage floors
- Epoxy coating: Maximum protection and durability — see our complete guide to epoxy coating your garage floor for a full breakdown of this more involved process
Ongoing Maintenance Schedule
| Task | Frequency |
|---|---|
| Sweep garage floor | Weekly |
| Spot-treat oil drips immediately | As needed |
| Full pressure wash — garage floor | Every 6–12 months |
| Full pressure wash — driveway | 1–2 times per year |
| Reapply concrete sealer | Every 2–3 years |
| Deep clean driveway expansion joints | Annually |
Pressure Washing Safety
High-pressure water is genuinely dangerous — it can cause serious lacerations, inject water under the skin (a medical emergency), and damage eyes.
Non-negotiable safety practices:
- Never point the wand at people or pets — even at distance, high-pressure water causes injury
- Always wear safety glasses — spray and ricocheting debris cause eye injuries
- Wear waterproof boots — never bare feet or soft-soled shoes
- Keep children and pets completely away from the work area
- Use ear protection for gas pressure washers — sustained noise exposure at gas machine operating volumes causes hearing damage
- Be aware of electrical hazards — never pressure wash near exposed wiring, outlets, or electrical panels
- Never use a gas pressure washer in an enclosed space — carbon monoxide hazard
Renting vs. Buying a Pressure Washer
Most homeowners pressure wash their garage floor and driveway 1–2 times per year. The rent vs. buy decision depends on frequency and storage capacity.
| Option | Cost | Best For |
|---|---|---|
| Rent electric (1,800 PSI) | $40–$60/day | Occasional cleaning, no storage |
| Rent gas (2,800 PSI) | $70–$100/day | Heavy jobs, occasional use |
| Buy electric (2,000 PSI) | $150–$300 | 2+ uses per year, storage available |
| Buy gas (2,800 PSI) | $350–$700 | Regular use, large areas |
Rental recommendation: If you clean 1–2 times per year, rent a gas unit for the power. The rental cost pays for itself versus buying in under 2 years.
Purchase recommendation: If you have multiple concrete surfaces, clean quarterly, or want to offer help to neighbors, buying a quality electric (for convenience) or gas (for power) makes sense.
Common Pressure Washing Mistakes
Using too much pressure on concrete. Standard residential concrete (4,000 PSI compressive strength) can be etched by sustained 3,500+ PSI at close range. Stay at 6–8 inches minimum distance and below 3,500 PSI for residential concrete.
Skipping detergent. Pressure water alone pushes contamination around. Detergent breaks it down so it can be removed. Never skip this step on heavily contaminated surfaces.
Using the wrong nozzle. The red 0° nozzle etches concrete permanently. The yellow 15° nozzle is for stripping only. Use the green 25° nozzle for general cleaning.
Stopping the wand mid-pass. A stationary high-pressure stream etches a visible circular mark into concrete. Keep moving at all times when the trigger is depressed.
Pressure washing into cracks. Directing high-pressure water perpendicular into cracks forces water deeper and can widen them. Direct the stream parallel to cracks.
Not protecting plants. Concrete cleaner and pressure wash runoff kills grass and plants. Always cover or redirect runoff away from vegetation.
Pressure washing asphalt at concrete pressure. Asphalt requires 1,200–1,500 PSI maximum. Standard concrete pressure strips asphalt binder and accelerates surface deterioration.
Complete Pre- and Post-Wash Checklist
Before washing:
- [ ] All items removed from the area
- [ ] Loose debris swept away
- [ ] Plants and vehicles protected
- [ ] Electrical outlets covered
- [ ] Correct nozzle installed (25° green for concrete)
- [ ] Detergent applied and dwelling
- [ ] Safety glasses and boots on
During washing:
- [ ] Working systematically toward drain/exit
- [ ] Consistent speed and distance maintained
- [ ] Surface cleaner used for large flat areas
- [ ] Stubborn stains pre-treated and re-addressed
After washing:
- [ ] Final rinse with 40° nozzle complete
- [ ] Water running clear before stopping
- [ ] Surface visually checked for missed areas
- [ ] Allowed to dry fully (48+ hours before sealing)
- [ ] Sealer or coating applied once dry
FAQs
How often should I pressure wash my garage floor and driveway? Garage floors benefit from a thorough pressure wash every 6–12 months, depending on use. Driveways typically need washing 1–2 times per year — spring (to remove winter road salt and debris) and fall (before winter weather sets in) is an effective schedule.
Can pressure washing damage my concrete driveway? Yes, if done incorrectly. Using too much pressure (3,500+ PSI at close range), using the wrong nozzle (0° or 15° nozzle at close range), or stopping the wand mid-pass can etch or scar concrete. Follow the nozzle and distance guidelines in this article and standard concrete handles pressure washing without damage.
What PSI do I need to remove tire marks from a driveway? Tire marks are rubber transferred to the concrete surface. A minimum of 2,500 PSI with a 25° nozzle at 4–6 inches, combined with a rubber-specific degreaser and brush agitation, is typically needed. Very old tire marks may require multiple treatment cycles.
Should I seal my concrete after pressure washing? Yes, if the concrete is in good condition. A clean surface is the ideal time to seal — the penetrating sealer enters clean, open pores rather than contaminated ones. Sealing significantly extends the time before the next pressure wash is needed.
Can I use bleach in my pressure washer? Diluted bleach (1:10 ratio) can be used for mold, algae, and biological growth — applied through the soap nozzle with the machine on low-pressure setting. Do not run concentrated bleach through the pump — it damages seals and valves. Always rinse thoroughly after bleach application. Never mix bleach with other cleaners.
Final Thoughts
Pressure washing is one of the fastest, most satisfying home maintenance tasks you can do. A surface that looks permanently stained can often be completely transformed in a single afternoon with the right equipment and technique.
Use appropriate pressure for your surface type. Work with detergent, not just water. Keep the wand moving. Rinse thoroughly. And protect your results with a sealer once the concrete dries.
Your garage floor and driveway take abuse daily — they deserve a proper clean once or twice a year. The results will remind you why it’s worth doing.