How to Soundproof a Garage: The Complete DIY Guide (2026)
By Danial Marquez | Maintenance | Updated June 2026
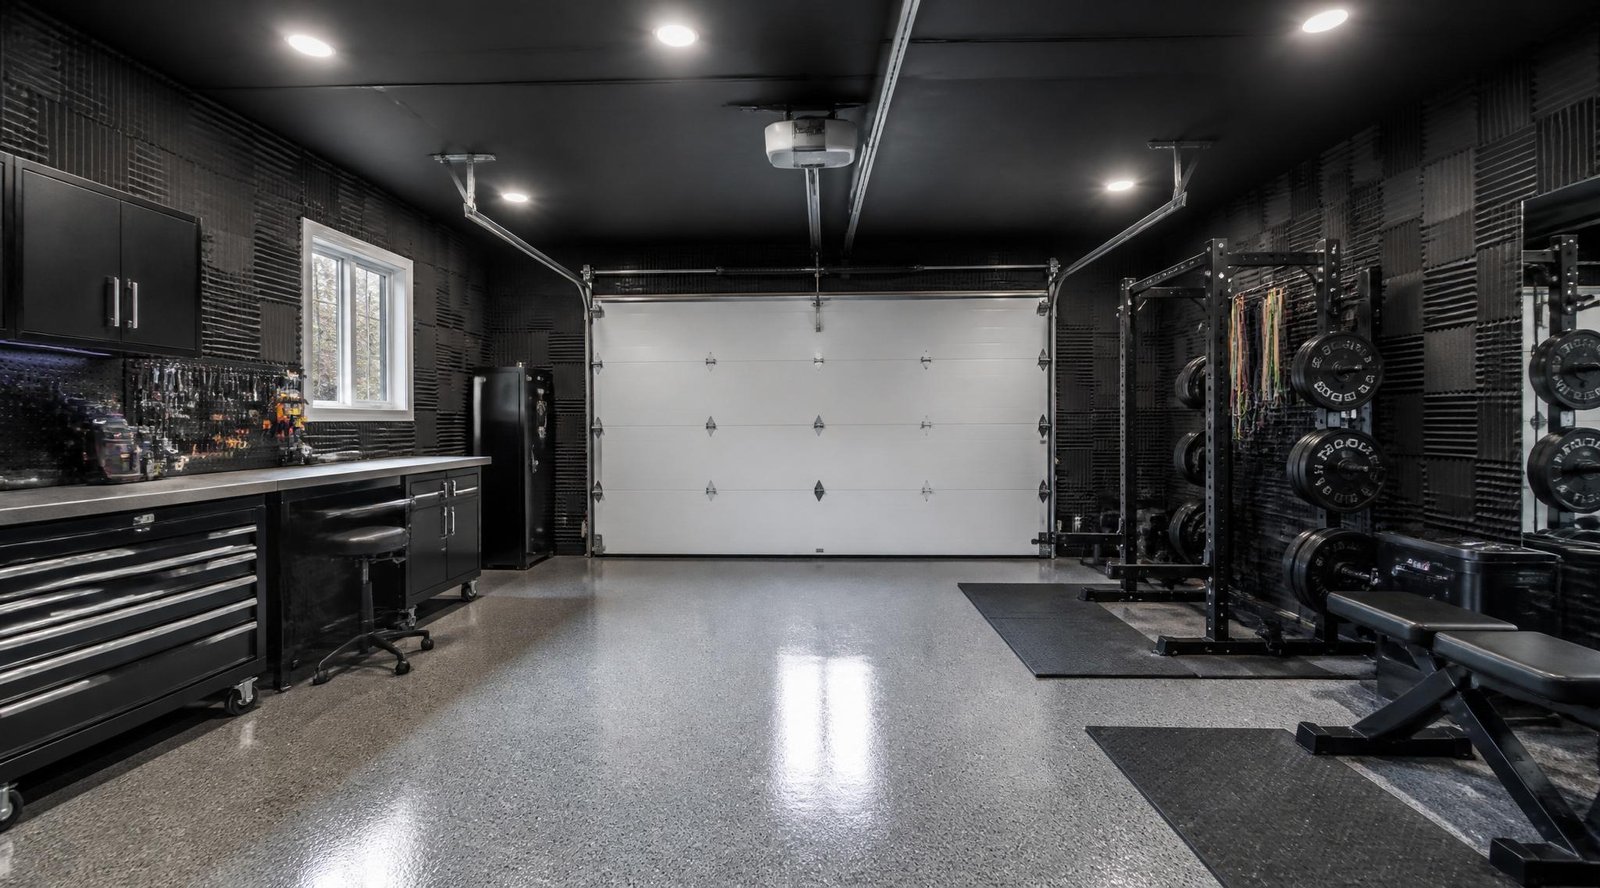
If you have ever run a table saw at 7 a.m., blasted music while working on your car, or tried to squeeze in a late-night home gym session without waking the whole house, you already know the problem: garages are loud, and they leak sound like a sieve. Bare concrete walls, a thin sheet-metal door, and an uninsulated ceiling turn every bang, drill, or bass line into a neighborhood event.
The good news is that soundproofing a garage is one of the most achievable weekend projects a homeowner can tackle, and you don’t need a professional studio budget to make a real difference. Whether you’re turning your garage into a workshop, a home gym, or a music practice space, this guide walks you through every surface — walls, ceiling, floor, and door — with practical, tested methods that actually reduce noise rather than just claiming to.
This guide pairs especially well with two of our most popular projects: if you’re converting your garage into a home gym or turning it into a living space, soundproofing should be one of the very first steps you take, before flooring or drywall goes up.
Why Garages Are So Noisy in the First Place
Before reaching for foam panels, it helps to understand why garages amplify and leak sound more than almost any other room in the house.
Hard, parallel surfaces. Concrete floors, drywall-less stud walls, and metal doors are all hard, reflective surfaces. Sound waves bounce between them instead of being absorbed, which is why an empty garage sounds like a cave — every tool drop or shout echoes.
Thin, low-mass garage doors. A standard garage door is one of the worst acoustic barriers in your home. Most are made from thin steel or aluminum panels with little to no insulation, and they’re full of gaps around the edges. Sound passes through with almost no resistance.
Lack of insulation. Unlike interior walls, most garages are never insulated during construction, since builders don’t expect them to be used as living or working spaces. Without insulation, sound travels straight through studs and sheathing to the outside — and to the rest of your house if the garage is attached.
Air gaps everywhere. Sound is essentially moving air, and it will find every crack, gap, and seam in a structure. Garages are notorious for these: gaps around the door, vents, the pass-through door to the house, and even outlet boxes.
Understanding these four weak points is the key to an effective soundproofing plan, because each one needs a slightly different fix.
The Two Goals of Soundproofing: Absorption vs. Blocking
A lot of people buy foam panels expecting silence, then get disappointed. That’s because there are two completely different jobs in soundproofing, and most products only do one of them.
Sound absorption reduces echo and reverberation inside the room. Foam panels, rugs, and acoustic blankets fall into this category. They make the room sound less harsh and less “boomy,” but they do very little to stop sound from leaving the garage or entering it.
Sound blocking (or sound deadening) stops sound from passing through a wall, door, or ceiling to the outside. This requires mass, density, and sealing air gaps — think insulation, mass-loaded vinyl, double drywall, and weatherstripping.
A garage that’s genuinely quiet to live and work in needs both: blocking to keep sound from leaving (or entering), and absorption to control echo once you’re inside. Skipping one or the other is the most common mistake in DIY soundproofing.
Step 1: Soundproof the Garage Door (Biggest Impact First)
If you only do one thing on this list, do this one. The garage door is almost always the single largest source of sound leakage because it’s thin, loosely fitted, and covers a huge surface area.
Add a garage door insulation kit. Reflective foam-core insulation kits are inexpensive and install in an afternoon using included adhesive clips. While marketed mainly for temperature control, the added mass and the air pocket created between the foam and the steel panel noticeably reduce sound transmission and rattling.
Install weatherstripping and a bottom seal. Most of the noise leaking around a garage door isn’t through the panels themselves — it’s through the gaps at the edges. A rubber astragal seal along the bottom and vinyl weatherstripping along the sides and top close these gaps completely. This is the same fix that improves energy efficiency, which we cover in detail in our complete step-by-step guide to insulating a garage.
Add mass with a soundproof blanket or moving blanket layer. For garages used as music or workout spaces, hanging heavy moving blankets or a dedicated soundproof curtain over the inside of the door (removable when you need to open it) adds real mass-based blocking that foam alone can’t provide.
Upgrade the opener. Older chain-drive openers are mechanically loud on their own. If you’re already overhauling the door for noise, it’s worth comparing options in our complete buying guide to the best garage door openers, since belt-drive models run dramatically quieter than chain-drive units.
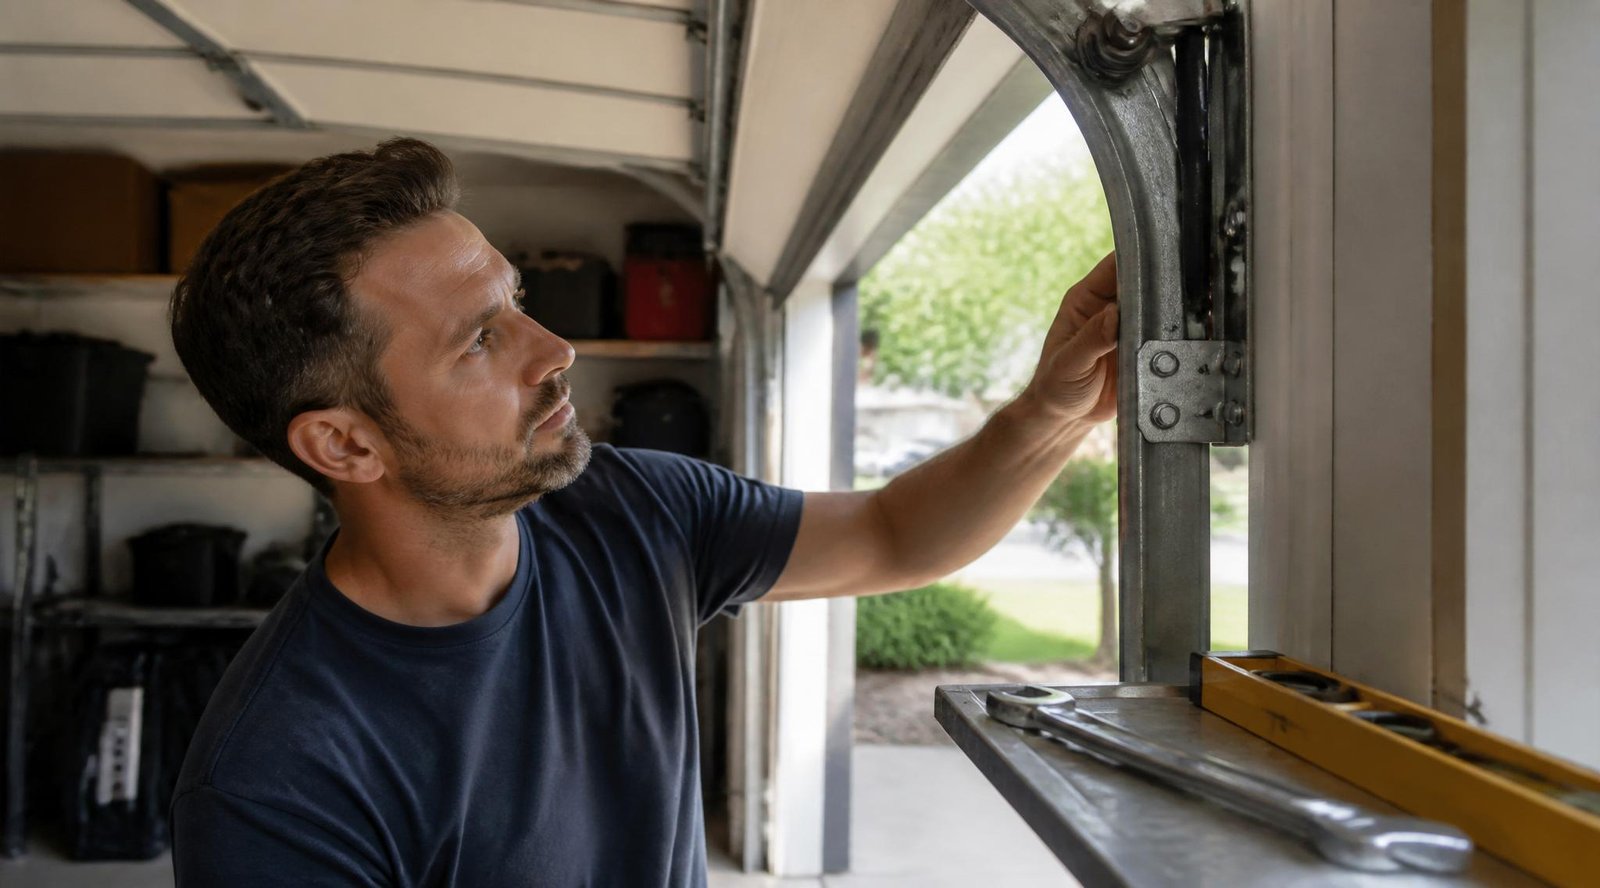
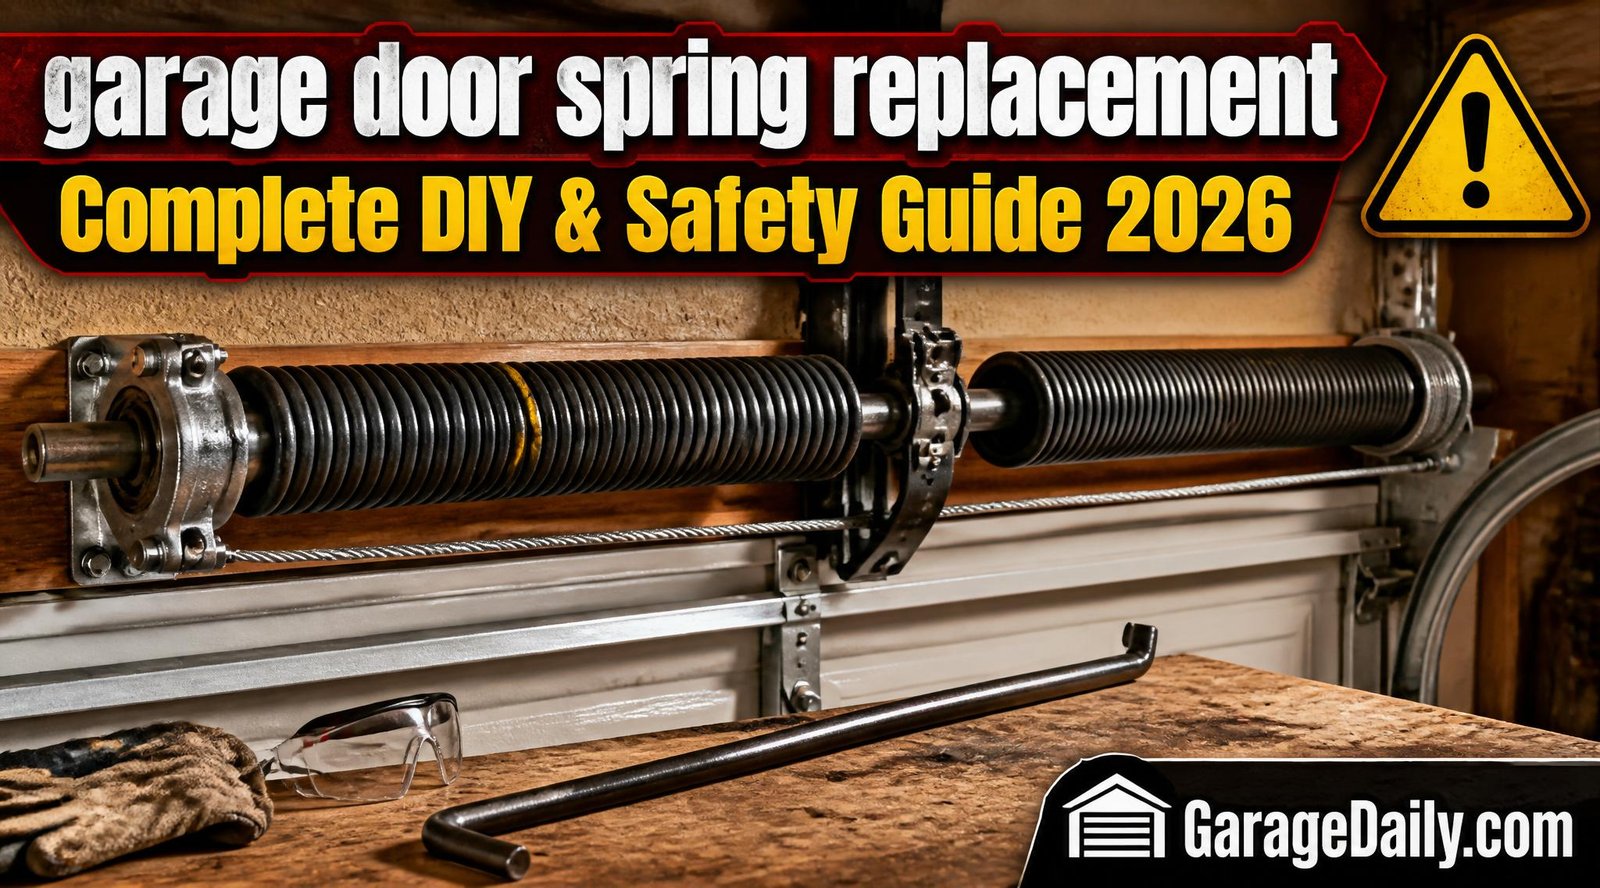
Tighten the hardware. A surprising amount of garage door noise isn’t airborne sound at all — it’s vibration and rattling from loose rollers, hinges, and tracks. If your door rattles or grinds when it opens, check our garage door track alignment and DIY diagnosis guide before investing in insulation, since a misaligned track will undo a lot of your soundproofing work through vibration alone. Worn springs can also cause banging and shuddering — see our garage door spring replacement and safety guide if your door makes a loud clunk when opening or closing.
Step 2: Insulate and Seal the Walls
Once the door is handled, the walls are next. This is also the stage where blocking and absorption start working together.
Add fiberglass or mineral wool batt insulation between the studs. If your garage walls are open studs (no drywall yet), this is the easiest time to add insulation. Mineral wool (rock wool) is denser than standard fiberglass and performs noticeably better acoustically, in addition to its fire resistance. This step overlaps heavily with general garage insulation, so if your walls aren’t insulated at all yet, start with our full guide to insulating a garage before moving to acoustic-specific upgrades.
Use double-layer drywall with Green Glue. For a serious sound barrier, install two layers of 5/8-inch drywall with a damping compound (commonly sold as “Green Glue”) sandwiched between them. The compound converts sound energy into tiny amounts of heat as the layers vibrate against each other, which is far more effective than thickness alone.
Add mass-loaded vinyl (MLV). This dense, flexible material is stapled or glued directly to studs before drywall goes up. It’s one of the most efficient sound blockers per inch of thickness available to DIYers, and it’s a staple in home theater and music studio builds.
Seal every penetration. Outlet boxes, light switches, pipe penetrations, and vents are all weak points where sound (and air) escapes around the insulation. Acoustic caulk around these gaps closes the leaks that batt insulation alone can’t.
Finish with acoustic panels for absorption. Once the wall itself is sealed and insulated, foam or fabric-wrapped acoustic panels mounted on the surface tame echo inside the room. This is the layer most people buy first, but it works best as the final step, not the first.
If you’re combining soundproofing with a full wall makeover, our 25 best garage wall storage ideas guide is worth reading alongside this project, since acoustic panels and storage systems both compete for wall space — planning them together avoids having to redo work later.
Step 3: Treat the Ceiling
Ceilings get overlooked constantly, but in an attached garage, the ceiling is often the most direct sound path into the rest of the house, especially if there’s living space above or alongside it.
Insulate between joists. Same principle as the walls — batt or mineral wool insulation between ceiling joists blocks far more sound than an open cavity.
Use resilient channel or sound clips. These are metal strips or rubber-isolated clips that hold the drywall slightly away from the joists. This “decoupling” prevents sound vibrations from traveling directly through the structure, which is one of the most effective (and most overlooked) techniques in acoustic construction.
Hang acoustic ceiling tiles or baffles. For workshops or gyms where full drywall isn’t practical, acoustic ceiling tiles or hanging baffles still cut down significantly on echo and impact noise from above.
This step matters even more if you’re working from our garage-to-living-space conversion guide, since a converted garage that shares a ceiling cavity with the house needs real acoustic decoupling, not just insulation, to keep noise from traveling upstairs.
Step 4: Don’t Forget the Floor
Hard concrete floors are a major source of impact noise — dropped tools, dumbbells, footsteps, and rolling equipment carts all transmit sound directly into the slab and beyond.
Use rubber gym flooring or interlocking mats. For home gyms, dense rubber tiles absorb impact noise dramatically better than bare concrete, while also protecting the floor itself from dropped weights.
Add an underlayment before any finished flooring. If you’re installing rolled vinyl, tile, or another finished floor, a rubber or cork underlayment beneath it adds a meaningful acoustic buffer.
Don’t skip the prep work. None of these floor treatments stick or perform well over a dirty, oily, or uneven slab. Start with our complete guide to cleaning a garage floor and, if you want a fully sealed, easy-to-clean base layer before adding rubber mats or rugs, our DIY garage floor epoxy coating guide is the right next step — epoxy adds a small amount of extra density on top of the slab and creates a clean surface for any flooring you add afterward. If oil stains or years of grime have built up, a thorough pressure washing of the floor and driveway first will give any sealant or flooring much better adhesion.
Step 5: Seal the Small Gaps Everyone Misses
Even after walls, ceiling, and door are handled, sound will sneak through small, easy-to-miss gaps.
The interior pass-through door. If your garage connects directly to the house, that door is often a hollow-core model with minimal sealing. Swapping it for a solid-core door and adding a door sweep plus weatherstripping closes one of the most direct sound paths into your living space.
Vents and exhaust fans. Any vent that connects the garage to the outside is also an open sound channel. Acoustic vent baffles or simply closing unused vents during noisy activities helps.
Windows. A single-pane garage window leaks sound almost as badly as an uninsulated door. Heavy curtains, a removable acoustic window cover, or weatherstripped storm windows all help if full window replacement isn’t in the budget.
Step 6: Light, Layout, and the Final Touches
Soundproofing isn’t only about materials — it’s also about how the space is set up and lit once the work is done. A well-insulated garage with poor lighting will still feel unfinished and uninviting, which matters if this is becoming a regular workshop or gym space. Pairing your acoustic upgrades with proper fixtures from our complete garage lighting guide rounds out the project so the room is both quiet and genuinely usable.
It’s also worth thinking about layout at this stage. If your garage is doing double duty as both a workshop and a quiet zone, our guide to setting up a garage workshop covers zoning tips that work hand-in-hand with acoustic treatment — for example, placing loud power tools against the most heavily insulated wall, farthest from the shared house wall.
Finally, take a pass through general upkeep. A garage that’s cluttered, poorly ventilated, or has pest issues will undercut even the best soundproofing job because you won’t want to spend time in it. Our step-by-step guide to organizing a garage and our guide on getting rid of garage pests like mice, spiders, and insects are both worth a quick read if it’s been a while since a deep clean — insulation materials in particular are a magnet for pests if gaps aren’t sealed properly, so pest-proofing and soundproofing genuinely overlap.
Budget Breakdown: What to Expect
Soundproofing can scale from a $150 weekend fix to a $3,000+ full acoustic build-out, depending on how serious you need it to be.
A basic noise-reduction pass — door weatherstripping, a foam insulation kit, and a few acoustic panels — typically runs $150–$400 and can be completed in a single weekend. This is enough for most hobbyist workshops and casual home gyms.
A moderate upgrade adding wall insulation, mass-loaded vinyl on one or two key walls, and a solid-core interior door typically lands between $800 and $1,800, depending on garage size and whether you hire help for drywall work.
A full acoustic build-out — double-layer drywall with damping compound, resilient channel on the ceiling, MLV throughout, and a dedicated soundproof door — can run $2,500–$5,000+, but this level is really only necessary for serious music production, a home theater, or a garage attached to a bedroom wall.
For most homeowners converting a garage into a gym or workshop, the moderate tier offers the best balance of cost and real-world results.
Common Soundproofing Mistakes to Avoid
Relying only on foam panels. Foam absorbs echo but does almost nothing to block sound from leaving the room. If neighbors or family members are still complaining after foam goes up, the problem is leakage, not reverberation, and you need mass and sealing, not more foam.
Ignoring the door. People spend hundreds on wall treatment while leaving the single biggest sound leak — the garage door — completely untouched.
Skipping the air seal. A single 1% gap in an otherwise sealed wall can let through a disproportionate amount of sound. Caulking and weatherstripping are unglamorous but essential.
Adding mass without decoupling. Simply screwing a second layer of drywall directly to the same studs as the first layer barely helps, because vibration still travels straight through the rigid connection. Damping compound or resilient channel is what actually makes a double layer effective.
Forgetting fire and building codes. If your garage shares a wall with living space, many local codes already require a fire-rated assembly (often 5/8-inch Type X drywall) between them. Check local requirements before finalizing your wall plan, since the fire-rated assembly can often double as your sound barrier if specified correctly.
Final Thoughts
A genuinely quiet garage isn’t about buying the most expensive foam panels — it’s about layering the right materials in the right order: seal the gaps, add mass and insulation to block sound, then finish with absorption to control echo. Start with the garage door, since it offers the biggest noise reduction for the least effort and cost, then work your way through walls, ceiling, and floor as your budget and time allow.
If you’re planning a bigger project around this — turning the space into a home gym or a full living space — soundproofing fits naturally as step one, before insulation, drywall, flooring, or lighting go in. Treat it as the foundation of the renovation rather than an afterthought, and the rest of the build will go a lot more smoothly — and a lot more quietly.
Have you soundproofed your garage? Share your before-and-after results or questions in the comments below — and check out our other Maintenance guides for more ways to upgrade your garage in 2026.