By Danial Marquez | Cleaning | Updated July 2026
If you’re like most homeowners, your garage has slowly turned into a dumping ground — old paint cans, half-used tools, holiday decorations, and a bike you haven’t ridden in three years. You’re not alone. Studies on home storage consistently show that garages are the most cluttered room in the average American house, and nearly one in four homeowners can’t even fit a car inside because of the mess.
The good news? A cluttered garage isn’t a permanent condition — it’s a project. With the right system, a weekend, and a bit of elbow grease, you can turn your garage from a chaotic storage pit into a functional, organized space that actually works for your daily life.
In this complete guide, we’ll walk you through every step of organizing a garage from scratch: decluttering, zoning, choosing the right storage systems, maximizing wall and ceiling space, and maintaining the system long-term so it never slides back into chaos.
Why Garage Organization Matters More Than You Think
Before we get into the “how,” let’s talk about the “why.” An organized garage isn’t just about aesthetics — it has real, practical benefits:
- You’ll actually park your car inside. Protecting your vehicle from weather, theft, and dings is one of the biggest reasons garages exist in the first place.
- You’ll save money. Ever bought a duplicate tool or a second bag of screws because you couldn’t find the ones you already owned? Organization prevents that.
- You’ll improve safety. Cluttered garages are a leading cause of trips, falls, and fire hazards. Loose piles of rags, paint, and flammable materials create real risk.
- You’ll extend the life of your equipment. Tools and equipment stored properly last longer and perform better than those tossed in random corners.
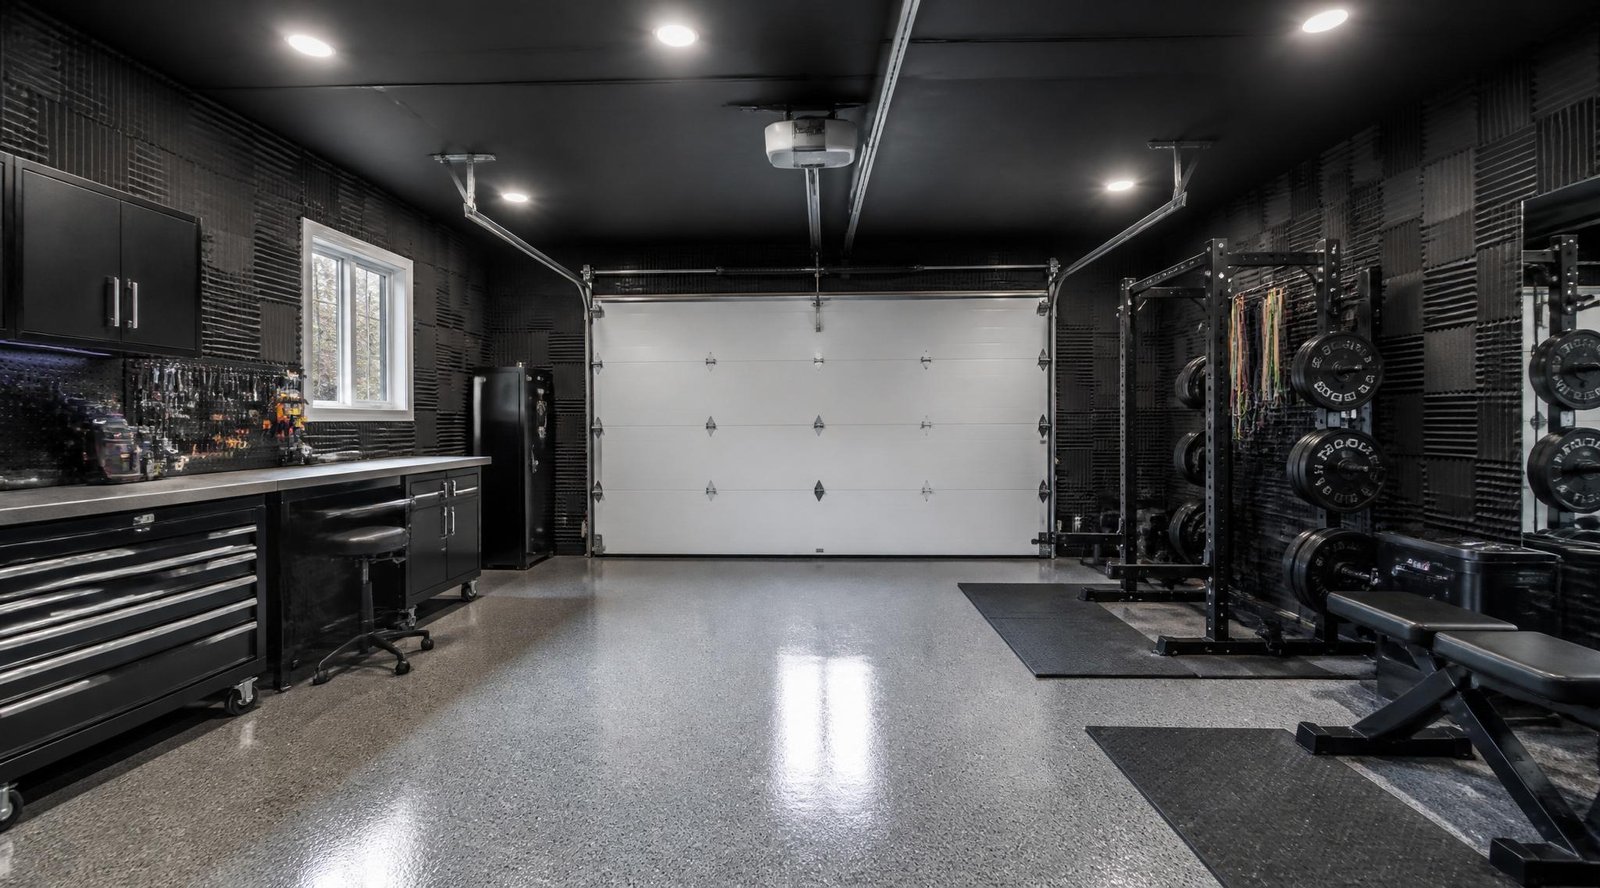
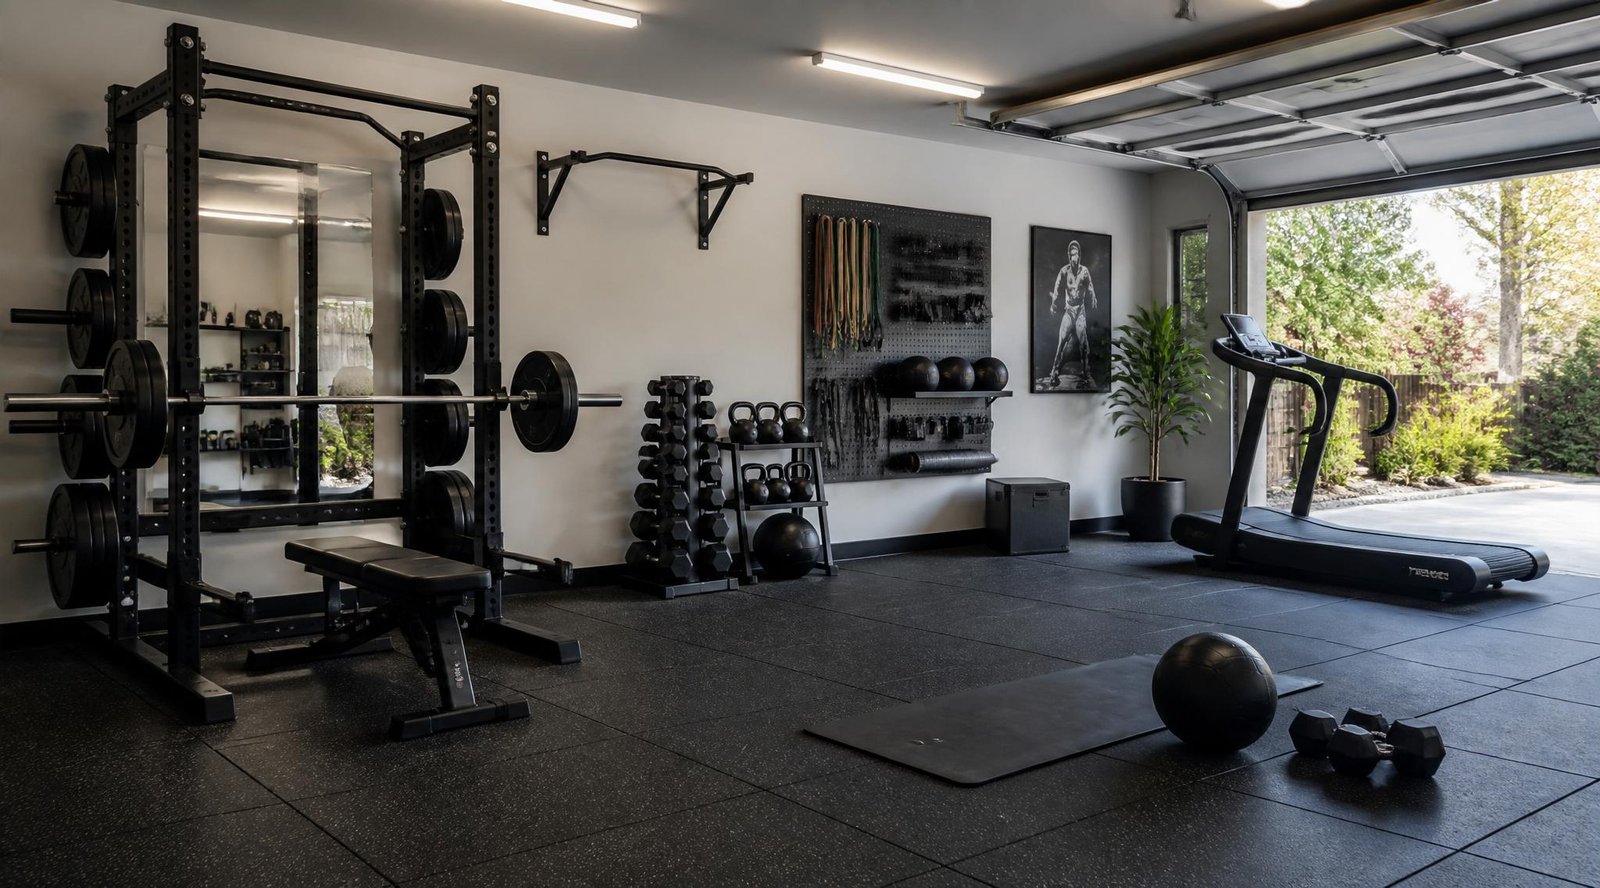
- You’ll unlock new possibilities for the space. Many homeowners who organize their garage go on to repurpose part of it — whether that means turning your garage into a home gym or converting your garage into a livable room.
Garage organization is also the foundation for almost every other garage upgrade. Before you insulate, soundproof, or convert your garage, you need a clean, organized shell to work with.
Step 1: Start With a Complete Declutter
You can’t organize clutter — you can only organize what’s left after you get rid of the clutter. This is the step most people want to skip, and it’s exactly why so many garage organization projects fail within a month.
The Three-Pile Method
Pull everything out of your garage (yes, everything) and sort it into three piles:
- Keep — Items you use regularly or that have genuine sentimental or functional value.
- Donate/Sell — Items in good condition that you no longer need.
- Toss/Recycle — Broken, expired, or unusable items, including old paint, dead batteries, and expired chemicals.
A good rule of thumb: if you haven’t touched an item in over a year and it isn’t seasonal (holiday decorations, snow gear, etc.), it’s probably safe to let go.
Watch for Hazardous Materials
While decluttering, keep an eye out for anything that shouldn’t just go in the trash — old motor oil, paint thinner, pesticides, and propane tanks all need special disposal. Most cities have a household hazardous waste facility that accepts these items for free or a small fee. This is also a good time to check your garage for pest activity; rodents and insects love undisturbed piles of boxes and cardboard. If you notice droppings, chew marks, or nests while clearing things out, it’s worth dealing with the problem before you put everything back — our guide on how to get rid of garage pests walks through safe, effective removal methods for mice, spiders, and insects.
Step 2: Divide Your Garage Into Zones
Once the clutter is gone, think of your garage the way a store thinks of its floor plan — everything has a “department.” Zoning prevents random piles from creeping back in because every item has one obvious home.
Common garage zones include:
- Parking zone — Reserve the largest, most accessible area for your vehicle(s).
- Tools & workbench zone — A dedicated area near an outlet for a workbench, hand tools, and power tools.
- Sports & recreation zone — Bikes, balls, helmets, and outdoor gear.
- Seasonal storage zone — Holiday decorations, winter gear, and off-season items, ideally stored highest up since they’re accessed infrequently.
- Automotive supplies zone — Oil, wiper fluid, car care products, and emergency kits.
- Yard & garden zone — Mowers, hoses, fertilizer, and hand tools, ideally near the garage door for easy outdoor access.
- Hazardous materials zone — A locked cabinet, away from heat sources and out of reach of children and pets, for paints, chemicals, and flammables.
Mapping these zones out on paper (or with painter’s tape on the floor) before you buy a single shelf will save you money and prevent you from creating storage systems that don’t match how you actually use the space.
Step 3: Choose the Right Storage Systems
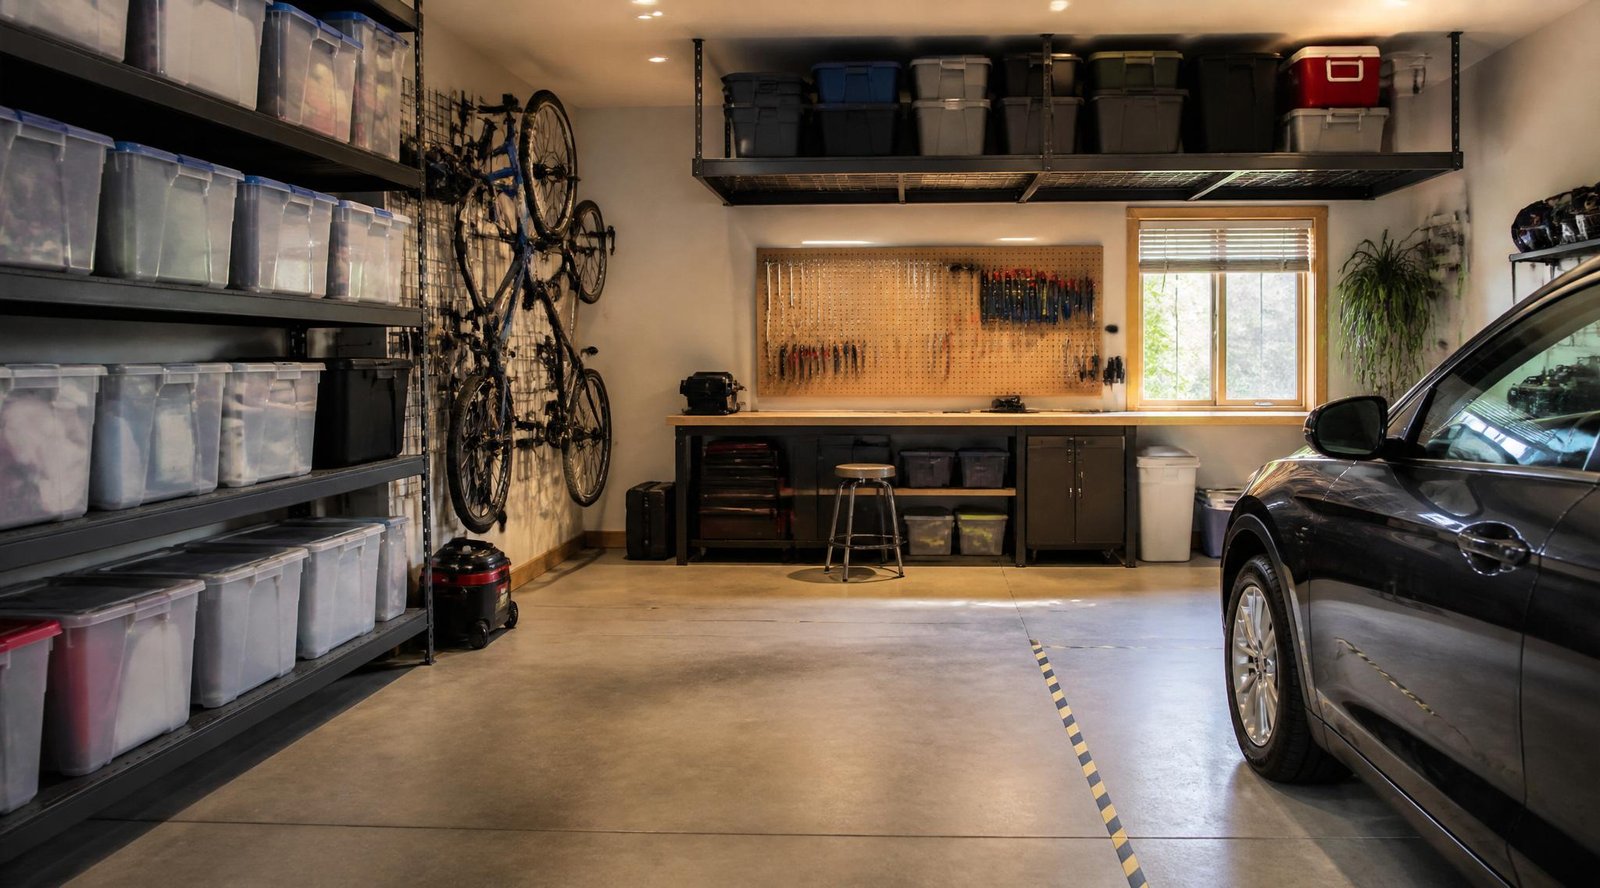
This is where garage organization becomes fun. The right combination of storage systems depends on your garage size, budget, and what you’re storing — but most well-organized garages use a mix of the following.
Wall-Mounted Storage
Walls are your most underused real estate. Popular wall storage options include:
- Pegboards — Extremely flexible for hand tools; you can rearrange hooks as your needs change.
- Slatwall panels — A more heavy-duty, modular alternative to pegboard, often used with hooks, baskets, and bins.
- Wall-mounted shelving — Great for bins, boxes, and anything you don’t need to grab constantly.
- Track storage systems — Rail-based systems that let you hang everything from bikes to garden tools on adjustable hooks.
Overhead & Ceiling Storage
Ceiling storage racks are one of the best investments for garages with limited floor space. They’re ideal for items you access only a few times a year — holiday decorations, luggage, camping gear — and they free up floor space immediately. Just be sure to check weight limits and mount racks into ceiling joists, not just drywall.
Cabinets and Enclosed Storage
If you want a cleaner look (and to keep dust, pests, and curious kids away from chemicals and tools), lockable cabinets are worth the investment. Metal cabinets tend to outlast plastic ones and are more resistant to moisture and pests.
Freestanding Shelving Units
Heavy-duty steel shelving units are the workhorse of garage organization. Look for shelves rated for at least 200–300 lbs per shelf if you’re storing paint cans, tools, or bins of holiday decor.
Bins, Labels, and Clear Containers
Clear, stackable plastic bins let you see contents at a glance without opening every box. Pair them with a labeling system — even simple masking tape and a marker works — so everyone in the household knows exactly where things belong (and, more importantly, where to put them back).
Step 4: Maximize Floor Space
Once wall and ceiling storage is handled, focus on the floor. A few tips:
- Use vertical storage racks instead of flat piles. Anything stacked directly on the floor is harder to access and more vulnerable to moisture.
- Install a bike rack or bike hooks to get bicycles off the ground entirely.
- Add a rolling tool cart for frequently used tools so you’re not walking back and forth to a fixed workbench.
- Mark parking boundaries with floor tape or a parking mat so the car zone stays protected from creeping clutter.
- Consider your flooring. If your garage floor is stained, cracked, or dusty, this is a good time to clean or refinish it — a well-maintained floor makes the whole space feel more organized, even before you add a single shelf.
Step 5: Build In a Workbench and Tool Zone
Almost every garage benefits from a dedicated workbench, even if you’re not a serious DIYer. A basic workbench setup should include:
- A sturdy, waist-height work surface
- Pegboard or a tool wall directly above it for quick access
- A power strip or dedicated outlet for chargers and power tools
- A small parts organizer for screws, nails, and hardware
- Good lighting — a single overhead bulb usually isn’t enough for detail work
If your garage doesn’t already have adequate lighting or outlets near the workbench area, it’s worth addressing before you finish organizing everything else around it.
Step 6: Think About Climate and Protection
Organization isn’t just about where things sit — it’s also about keeping stored items in good condition. A few climate-related factors matter more than people expect:
- Temperature swings can damage paint, electronics, and certain plastics stored in garages. If you’re investing in higher-value storage or plan to spend more time in the space, insulating your garage helps regulate temperature and protects both your belongings and anything mechanical, like a chest freezer or water heater.
- Moisture and humidity are common causes of rust, mold, and warped cardboard boxes. Elevate storage off the floor and consider a dehumidifier in humid climates.
- Noise matters if your garage doubles as a workshop or hobby space — if power tools or a workbench are part of your organized garage, soundproofing your garage can make a noticeable difference for you and your neighbors.
Step 7: Repurposing Newly Freed-Up Space
One of the best parts of organizing a garage is discovering just how much usable space you actually have once the clutter is gone. Many homeowners use this opportunity to repurpose part of the garage entirely. Popular options include:
- A home gym. With gear properly stored along the walls, a surprising amount of floor space opens up for equipment. Our guide on converting your garage into a home gym covers flooring, ventilation, and equipment layout.
- A livable room or studio. If you’re organizing with a bigger renovation in mind, decluttering is the essential first step before converting your garage into a living space, which involves insulation, flooring, and permitting considerations.
- A dedicated hobby or craft room, using the same wall-storage and zoning principles covered above.
Step 8: Maintain the System
An organized garage only stays organized if you build in maintenance habits. A few practices that make a real difference:
- Do a seasonal reset. Every few months, spend 20–30 minutes putting stray items back in their zones.
- One in, one out. When you buy a new tool or piece of equipment, consider donating or discarding something similar you no longer use.
- Inspect storage hardware regularly. Check that wall-mounted shelving, hooks, and overhead racks are still securely fastened, especially in garages with temperature swings that can loosen anchors over time.
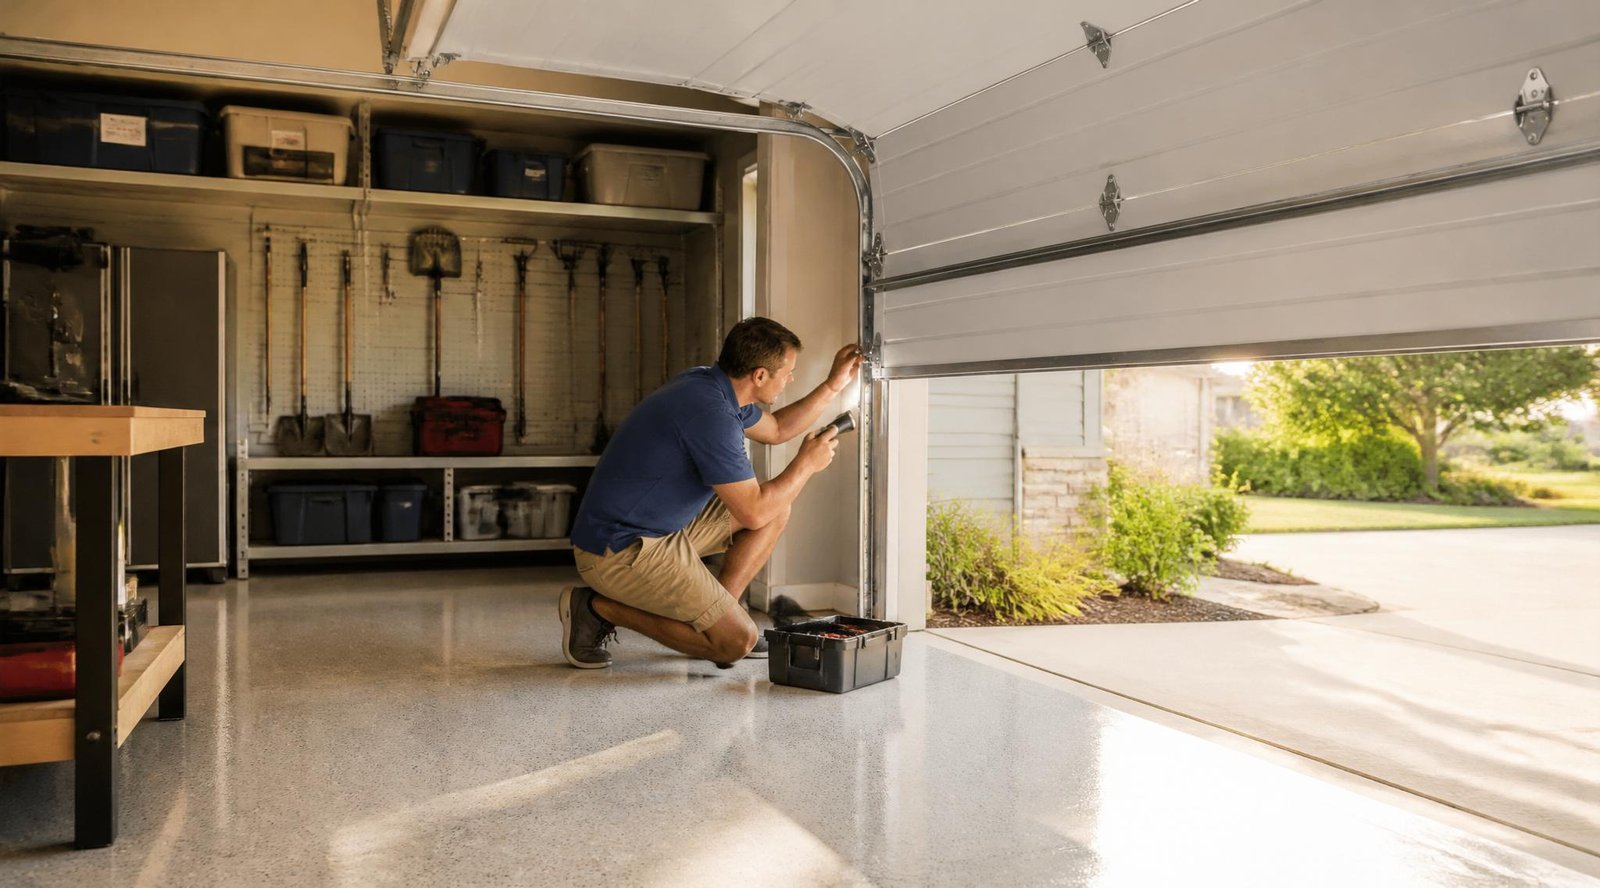
- Stay on top of garage door function, since a smoothly operating door affects how easily you can access everything inside. A quick look at our garage door maintenance checklist can help you catch small issues — like a noisy opener or misaligned track — before they turn into bigger repairs.
- Re-check for pests seasonally. Even a well-organized garage can attract rodents or insects looking for shelter, particularly in fall and winter. A quick seasonal check keeps small problems from becoming nesting sites.
Budget-Friendly Garage Organization Hacks
You don’t need a full renovation budget to see a big improvement. Some low-cost wins:
- Repurpose old kitchen cabinets as garage storage.
- Use tension rods to create makeshift dividers in deep shelving.
- Hang a shoe organizer on the wall for small tools, gloves, and spray bottles.
- Label bins with a printed list of contents taped to the front, updated as needed.
- Use magnetic strips to hold metal tools like screwdrivers and wrenches.
- Repurpose glass jars for screws, nails, and small hardware, mounted lid-down under a shelf.
Common Garage Organization Mistakes to Avoid
- Buying storage before decluttering. It’s tempting to buy shelving first, but you’ll likely buy the wrong amount or size if you skip the sorting step.
- Ignoring the ceiling. Ceiling space is often the most wasted area in a garage.
- Ignoring weight limits. Overloading shelving or overhead racks is a common (and dangerous) mistake — always check manufacturer weight ratings.
- Storing everything in cardboard. Cardboard absorbs moisture, attracts pests, and breaks down over time. Clear plastic bins are a better long-term investment.
- Forgetting accessibility. Store frequently used items at eye-to-waist level, and reserve high or low storage for things you rarely need.
- Skipping a maintenance plan. Without a simple system to keep things organized, even the best setup slides back into clutter within a few months.
Garage Organization by Garage Size
Not every garage is the same size, and your storage strategy should scale with the space you actually have.
Single-Car Garages
In a one-car garage, every inch counts. Prioritize vertical storage — wall-mounted shelving, pegboard, and ceiling racks — over floor-standing cabinets, which eat into your parking space. Fold-down workbenches that tuck against the wall when not in use are especially useful here. If you’re tight on space, resist the urge to store bulky seasonal items like patio furniture; consider a small outdoor shed instead and reserve the garage for daily-use items and the vehicle itself.
Two-Car Garages
Two-car garages offer more flexibility, but they’re also where clutter multiplies fastest, since there’s “room to spare” until suddenly there isn’t. A common, effective layout dedicates one full bay to parking, and splits the second bay between a workbench zone, shelving, and a designated walking path. If you only park one car in a two-car garage, the empty bay is prime real estate for a home gym setup or a hobby corner — as long as storage stays contained to the walls and doesn’t creep into the open floor.
Three-Car and Oversized Garages
Larger garages tend to accumulate the most clutter simply because there’s space to avoid dealing with it. If you have a three-car or oversized garage, resist the temptation to let one bay become a catch-all. Instead, treat each zone as intentionally as you would in a smaller garage — a dedicated workshop area, a sports equipment zone, and clearly defined parking spots. Oversized garages are also the best candidates for a full conversion, since you can organize storage into one section and dedicate the rest to a home gym, workshop, or living space without sacrificing parking.
Essential Tools and Products for a Garage Organization Project
Having the right supplies on hand before you start makes the whole process faster. A basic shopping list includes:
- Heavy-duty steel shelving units (adjustable shelves are ideal for irregular items)
- Pegboard or slatwall panels with an assortment of hooks
- Clear, stackable storage bins in multiple sizes
- A label maker or waterproof marker and tape
- Ceiling-mounted storage racks rated for your intended load
- Wall anchors and a stud finder, since most heavy storage needs to be mounted into studs or joists, not just drywall
- A shop vacuum and broom for the deep-clean that should come before anything goes back on the shelves
- Bike hooks or a wall-mounted bike rack
- A rolling tool cart or tool chest for frequently used items
- A fire extinguisher rated for garage use, especially if you’re storing any flammable materials
Having these on hand before your organization weekend prevents the frustrating mid-project trip to the hardware store.
Safety Considerations While Organizing
Garages often double as the storage spot for items that need to be handled carefully. Keep these safety principles in mind as you organize:
- Store flammables away from heat sources. Gasoline, propane, and solvents should never be stored near a water heater, furnace, or any open flame.
- Keep chemicals out of reach of children and pets, ideally in a locked cabinet.
- Don’t block emergency exits or electrical panels with shelving or bins, even temporarily.
- Check smoke and carbon monoxide detectors if your garage is attached to your home, especially if you store vehicles or gas-powered equipment inside.
- Secure heavy overhead storage properly. A ceiling rack that isn’t anchored into joists can fail under weight and cause serious injury.
Taking safety into account during organization isn’t just about avoiding accidents today — it also protects the long-term investment you’re making in your garage, whether or not you plan to renovate it further down the line.
Frequently Asked Questions
How long does it take to organize a garage? For an average two-car garage, plan on a full weekend for decluttering and sorting, plus additional time to install shelving or wall storage systems. Larger or more cluttered garages may take longer.
What’s the best flooring for an organized garage? Epoxy coatings, interlocking tiles, and sealed concrete are all popular choices because they’re durable, easy to clean, and resistant to oil and chemical stains.
Should I insulate my garage before organizing it? If you’re planning significant renovations or want to protect temperature-sensitive items, it’s worth insulating first. Otherwise, you can organize now and insulate later without much extra work.
How do I keep pests out of my organized garage? Seal gaps around the garage door and foundation, avoid storing cardboard directly on the floor, and do a seasonal inspection for signs of nesting.
What’s the most cost-effective storage solution? Wall-mounted pegboard and steel shelving units typically offer the best value, since they maximize vertical space without a major investment.
Final Thoughts
Organizing a garage is one of the highest-impact home projects you can tackle — it protects your belongings, improves safety, saves money, and often unlocks entirely new uses for the space. Start with a full declutter, build out zones that match how you actually live, invest in wall and ceiling storage before floor storage, and put a simple maintenance habit in place so the work sticks.
Once your garage is organized, you’ll likely find yourself eyeing bigger upgrades — from insulation to a full room conversion — and you’ll be starting from a clean, functional foundation instead of digging out from under years of clutter.