By Danial Marquez | Maintenance | Updated July 2026
If your garage turns into a furnace every summer and a freezer every winter, the problem almost certainly comes down to one thing: no insulation. Most garages are built as afterthoughts — bare stud walls, a thin metal door, and an open ceiling cavity that bleeds conditioned air and lets outdoor temperatures in without resistance. The result is a space that’s uncomfortable to work in, wastes energy, and makes life harder if you’re using it as a gym, workshop, or converted living area.
The good news is that insulating a garage is one of the highest-ROI weekend projects a homeowner can take on. It directly reduces energy bills by minimizing heat transfer between the garage and the rest of the house, creates a more comfortable working environment year-round, and — when paired with proper soundproofing — transforms a raw garage into a fully usable extra room. This guide walks through every surface that needs attention: walls, ceiling, door, and floor, with material options, installation tips, and cost breakdowns at every step.
If you’ve already read our guide on how to soundproof a garage, you’ll notice that insulation and soundproofing overlap heavily — many of the same materials serve both purposes, and tackling them together in a single project saves significant time and money.
Why Most Garages Are Not Insulated (And Why That’s a Problem)
Standard residential construction practice in most of North America doesn’t require garages to be insulated — builders install it only in the living envelope of the house, which in an attached garage situation typically means the wall between the garage and the home gets insulation, but the exterior garage walls, ceiling, and door do not.
This creates several problems that compound over time. In summer, a south- or west-facing garage with no insulation can reach 120°F (49°C) or more, which radiates heat into the adjacent rooms and forces your HVAC to work significantly harder. In winter, the reverse happens — cold air from an uninsulated garage infiltrates the house through shared walls and floors, raising heating costs.
Beyond energy use, an uninsulated garage is simply harder to use. Tools rust faster when exposed to extreme temperature swings and humidity. Paint, chemicals, and stored food-grade supplies degrade more quickly. And if you’re trying to work out or build things in the space, the discomfort is a real deterrent — which is exactly why insulation is always the first step we recommend before any garage conversion, whether to a home gym or a living space.
Before You Start: Check for Moisture and Existing Problems
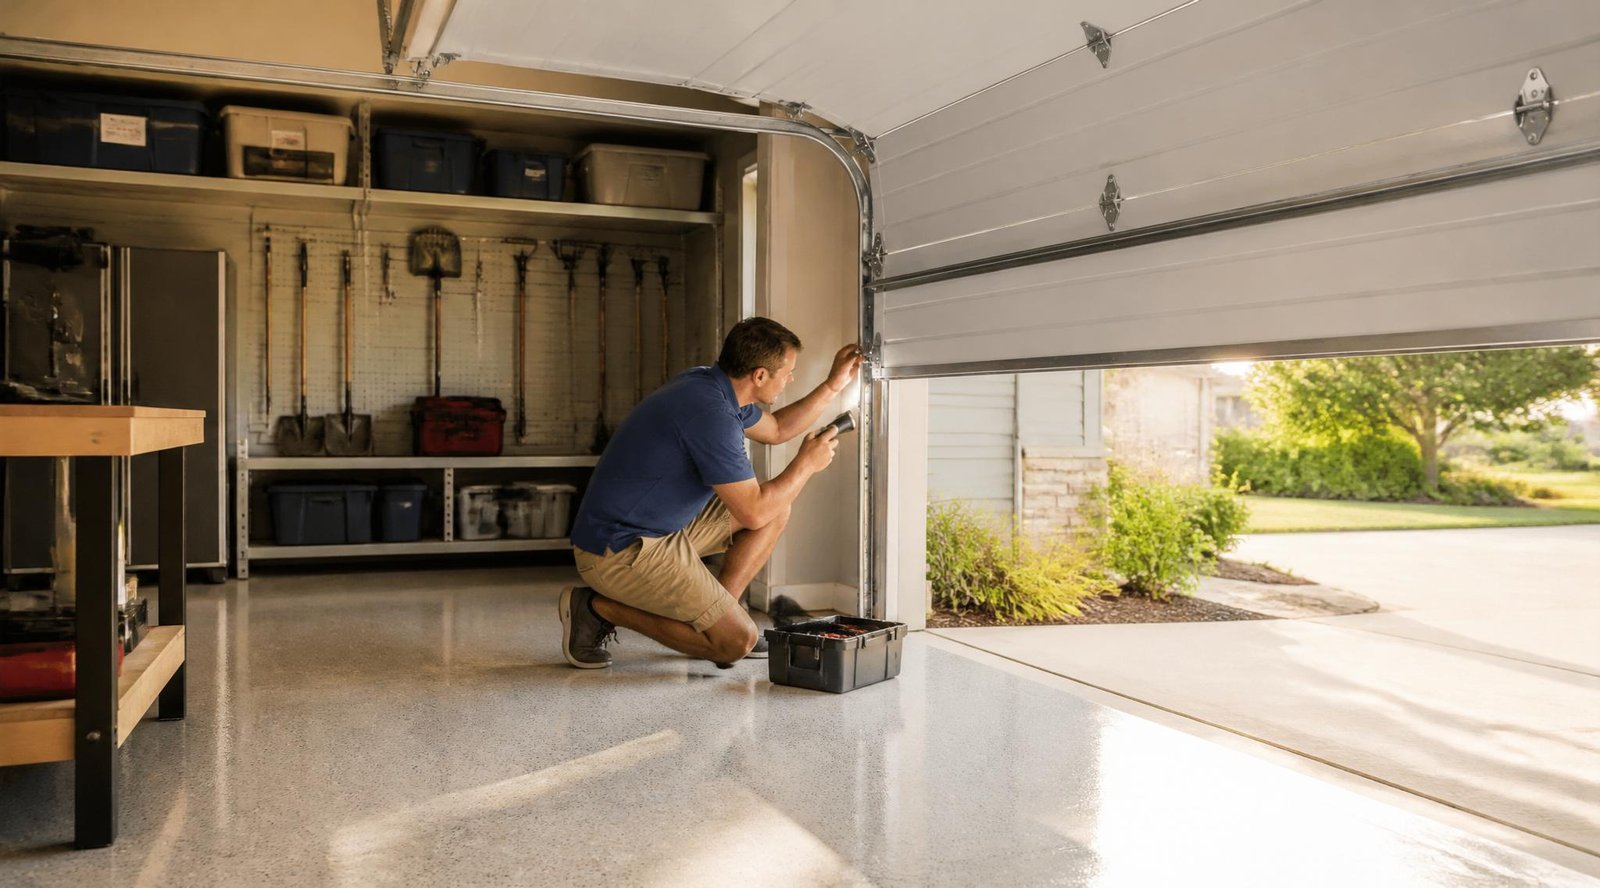
Before any insulation goes in, the garage needs to be inspected for two things: moisture intrusion and pest activity. Insulation traps moisture and creates ideal nesting conditions for rodents and insects if either problem already exists. Insulating over a wet or pest-damaged cavity seals the problem in and makes it significantly worse.
Walk the perimeter of the garage during or after rain and look for water staining along the base of walls, on the floor near walls, or on the ceiling. Inspect around the garage door frame, windows, and any penetrations. If you find active moisture, address it before insulating — a simple caulk-and-weatherstrip pass often resolves minor issues, while persistent water intrusion may need grading work or a French drain.
For pest activity, check inside wall cavities (if walls are open) and along the ceiling perimeter for nesting material, droppings, or chewed insulation from any previous attempt. If your garage has had or currently has a rodent or insect problem, read our complete guide on how to get rid of garage pests before adding insulation, since foam and batt insulation are attractive nesting materials for mice in particular, and rodent-proofing the garage shell before insulating is far easier than trying to address it afterward.
Understanding Your Insulation Options
Not all insulation materials are the same, and the right choice depends on your wall type, budget, and whether the walls are open or already drywalled.
Fiberglass Batt Insulation The most widely available and affordable option. Sold in pre-cut widths designed to fit between standard 16″ or 24″ on-center studs. Easy to cut and install with no special equipment. Performs well in wall and ceiling cavities and is available in multiple thickness ratings (R-13 for 2×4 walls, R-19 or R-21 for 2×6 walls). The main downside is that it doesn’t seal air gaps on its own — it needs a vapor barrier and properly sealed stud bays to perform to its rated R-value.
Mineral Wool (Rock Wool) Batt Denser than fiberglass, more dimensionally stable, and significantly better at blocking sound in addition to thermal insulation — which is why it’s particularly recommended when you’re doing a combined insulation and soundproofing project. It’s also naturally fire-resistant and doesn’t absorb moisture the way fiberglass can if the vapor barrier fails. Costs roughly 20–40% more than fiberglass but earns back the premium in performance.
Rigid Foam Board (XPS or Polyiso) Sheets of dense foam insulation that can be cut to size and adhered directly to wall surfaces — useful for finished walls where you don’t want to tear out drywall, or for adding insulation to the inside face of a garage door. Offers high R-value per inch (R-5 to R-6.5 per inch for XPS, up to R-8 per inch for polyiso) in a thin profile, which matters when you want to maximize R-value without sacrificing interior space.
Spray Foam Insulation Either two-component closed-cell spray foam (applied professionally for whole cavities) or single-component expanding foam in a can (for sealing gaps and penetrations). Spray foam seals and insulates simultaneously, which makes it the best performer for air sealing — but professional closed-cell application is expensive, typically $1.50–$3.50 per square foot installed. Use canned foam at a minimum to seal penetrations, electrical boxes, and gaps around windows and the door frame regardless of which other insulation type you choose.
Blown-In Insulation Best for attic-style garage ceilings with deep cavities and limited access. Blown cellulose or fiberglass can be installed without opening finished ceilings in many cases, using a blower machine and small access holes.
Step 1: Insulate the Garage Walls
The walls are the largest surface area in most garages and the most impactful surface to insulate, especially the exterior walls facing the sun and the shared wall between the garage and the house interior.
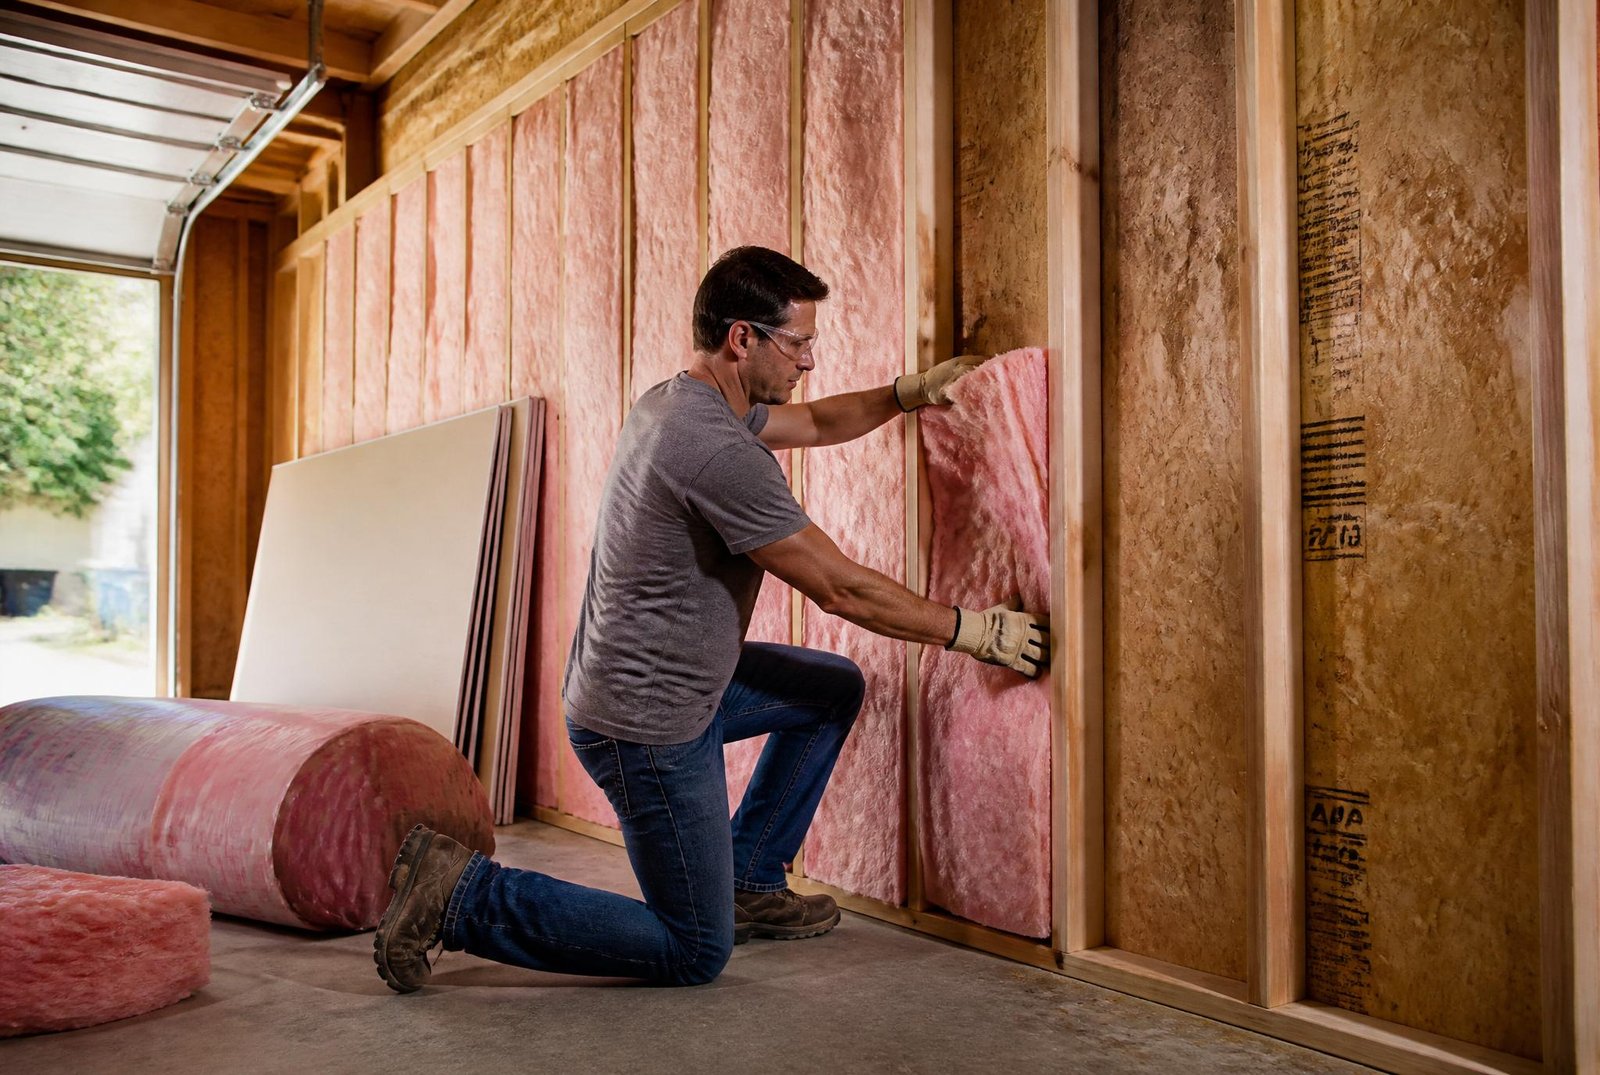
If walls are open studs (not yet drywalled): This is the ideal time to insulate, because everything is accessible. Install batt insulation — fiberglass or mineral wool — by pressing it firmly into each stud bay so it fills the cavity completely without compression. Compressed insulation loses R-value proportionally to how tightly it’s compressed, so the material should fill but not be forced into the space.
Staple facing flanges (if using faced batts) to the face of the studs at roughly 12″ intervals, or use unfaced batts held in place by friction, which is acceptable for walls that will be drywalled soon after.
After insulation is in place, install a 6-mil polyethylene vapor barrier if you’re in a cold climate (vapor barrier goes on the warm side, facing the living space). In warm climates, check local building codes — vapor barrier placement reverses in hot-humid climates where the drive is to keep outdoor humidity out.
Finish with 1/2″ or 5/8″ drywall. If this is a shared wall between the garage and living space, local building codes in most jurisdictions require 5/8″ Type X (fire-rated) drywall on the garage side as a fire separation — check your local requirements before finalizing material selection.
If walls are already drywalled: You have two practical options. The first is adding rigid foam board directly over the existing drywall on the interior surface — this adds R-value without opening the wall, though it reduces interior space by 1–2 inches per side and requires extending electrical boxes. The second is drilling access holes near the top of each stud bay and blowing in loose-fill insulation, then patching. The blown-in approach keeps the existing finish intact, though it requires renting or hiring a blower machine.
Don’t skip the shared wall. Many homeowners insulate the exterior garage walls but overlook the wall the garage shares with the house. This is actually the most important wall thermally, because it’s the most direct path for temperature transfer between the conditioned house interior and the uninsulated garage. If you only insulate one wall, make it this one.
Step 2: Insulate the Garage Ceiling
Ceiling insulation is the second biggest priority, and it matters for two different reasons depending on your garage configuration.
Detached garage or garage with no living space above: In this case, the ceiling is the roof plane, and insulating it (or the attic space above) prevents outdoor heat from radiating directly down into the garage during summer. This is where blown-in insulation or deep batt insulation (R-38 or higher in most climates) in the joist cavities pays the biggest dividends.
Attached garage with living space above: Here, the ceiling is a shared floor/ceiling assembly between the garage and the room above. Fire-rated insulation and drywall treatment are required by most building codes, and acoustic performance matters as much as thermal — footstep and impact noise from above travels through the ceiling just as easily as heat does. Mineral wool batts between ceiling joists, combined with a layer of 5/8″ Type X drywall on the garage side, handles both the fire requirement and provides meaningful acoustic separation. For serious sound isolation, resilient channel or sound isolation clips between the joists and the drywall prevent vibration from transmitting directly through the structure — the same decoupling technique discussed in detail in our garage soundproofing guide.
Cathedral or sloped garage ceiling: Requires either vented batt installation (leaving a gap between insulation and roof deck for air circulation) or closed-cell spray foam applied directly to the roof deck — the latter turns the attic space into a semi-conditioned zone. Spray foam is far more common here because maintaining the ventilation gap with batts in a sloped assembly is difficult to do correctly.
Step 3: Insulate the Garage Door
The garage door is simultaneously the easiest insulation target and the one most homeowners skip. A standard single-layer steel garage door has an R-value of roughly R-2 to R-4, compared to R-13 to R-21 for a properly insulated wall. That gap matters enormously for total garage thermal performance.
Garage door insulation kit: Pre-cut reflective foam-core or fiberglass batt kits are sold specifically for garage doors and install in a single afternoon using adhesive clips that press into holes you drill in the door panels. They add R-3 to R-9 depending on the kit thickness, bring the door up to roughly the same performance level as a basic insulated wall, and also reduce the noise of the door rattling and vibrating during opening and closing.
Buy a pre-insulated replacement door: If your door is aging, undersized for your vehicles, or just plain ugly, replacing it with a factory-insulated model (available from R-6 up to R-18 or higher in premium double-layer steel with foam core) is worth considering. Many homeowners doing a full garage renovation find the door replacement pays back in energy savings and curb appeal within a few years.
Always add weatherstripping alongside insulation: No matter how well you insulate the door panels themselves, gaps around the door frame will undo a significant portion of the thermal improvement. The bottom seal (astragal), side seals, and top header seal all need to close tightly against the frame when the door is closed. Replacing worn weatherstripping and installing a properly fitting bottom seal is one of the cheapest and highest-impact steps in any garage insulation project — and it’s the same fix that helps with garage door track alignment issues, since a misaligned door often gaps badly at the frame. If your door doesn’t close evenly, our garage door track alignment and repair guide covers diagnosis and fix before weatherstripping can seal properly.
Check the hardware while you’re at it: A door with worn springs that doesn’t sit squarely in the frame can’t be properly weatherstripped regardless of what seal you install. If your door is sagging, bouncing on close, or making unusual noises, the spring may be the culprit — the garage door spring replacement guide covers symptoms and safe DIY repair.
Step 4: Address the Garage Floor
The concrete slab itself isn’t typically insulated (though slabs in extreme climates are sometimes insulated at the perimeter), but the floor is worth considering as a thermal and comfort surface — particularly if you’re converting the garage into a gym or workshop where you’ll spend extended time standing.
Rigid foam underlayment: A layer of 1″ or 2″ extruded polystyrene (XPS) foam board laid over the concrete, topped with subfloor panels or directly with laminate, provides meaningful thermal separation and makes the floor noticeably warmer underfoot. This approach adds height, so confirm it doesn’t interfere with the door threshold or adjacent floor level.
Rubber flooring: For gym conversions, interlocking rubber tiles or rolled rubber flooring don’t provide meaningful R-value, but they do create a thermal break between feet and the cold slab that makes the space dramatically more comfortable during winter workouts — without adding height concerns.
Perimeter slab edge insulation: In cold climates, the outer edge of the concrete slab is often the primary path for ground-frost cold to enter the garage. A strip of 2″ rigid foam board running along the exterior foundation perimeter at ground level addresses this for relatively low cost and is typically done during exterior landscaping or driveway work rather than interior finishing.
Step 5: Seal Every Air Gap
Insulation alone doesn’t make a space thermally efficient — air sealing does. Even R-30 batt insulation performs far below its rated value if air is moving freely around it through cracks and penetrations. A rule of thumb in building science is that a 1% air gap in a wall assembly can account for as much as 50% of the thermal loss through that assembly.
Walk the garage systematically and seal every penetration: electrical outlets and switch boxes (use foam gaskets behind the cover plates), pipe penetrations through walls, gaps around the interior door frame to the house, gaps at the top and bottom plates where the framing meets the foundation, vents, and any holes drilled for wiring or plumbing.
Use canned expanding foam (the slow-expand variety for electrical and plumbing, not the high-expansion version that can warp window and door frames) or acoustical caulk for tight gaps. This same air-sealing pass also helps significantly with garage pest control, since many insects and rodents enter through exactly these small gaps — making it a step that pulls double duty.
Putting It All Together: Suggested Project Order
For the best results and least rework, tackle surfaces in this order:
- Inspect and fix any moisture or pest issues first
- Seal all air gaps with canned foam and caulk
- Insulate walls (batts between studs, then vapor barrier, then drywall)
- Insulate ceiling (batts or blown-in, then fire-rated drywall if required)
- Insulate and weatherstrip the garage door
- Address the floor (underlayment or rubber tiles)
- Add any finishing layers — paint, lighting, storage
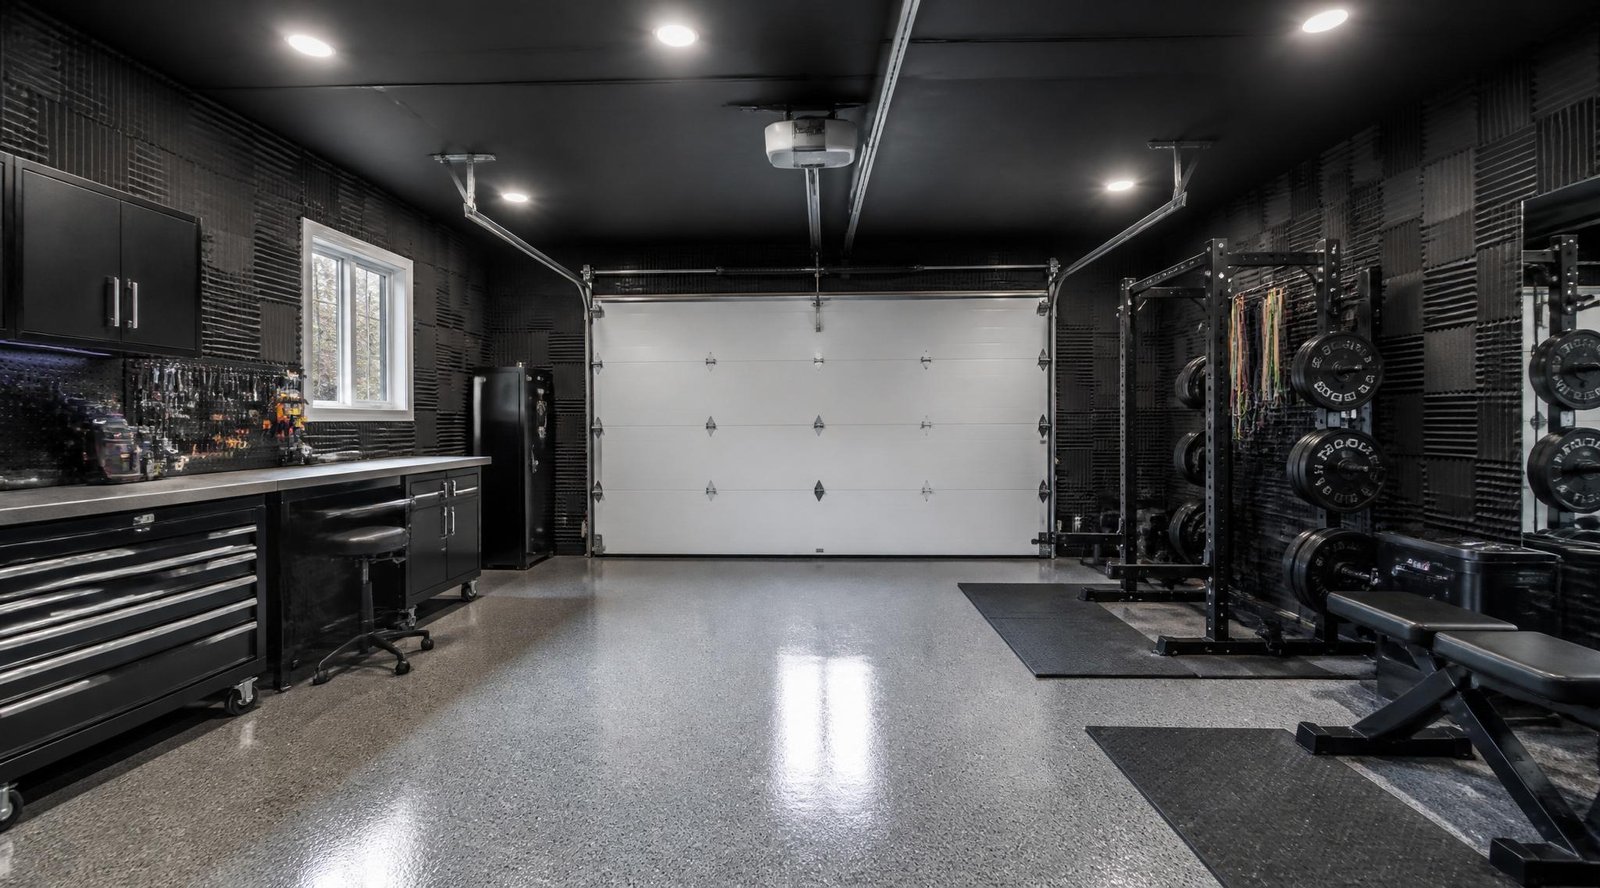
Doing it in this order means each layer builds on the previous one, and you’re never tearing out finished work to add what should have gone in first. It’s also the sequence that makes the most sense if you’re combining insulation with a broader garage improvement project, such as a home gym conversion where flooring and lighting come after the thermal envelope is complete.
R-Value Quick Reference by Climate
R-value requirements vary significantly by climate zone. Here’s a simplified guide for garage insulation targets:
Cold climates (Climate Zones 5–7, e.g., Midwest, Northeast, Pacific Northwest): Walls: R-13 to R-21 | Ceiling: R-38 to R-49 | Door: R-12 or higher
Mixed climates (Climate Zones 3–4, e.g., Mid-Atlantic, Mountain West): Walls: R-13 to R-15 | Ceiling: R-30 to R-38 | Door: R-8 or higher
Hot climates (Climate Zones 1–2, e.g., Southeast, Southwest): Walls: R-13 | Ceiling: R-30 (focus especially on radiant barriers in the attic) | Door: R-6 minimum
For the most accurate requirements, check the U.S. Department of Energy’s climate zone map and your local building department, since some municipalities have adopted stricter energy codes than the federal baseline.
Budget Breakdown
DIY insulation of a standard two-car garage (unfinished walls): Materials only (fiberglass batt, vapor barrier, air sealing supplies): $300–$600 Materials with drywall: $700–$1,400 With mineral wool instead of fiberglass: add approximately 30–40%
Adding a garage door insulation kit: $50–$150 for a DIY kit | $300–$600 for a pre-insulated door replacement
Professional spray foam for an entire garage: $1,500–$4,000+ depending on size and foam type
Full professional insulation package (walls, ceiling, door, air seal): $2,000–$5,000 for a two-car garage, varying widely by region and material choice
For most DIYers, the sweet spot is doing batts and drywall yourself (labor is the majority of professional cost) while hiring out only the spray foam air sealing if desired.
Common Mistakes to Avoid
Compressing batt insulation into a space that’s too small. Compression reduces R-value dramatically. If the cavity isn’t the right depth for the insulation you bought, get a different R-value rather than forcing it in.
Skipping the air seal and relying on insulation alone. As noted above, air gaps undermine even high R-value insulation. Caulk and foam sealant are inexpensive and non-negotiable.
Ignoring the shared wall with the house. This is the most important thermal and fire boundary in an attached garage and the one that pays back most immediately in reduced HVAC costs.
Not checking building codes for the shared ceiling/wall assembly. Many jurisdictions require 5/8″ Type X drywall on the garage side of any shared assembly for fire separation. Skipping this can cause issues at resale or if you ever need a building inspection.
Installing vapor barrier on the wrong side. Vapor barrier goes on the warm side of insulation — toward the interior in cold climates, toward the exterior in hot-humid climates. Getting this wrong can cause moisture to condense inside the wall cavity, leading to mold and rot.
Final Thoughts
Insulating a garage is one of those projects that pays back in multiple currencies at once: lower energy bills, a more comfortable space, protection for stored equipment, and dramatically better usability if you’re converting the space for work, exercise, or any other purpose. The work is genuinely accessible to most DIYers, requires no specialized skills beyond basic measurement and cutting, and the material cost is manageable even on a tight budget.
Start with air sealing — it’s the cheapest, highest-impact step — then work outward from the most critical surfaces: the shared house wall first, then the ceiling, then exterior walls, then the door. By the time you’ve completed all four, the garage will be a fundamentally different space in both summer and winter.
For the next layer of improvement after insulation is in place, check out our complete garage soundproofing guide, which builds directly on the same wall and ceiling assemblies you’ve just created. And if the big-picture plan is a full garage conversion, our guides on converting a garage to a home gym and converting a garage to a living space both assume insulation as the foundation step — you’ll be well ahead of the game with this project done first.
Have questions about your specific garage setup, climate zone, or material choices? Drop them in the comments below — and browse our full Maintenance category for more garage upgrade guides.