Garage Door Track Alignment & Repair: The Complete DIY Diagnosis Guide (2026)
By Danial Marquez | Repair | Updated June 2026
A garage door that suddenly veers sideways, grinds against its tracks, or refuses to glide smoothly is one of the most common — and most fixable — garage door problems a homeowner will encounter. In most cases, the culprit isn’t the opener or the springs at all. It’s the track.
Garage door tracks guide every roller along a precise vertical and horizontal path. When a track bends, loosens, or falls out of alignment, the entire door system fights against itself — rollers bind, cables strain unevenly, and what starts as a minor cosmetic issue can quickly turn into a jammed door or a damaged opener.
This guide walks you through how to diagnose track misalignment, the tools and steps for a safe DIY realignment, and exactly when this repair crosses the line into professional territory.
How Garage Door Tracks Work
Every sectional garage door rides on a track system made up of vertical track sections (running straight up alongside the door opening) and horizontal track sections (running back along the ceiling). Steel rollers attached to the edges of each door panel sit inside these tracks, guiding the door’s path as it opens and closes.
The tracks are bolted to the wall studs and ceiling joists using adjustable brackets, which is precisely why they can shift out of alignment over time — a loose bolt, a bumped vehicle, or simple age-related sagging can throw off the careful geometry the system depends on.
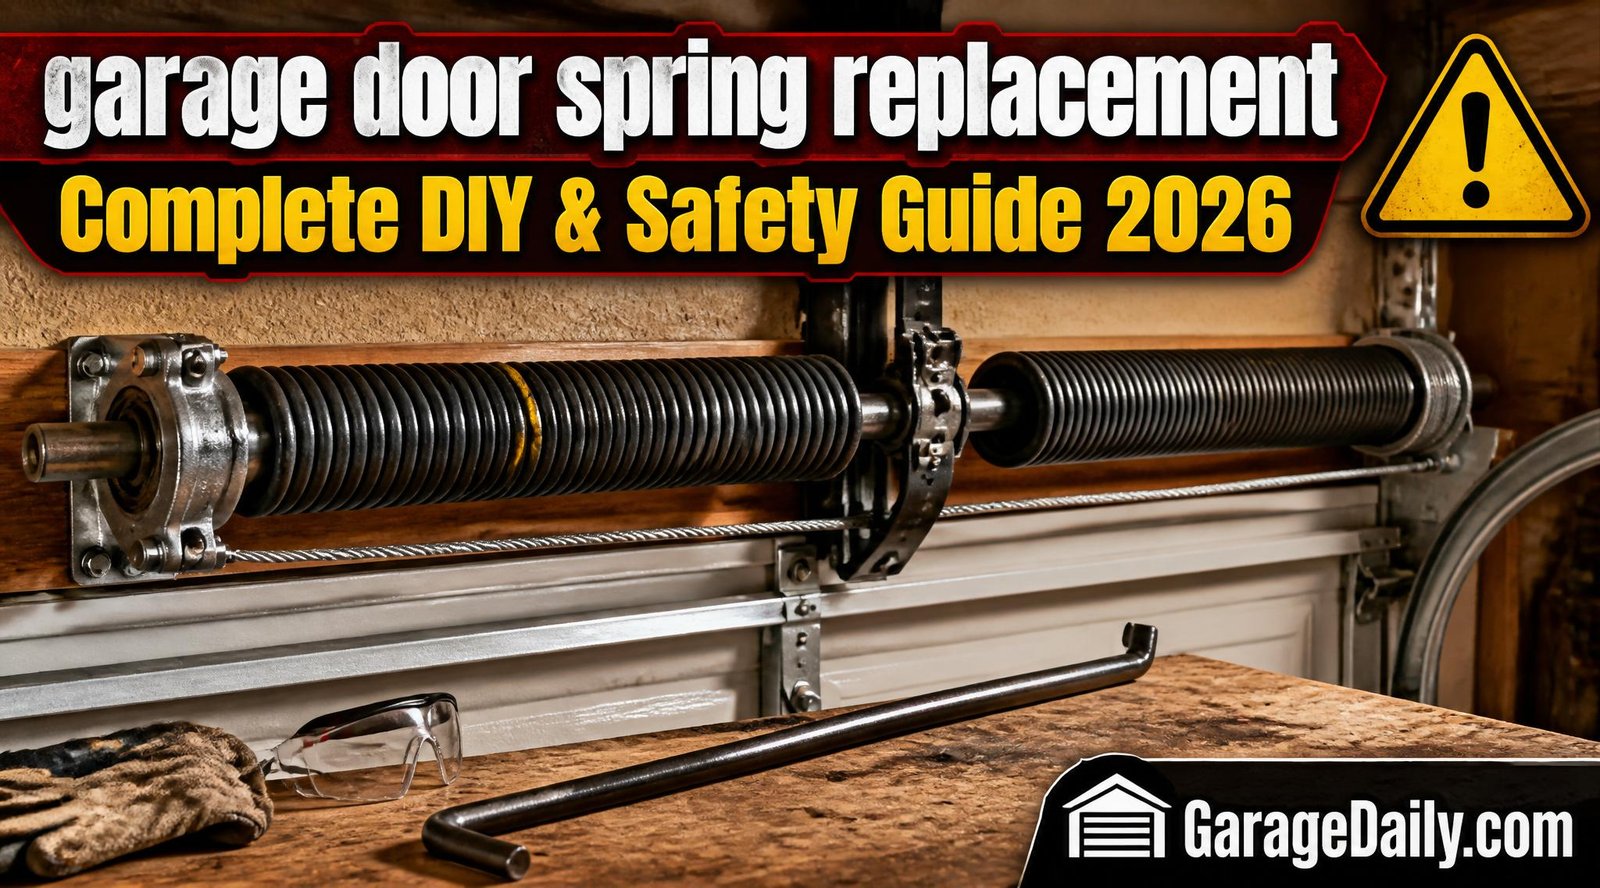
Track alignment problems often show up alongside other hardware issues. If your door has also recently developed weight or balance problems, it’s worth reviewing our garage door spring replacement guide — a failing spring can mimic or worsen track symptoms, and the two issues are frequently mistaken for one another.
Signs Your Garage Door Track Is Misaligned
Track problems rarely appear out of nowhere. Watch for these warning signs:
- Visible gaps between the rollers and the track, or rollers sitting outside the track entirely
- The door moves unevenly, with one side rising or falling faster than the other
- Grinding, scraping, or popping noises during operation
- The door appears crooked or slanted when fully closed
- Loose, bent, or visibly separated track sections, especially at the brackets
- The door binds or sticks at a specific point in its travel, every time
- Rollers that are worn, cracked, or no longer spin freely
If you notice the door slamming down suddenly or struggling to lift at all, stop and check for a spring issue before assuming it’s the track — the symptoms can overlap, and forcing a door past a spring problem creates serious safety risks.
Track Misalignment vs. Other Garage Door Problems
| Symptom | Likely Cause | Related Guide |
| Door crooked, one side low | Track misalignment or broken spring | This guide / Spring guide |
| Loud bang, then door feels heavy | Broken torsion or extension spring | Spring replacement guide |
| Door reverses before closing | Misaligned safety sensors, not track | Opener buying guide |
| Grinding noise, visible gap at rollers | Bent or loose track section | This guide |
| Door won’t stay in track at top | Bent horizontal track or worn rollers | This guide |
Tools and Materials Needed
- Adjustable wrench or socket set
- Rubber mallet
- Level (a 2-foot level works well for vertical track sections)
- Tape measure
- Safety glasses
- Work gloves
- Replacement rollers (nylon rollers are quieter and longer-lasting than steel)
- Replacement bolts or brackets, if existing hardware is damaged
- Garage door lubricant (silicone or lithium-based)
Most homeowners already have the bulk of these tools on hand. Replacement rollers and brackets are inexpensive and widely available at any hardware store.
Safety First: What to Disconnect Before You Start
Before touching any part of the track system, disconnect the garage door opener by pulling the manual release cord, and unplug the opener unit entirely. This prevents the door from being accidentally activated while you’re working near the tracks.
Never work on a track with the door partially open and unsecured. A door held up only by its rollers in a misaligned track can fall suddenly. If you need the door open during repairs, secure it firmly with clamps on the track below the bottom rollers on both sides, the same technique used during spring replacement work.
For a broader rundown of safe practices around garage door systems, our garage safety guide covers 20 essential principles that apply directly to track and hardware repairs like this one.
Step-by-Step: Diagnosing the Misalignment
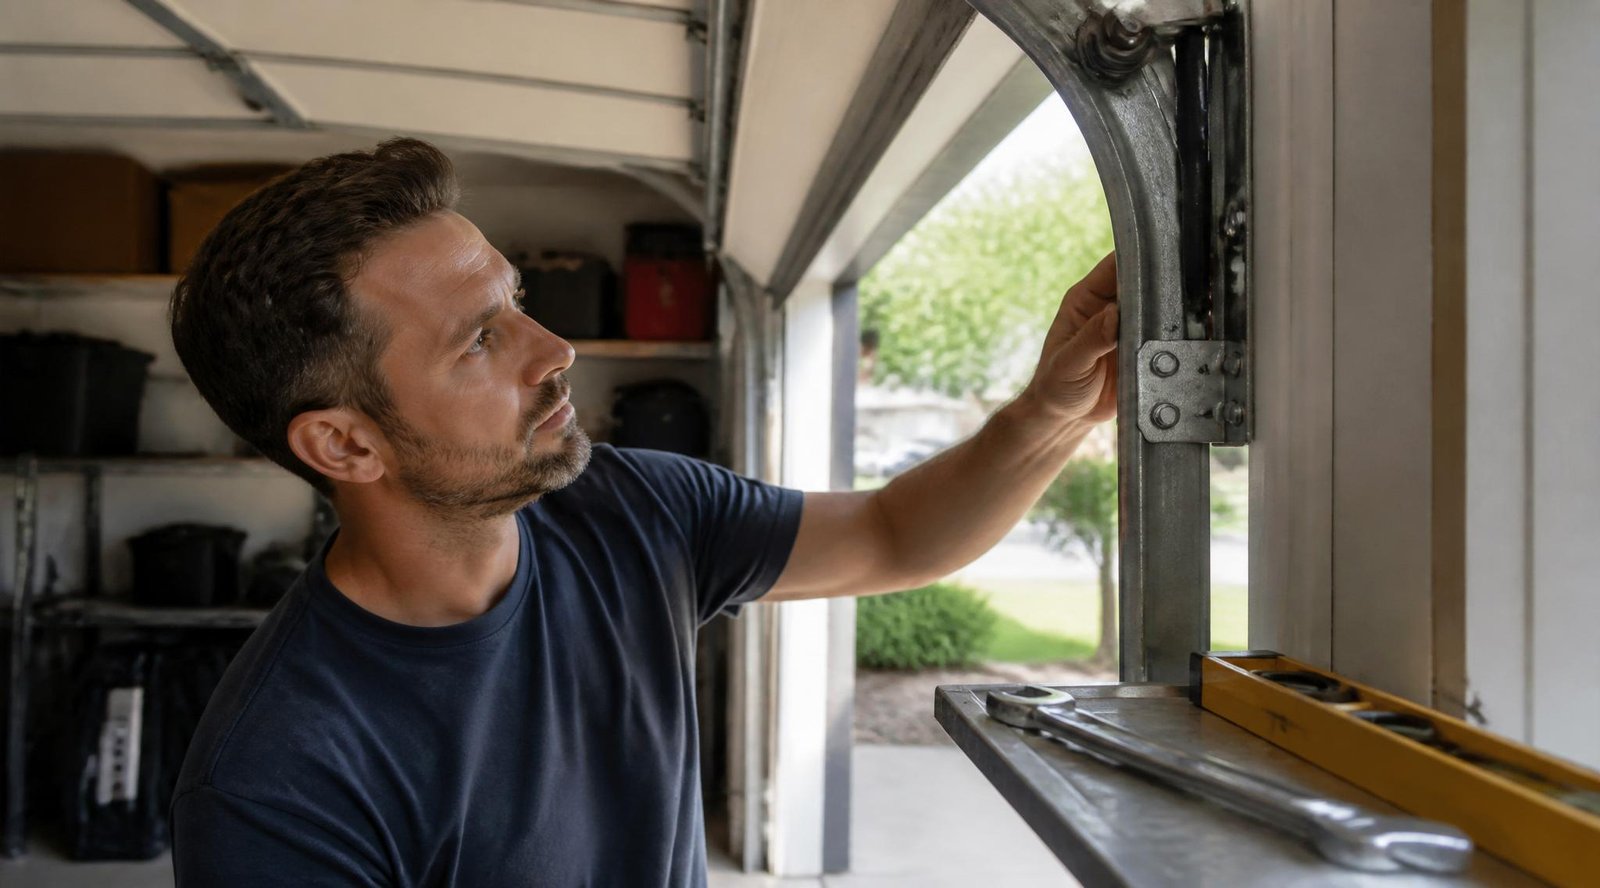
Step 1: Visually Inspect the Full Track Run
With the door closed, walk the full length of both vertical tracks, then the horizontal tracks. Look for obvious bends, dents, gaps at the bracket joints, and any spot where the track pulls away from the wall or ceiling.
Step 2: Check Bracket Tightness
Brackets secure the track to the framing of your garage at regular intervals. Gently try to wiggle each bracket. Any movement indicates loose mounting bolts, which is one of the most common and easiest-to-fix causes of misalignment.
Step 3: Measure the Gap Between Track and Wall
Using a tape measure, check that the vertical track sections sit parallel to the door opening at a consistent distance along their full height. A track that’s closer to the wall at the bottom than the top (or vice versa) is bowed or improperly mounted.
Step 4: Use a Level on the Vertical Tracks
Hold a level against each vertical track section. Both should read plumb (perfectly vertical). A track that’s leaning, even slightly, will cause rollers to bind as the door travels.
Step 5: Inspect the Rollers Themselves
Worn, cracked, or flat-spotted rollers can mimic track misalignment symptoms, since they no longer sit properly inside the track channel. If rollers show visible wear or wobble on their stems, plan to replace them as part of this repair.
Step-by-Step: Realigning the Track
Step 1: Loosen the Mounting Brackets
Working on one section at a time, loosen (don’t fully remove) the bolts holding the affected bracket to the wall or ceiling framing. This gives you enough play to shift the track back into position.
Step 2: Reposition the Track
Using a rubber mallet, gently tap the track section into proper alignment, checking with your level after each adjustment. Move in small increments — aggressive force can bend the track further or damage the mounting surface.
Step 3: Re-tighten the Brackets
Once the section reads plumb and sits at a consistent distance from the door opening, tighten the mounting bolts fully. Recheck with the level after tightening, since tightening can sometimes shift the track slightly.
Step 4: Repeat Along the Full Track Run
Move section by section along both vertical tracks, then the horizontal tracks, repeating the loosen-adjust-tighten process. Pay particular attention to the curved transition section where vertical track meets horizontal track — this junction is a common failure point.
Step 5: Replace Damaged Rollers
With the track now aligned, replace any rollers identified as worn or damaged during your inspection. Most rollers detach by removing a single retaining bolt or clip from the door panel hinge.
Step 6: Reconnect and Test
Reconnect the opener, plug it back in, and run the door through several full open-close cycles. Watch closely for smooth, even movement with no grinding, binding, or visible gaps between rollers and track.
When Bent Track Means Replacement, Not Realignment
Not every track problem can be solved by realignment alone. If a track section shows a sharp kink, a crushed or crumpled area (common after a vehicle backs into it), or metal fatigue cracks, realignment will not hold — the track needs to be replaced outright.
Replacement track sections are sold in standard lengths and are a straightforward swap once you’ve identified the correct profile for your door system. If you’re uncertain whether your track is bent beyond repair or simply misaligned, a professional inspection can settle the question quickly and inexpensively.
Common Causes of Track Misalignment
- A vehicle, ladder, or stored item bumping into the track
- Normal vibration and use loosening mounting bolts over years of operation
- Door panels that are out of square due to age or impact
- Worn rollers that no longer guide the door evenly within the track
- Improper original installation, especially with mismatched bracket spacing
- House settling, which can shift the framing the track is mounted to
Preventing Future Track Problems
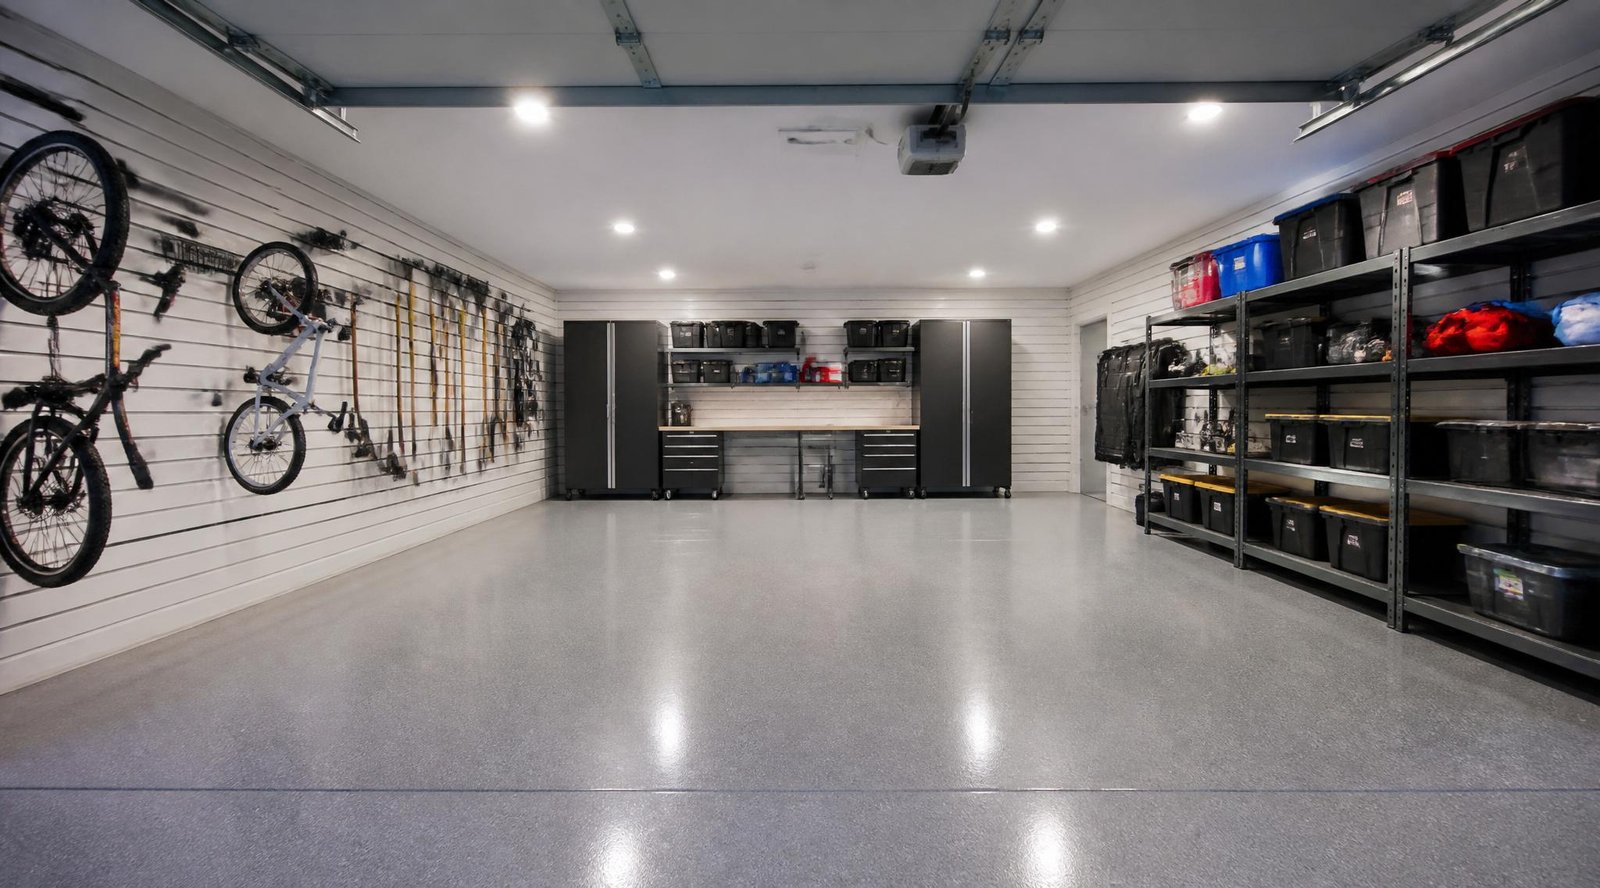
Keeping the area around your garage door clear is one of the simplest ways to prevent track damage. If clutter near the door opening is a recurring issue, our guide on how to organize your garage and our roundup of
garage wall storage ideas both offer practical layouts that keep vehicles and stored items safely away from the door track zone.
- Lubricate rollers and track contact points twice a year with a silicone-based lubricant — never standard oil, which attracts grime
- Visually inspect brackets for looseness every few months
- Address minor noises or binding immediately rather than letting the door “work through it”
- Keep vehicles and stored items at a safe distance from the track on both sides of the door opening
- Schedule an annual professional inspection alongside other garage door maintenance
Good general garage lighting also makes it far easier to spot early track wear before it becomes a bigger problem. Our complete garage lighting guide covers practical setups for exactly this kind of visibility.
DIY vs. Professional: When to Call for Help
Track realignment is one of the more DIY-friendly garage door repairs, but certain situations call for a professional:
- The track is bent, kinked, or crushed rather than simply loose
- The misalignment is paired with signs of spring failure (heaviness, uneven lift, a loud bang)
- Mounting brackets have pulled loose from damaged or rotted framing
- You’re uncomfortable working at height near an open, unsecured door
- Repeated realignment hasn’t resolved the binding or noise
Professional track repair or replacement typically runs $100 to $300 depending on the extent of damage and whether rollers or full track sections need replacing — a modest cost compared to the wear a misaligned track puts on your opener motor and door panels over time.
Frequently Asked Questions
Q: Can I realign a garage door track myself? In most cases, yes. Minor misalignment caused by loose brackets is one of the more approachable DIY garage door repairs, requiring basic tools and patience rather than specialized equipment.
Q: Why does my garage door come off the track? This usually happens when rollers are worn, the track is bent at a specific point, or a bracket has come loose enough that the track no longer holds its proper shape under the door’s weight.
Q: Is a noisy garage door always a track problem? Not always. Grinding or scraping noises often point to track or roller issues, but squeaking can also come from dry hinges or springs needing lubrication.
Q: How often should I check my garage door track? A quick visual check every few months, paired with an annual full inspection, catches most issues before they affect how the door operates.
Q: Will a misaligned track damage my garage door opener? Yes. A door binding against a misaligned track forces the opener motor to work harder than designed, which can shorten the opener’s lifespan and lead to premature motor failure.
Final Thoughts
Garage door track alignment is one of those repairs that rewards a little patience and a careful eye. Most misalignment problems trace back to a handful of loose bolts or a few worn rollers — issues well within reach of a confident DIYer with basic tools.
The key is catching the signs early: a grinding noise, a slight gap at the rollers, or a door that’s just a little crooked. Address these promptly, and your garage door will keep running smoothly for years. When the damage goes beyond simple realignment — a bent track, a damaged bracket mount — recognizing that line and calling in a professional protects both your door and your long-term repair costs.
Continue mastering your garage with these related guides:
• Garage Door Spring Replacement: Complete DIY & Safety Guide
• Best Garage Door Openers: Complete Buying Guide & Installation Tips
• Garage Safety Guide: 20 Essential Tips to Keep Your Garage Safe
• How to Organize Your Garage: The Ultimate Step-by-Step Guide
• 25 Best Garage Wall Storage Ideas: The Complete Guide
• The Complete Garage Lighting Guide: Best Lights, Setup Tips & Ideas
• How to Insulate a Garage: The Complete Step-by-Step Guide
• How to Set Up a Garage Workshop: The Complete Organization Guide