Your garage door is the largest opening in your home’s thermal envelope. When it is not properly sealed, it becomes a massive source of energy loss, pest entry, water intrusion, and noise penetration. A single poorly-sealed garage door can increase your heating and cooling costs by hundreds of dollars per year while simultaneously creating conditions that damage your belongings and invite unwanted guests.
Weatherproofing your garage door is one of the highest-ROI home improvement projects available. The materials are inexpensive, most of the work is DIY-friendly, and the results — a more comfortable, quieter, more energy-efficient garage — are immediate and measurable.
This comprehensive guide covers every aspect of garage door weatherproofing, from identifying where air and water are entering to selecting and installing the right sealing solutions for each area.
Why Garage Door Weatherproofing Matters
Energy Efficiency
An unsealed garage door is essentially a giant hole in your home’s insulation system. Heat and cold transfer readily through gaps, uninsulated panels, and inadequate weatherstripping. For attached garages, this means your heating and cooling system must work harder to maintain comfortable temperatures throughout the home. Energy audits consistently identify garage doors as one of the top sources of heat loss in homes.
Moisture and Water Damage
Water infiltrating your garage can damage flooring, rust metal tools and equipment, promote mold growth, and compromise the structural integrity of stored items. Proper weatherproofing prevents rain, snowmelt, and groundwater from entering your garage space.
Pest Control
Even small gaps around a garage door provide entry points for mice, insects, and other pests. A mouse can squeeze through a gap as small as a quarter inch. Proper weatherproofing is the first line of defense in pest prevention.
Noise Reduction
For garages attached to or near living spaces, a well-sealed garage door significantly reduces noise penetration — particularly important for homes near busy roads or for households where the garage is used as a workshop.
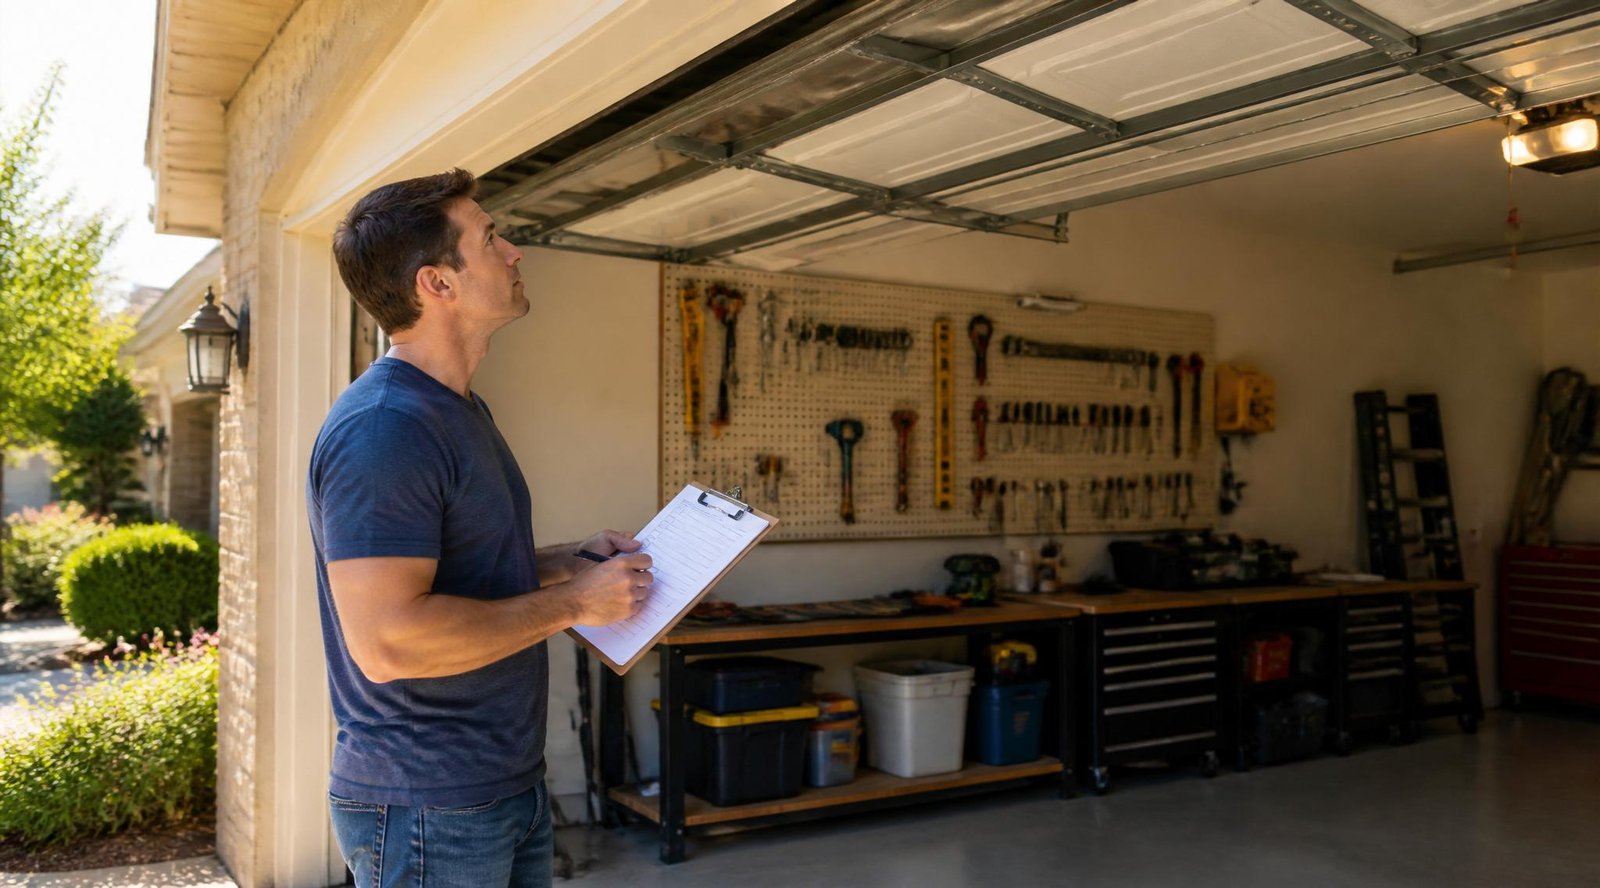
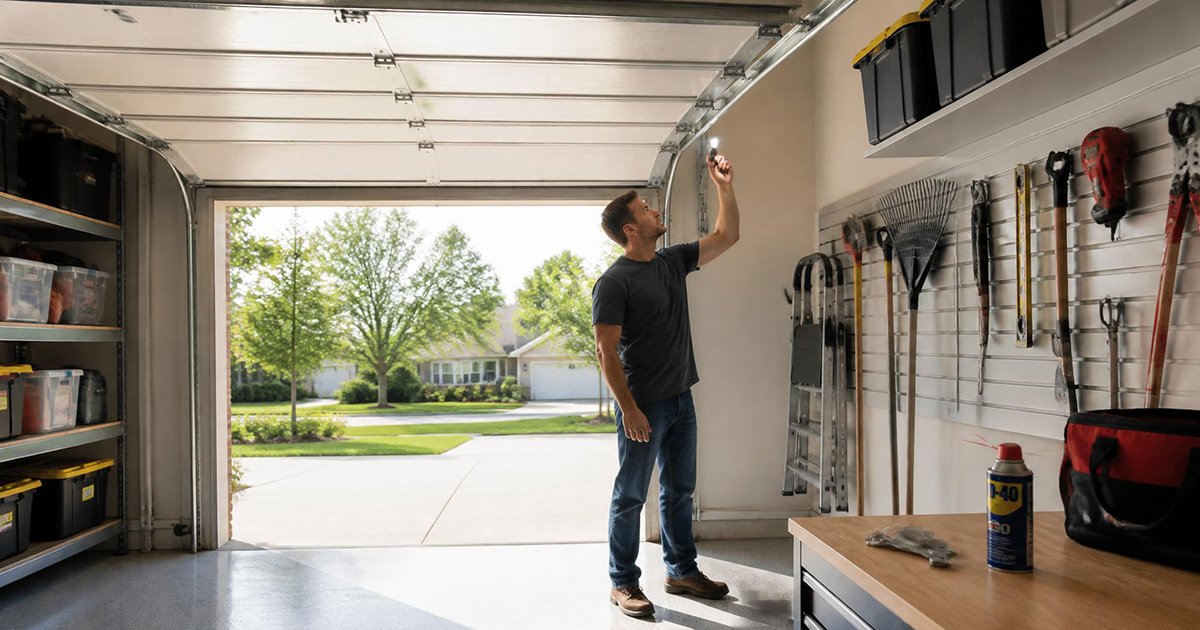
Identifying Weatherproofing Problems
The Light Test
On a bright day, stand inside your closed garage with the lights off. Look around all four edges of the garage door. Any light visible means air, water, and pests can get in. This simple test reveals the exact locations and severity of your sealing problems.
The Paper Test
Close your garage door on a sheet of paper. If you can pull the paper out without resistance, the door is not sealing properly at that location. Repeat this test at multiple points along the bottom and sides of the door.
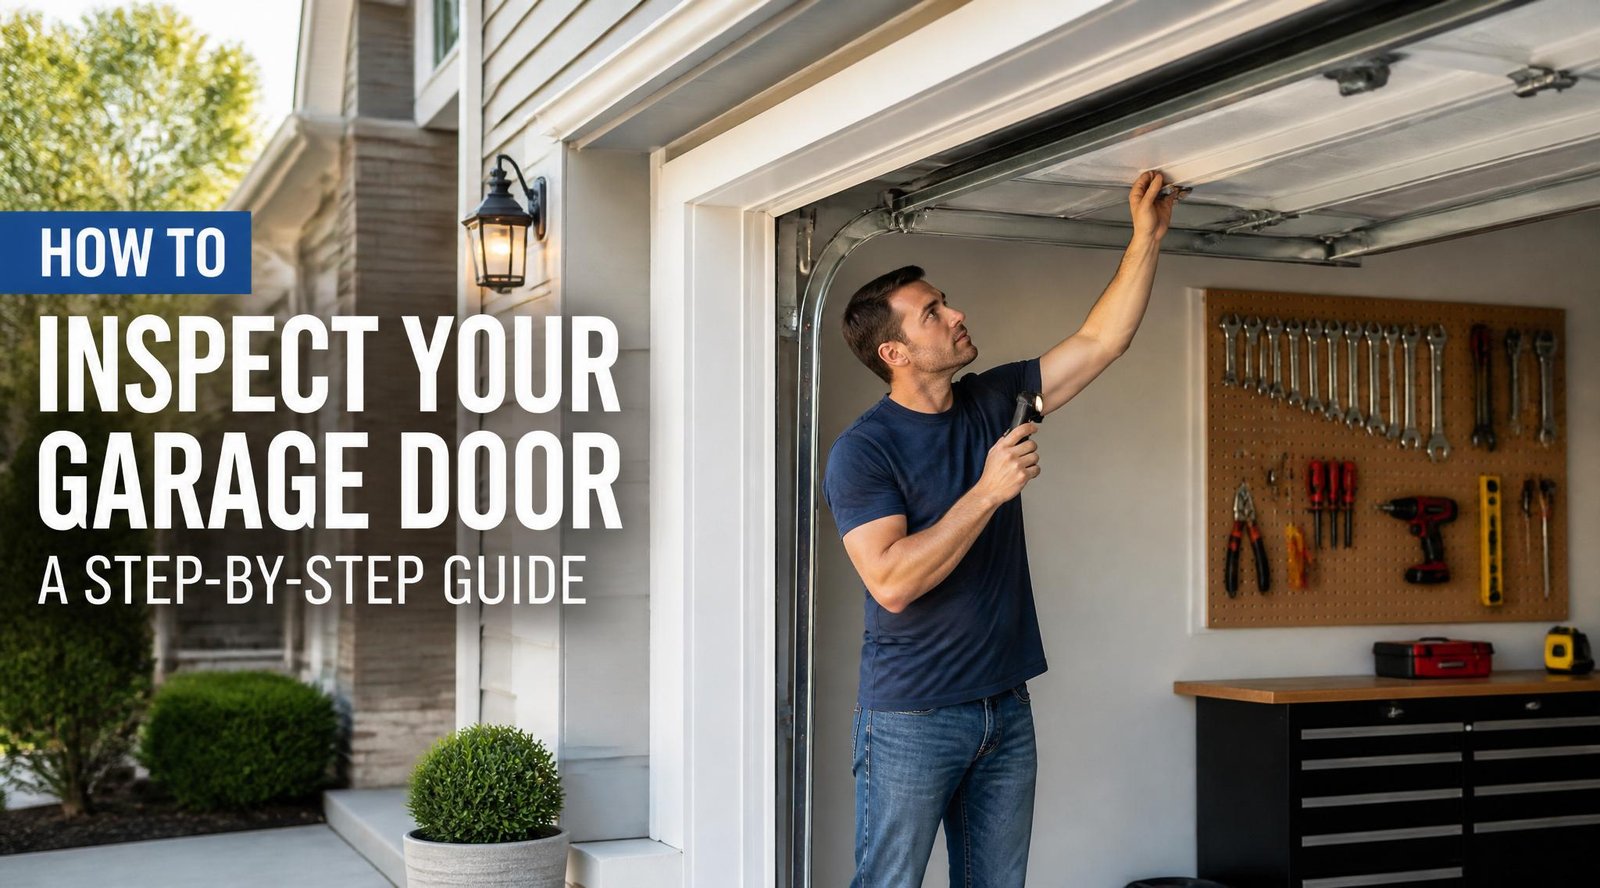
Physical Inspection
Examine all four edges of the door while it is closed:
- Bottom: Check the bottom seal for compression, cracking, or gaps
- Sides: Inspect the vertical weatherstripping for tears, gaps, or compression set
- Top: Check the top seal for adequate contact with the door when closed
- Between panels: Inspect the panel seals on sectional doors for gaps or damage
Bottom Seal: Your Most Important Weatherproofing Component
Why the Bottom Seal Is Critical
The bottom seal — the rubber or vinyl strip along the bottom edge of the garage door — is your primary defense against water intrusion, pests, and drafts. It also takes the most physical abuse, being compressed with every door cycle and exposed to UV radiation, temperature extremes, and abrasion from the garage floor.
A worn, damaged, or improperly installed bottom seal leaves a gap that can be visually invisible from outside but large enough for water, cold air, and pests to enter freely.
Types of Bottom Seals
- T-slot seals: The most common type, designed to slide into a T-shaped retainer at the bottom of the door
- Bulb seals: Feature a cylindrical design that compresses evenly against uneven floors
- Beaded seals: Used with retainers that hold the seal via two beads along its length
- Brush seals: Used in dusty environments to sweep the floor as the door closes
For a complete step-by-step guide to replacing your bottom seal, visit: https://garagedaily.com/how-to-replace-garage-door-bottom-seal/
Choosing the Right Bottom Seal Material
Bottom seals are available in rubber, vinyl, and EPDM:
- Rubber: Most durable, excellent compression recovery, works in extreme temperatures
- Vinyl (PVC): Budget-friendly, good flexibility, may harden in very cold temperatures
- EPDM: Premium synthetic rubber with exceptional weather and UV resistance
For most climates, rubber or EPDM seals offer the best long-term performance despite their slightly higher cost.
Side and Top Weatherstripping
Vertical Weatherstripping
The weatherstripping running along both sides of the garage door frame creates a seal between the door panels and the door frame when the door is closed. Over time, this stripping compresses, cracks, or tears, compromising the side seal.
Replacement is straightforward: the old stripping is typically held in place by nails or staples and can be removed easily. New weatherstripping is available in exact widths and compresses into the gap as the door closes.
Top Weatherstripping
The top seal sits between the top of the door and the header — the framing above the door opening. It is often overlooked but is particularly important for preventing wind-driven rain from entering at the top of the door.
Top weatherstripping is typically a foam or rubber strip attached to a metal bracket on the inside of the header. Replace it when you can see daylight along the top of the closed door.
Between-Panel Seals
Sectional garage doors — the most common type in North America — consist of multiple horizontal panels that hinge together. Between each panel pair, there should be a vinyl or rubber gasket that maintains a seal as the door moves.
Over time, these gaskets harden, crack, or fall out. Replacement gaskets are available and simply press into the groove between panels. This is an often-overlooked but important component of complete weatherproofing.
Garage Door Insulation
Why Insulate Your Garage Door?
If your garage door is not insulated, you are losing a significant amount of energy through the door panels themselves, not just the gaps around the edges. Insulated garage doors maintain more stable temperatures, reduce noise, and are more rigid and dent-resistant than uninsulated doors.
Garage Door Insulation Kits
Retrofit insulation kits allow you to add insulation to an existing uninsulated garage door. Most kits use fiberglass batts or foam board that are cut to fit each door panel and secured with adhesive or retaining clips.
When evaluating insulation kits, look for the R-value — a measure of thermal resistance. Higher R-values indicate better insulation. A single-layer foam kit might achieve R-4 to R-6, while a double-layer system with air space can reach R-10 to R-12.
When to Replace Rather Than Insulate
If your garage door is over 20 years old, severely damaged, or operating poorly, it may make more sense to replace it with a new insulated door rather than retrofitting insulation to an old one. Modern insulated steel doors offer R-values of 10 to 18, superior strength, and often lower maintenance requirements.
Floor Sealing: The Often-Forgotten Component
Even a perfectly sealed garage door cannot prevent moisture from entering if your garage floor itself allows water to seep up through cracks and concrete porosity. Sealing your garage floor with an epoxy coating or concrete sealer creates a moisture barrier that complements your door weatherproofing efforts.
Pay particular attention to the area just inside the door. This zone sees the most weather exposure and benefits most from floor sealing. For a properly sealed floor, pair it with a quality bottom door seal for comprehensive weather protection.
Addressing Gaps Due to Door Misalignment
Sometimes weatherproofing gaps are caused not by worn seals, but by a misaligned garage door that does not close evenly in its frame. If one side of your door has a gap while the other is sealed, the problem may be an uneven door rather than worn weatherstripping.
For guidance on diagnosing and fixing alignment-related gaps, visit: https://garagedaily.com/how-to-fix-gap-on-one-side-of-garage-door/
For door leveling and balance issues: https://garagedaily.com/how-to-level-a-garage-door/
Preventing and Treating Rust on Steel Garage Doors
Moisture combined with steel is a formula for rust. Properly weatherproofed doors that prevent water intrusion also help protect steel door panels from rust. However, scratches in the paint or factory finish can initiate rust even on well-maintained doors.
Inspect your garage door for rust spots annually. Address surface rust before it penetrates the metal. For a complete rust treatment guide: https://garagedaily.com/how-to-remove-rust-from-the-garage-door/
Step-by-Step Weatherproofing Project Plan
- Perform the light test and paper test to identify all gaps
- Inspect all weatherstripping — bottom seal, side seals, top seal, and between-panel seals
- Replace the bottom seal if cracked, compressed, or allowing light
- Replace vertical weatherstripping on both sides of the door frame
- Replace or repair the top seal if gaps are visible
- Replace between-panel seals on sectional doors if hardened or cracked
- Consider adding door panel insulation if the door is uninsulated
- Address any alignment issues that are causing uneven gaps
- Seal the floor in the area inside the door if moisture intrusion is an issue
- Test all seals again with the light test after installation
Weatherproofing Maintenance Schedule
- Every 6 months: Inspect all weatherstripping visually
- Annually: Perform the light test and paper test
- Every 2 to 3 years: Replace bottom seal proactively, even before it appears worn
- Every 5 years: Full weatherproofing inspection and replacement of all seals
Cost of Garage Door Weatherproofing
Garage door weatherproofing is one of the most affordable home improvement projects with immediate, measurable returns:
- Bottom seal replacement: $20 to $80 in materials for a DIY project
- Side and top weatherstripping: $15 to $40 total
- Between-panel seals: $30 to $60 for a standard two-car door
- Insulation kit: $50 to $150 depending on door size and insulation type
- Professional installation: $100 to $300 for all weatherstripping if you prefer not to DIY
The typical homeowner can complete a comprehensive weatherproofing project in an afternoon for under $200 in materials — an investment that often pays for itself in energy savings within a single heating season.
Conclusion
Weatherproofing your garage door is not a glamorous project, but it is one of the most practical and cost-effective home improvements you can make. Proper sealing reduces energy costs, prevents water damage, keeps out pests, and makes your garage a more comfortable and usable space throughout the year.
Start with the bottom seal — it is the most impactful single component — then work your way through the sides, top, and panels. Use the light test before and after your project to quantify your results. The difference will be immediately apparent.
Related guides from GarageDaily.com:
How to Replace Garage Door Bottom Seal — https://garagedaily.com/how-to-replace-garage-door-bottom-seal/
How to Fix Gap on One Side of Garage Door — https://garagedaily.com/how-to-fix-gap-on-one-side-of-garage-door/
How to Remove Rust from the Garage Door — https://garagedaily.com/how-to-remove-rust-from-the-garage-door/
How to Level a Garage Door — https://garagedaily.com/how-to-level-a-garage-door/
- Perform the light test and paper test to identify all gaps
- Inspect all weatherstripping — bottom seal, side seals, top seal, and between-panel seals
- Replace the bottom seal if cracked, compressed, or allowing light
- Replace vertical weatherstripping on both sides of the door frame
- Replace or repair the top seal if gaps are visible
- Replace between-panel seals on sectional doors if hardened or cracked
- Consider adding door panel insulation if the door is uninsulated
- Address any alignment issues that are causing uneven gaps
- Seal the floor in the area inside the door if moisture intrusion is an issue
- Test all seals again with the light test after installation
Weatherproofing Maintenance Schedule
• Every 6 months: Inspect all weatherstripping visually
• Annually: Perform the light test and paper test
• Every 2 to 3 years: Replace bottom seal proactively, even before it appears worn
• Every 5 years: Full weatherproofing inspection and replacement of all seals
Cost of Garage Door Weatherproofing
Garage door weatherproofing is one of the most affordable home improvement projects with immediate, measurable returns:
• Bottom seal replacement: $20 to $80 in materials for a DIY project
• Side and top weatherstripping: $15 to $40 total
• Between-panel seals: $30 to $60 for a standard two-car door
• Insulation kit: $50 to $150 depending on door size and insulation type
• Professional installation: $100 to $300 for all weatherstripping if you prefer not to DIY
The typical homeowner can complete a comprehensive weatherproofing project in an afternoon for under $200 in materials — an investment that often pays for itself in energy savings within a single heating season.
Conclusion
Weatherproofing your garage door is not a glamorous project, but it is one of the most practical and cost-effective home improvements you can make. Proper sealing reduces energy costs, prevents water damage, keeps out pests, and makes your garage a more comfortable and usable space throughout the year.
Start with the bottom seal — it is the most impactful single component — then work your way through the sides, top, and panels. Use the light test before and after your project to quantify your results. The difference will be immediately apparent.
Related guides from GarageDaily.com:
How to Replace Garage Door Bottom Seal — https://garagedaily.com/how-to-replace-garage-door-bottom-seal/
How to Fix Gap on One Side of Garage Door — https://garagedaily.com/how-to-fix-gap-on-one-side-of-garage-door/
How to Remove Rust from the Garage Door — https://garagedaily.com/how-to-remove-rust-from-the-garage-door/
How to Level a Garage Door — https://garagedaily.com/how-to-level-a-garage-door/