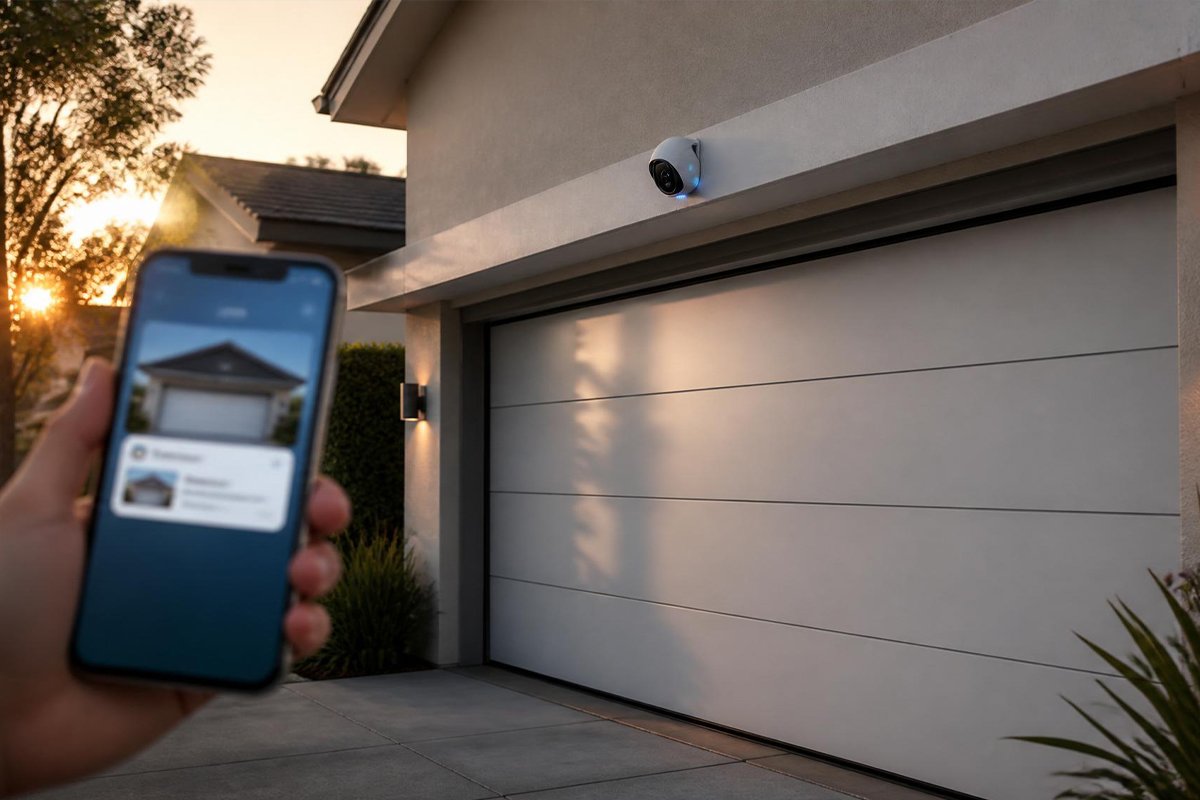
Most homeowners spend money on heating and cooling their home — and then lose a significant chunk of that energy straight through an uninsulated garage. If your garage shares a wall with your living space, that problem gets even worse.
A properly insulated garage doesn’t just make the space more comfortable. It lowers your energy bills, protects your pipes from freezing in winter, reduces outside noise, and turns your garage into a genuinely usable workspace year-round — not just a place to park your car and avoid in July and January.
The good news: garage insulation is one of the most DIY-friendly home improvement projects you can tackle. You don’t need special skills or expensive contractors. You need the right materials, a systematic approach, and this guide.
Let’s walk through it step by step.
Why Garage Insulation Is Worth the Investment
Before diving into the how, here’s a quick look at what proper insulation actually does for you:
Lower energy bills. An uninsulated garage is essentially a giant hole in your home’s thermal envelope. In winter, heat escapes through walls, ceilings, and the garage door. In summer, heat floods in. Insulation significantly reduces this energy transfer — cutting heating and cooling costs for the attached living space.
Year-round usability. Whether you use your garage as a workshop, gym, hobby space, or home office, insulation makes it comfortable in every season. An uninsulated garage in Minnesota in January is barely usable. An insulated one is genuinely functional.
Pipe protection. Garages often house water supply lines or water heaters. Without insulation, pipes in unheated garages are vulnerable to freezing and bursting — one of the most expensive home repairs you can face.
Noise reduction. Insulated walls and ceilings dampen sound both ways — traffic noise from outside and tool noise from inside. Valuable if your garage is near a living area.
Home value. An insulated, finished garage is a meaningful selling point in the American housing market, particularly in climate extremes.
Pro Tip: Insulating a garage is most impactful when combined with proper weatherstripping and door sealing. We’ll cover that in Step 2.
What You’ll Need Before Starting
Gather these materials and tools before beginning. Having everything on hand prevents mid-project stops.
Materials:
- Fiberglass batt insulation (R-13 to R-19 for walls, R-30 to R-38 for ceilings)
- Rigid foam board insulation (for garage doors and moisture-prone areas)
- Reflective insulation or garage door insulation kit
- Caulk (paintable latex or silicone)
- Spray foam (for larger gaps)
- Weatherstripping and door bottom seal (if needed)
- Vapor barrier (plastic sheeting, 6-mil)
- Drywall or plywood (to cover insulation if finishing walls)
Tools:
- Tape measure and utility knife
- Staple gun and staples
- Caulk gun
- Safety glasses, N95 respirator mask, and work gloves
- Straightedge or T-square
- Ladder
R-value guide by climate zone:
| Area | Cold Climate | Mild Climate |
|---|---|---|
| Walls | R-19 to R-21 | R-13 to R-15 |
| Ceiling | R-38 to R-49 | R-30 to R-38 |
| Garage Door | R-8 to R-12 | R-4 to R-8 |
Step 1: Assess Your Garage
Before buying a single roll of insulation, take stock of what you’re working with.
Measure everything:
- Wall height and width between each stud bay
- Ceiling area and joist spacing
- Garage door panels (width and height of each panel)
Look for problem areas:
- Gaps around electrical outlets, pipes, or where walls meet the floor
- Damaged or missing weatherstripping around the entry door or garage door edges
- Signs of moisture on walls or floor (dark spots, efflorescence, or rust)
- Exposed wiring that will need to stay accessible
Check stud and joist spacing: Standard framing is 16 inches on center, but older garages may be 24 inches. This determines which batt width to buy — standard batts come in both 15-inch and 23-inch widths to fit snugly between studs without cutting.
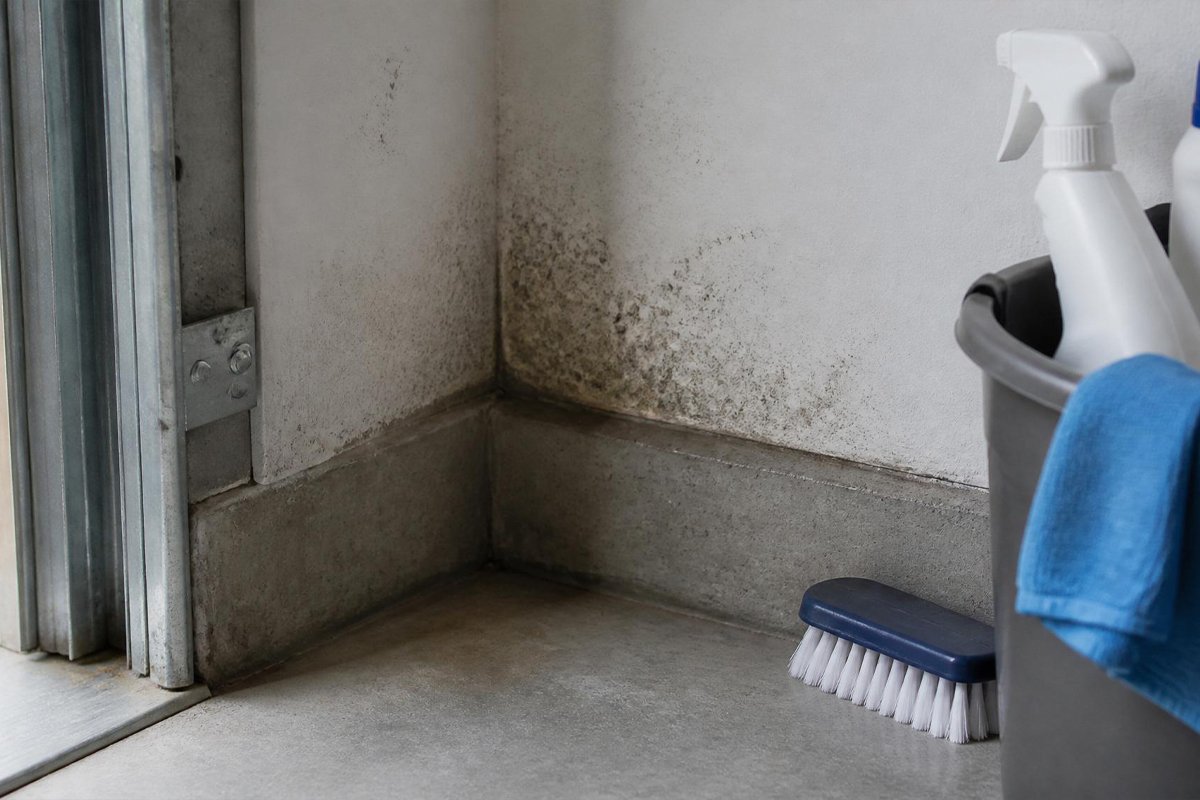
Important: Don’t install insulation over moisture problems. Address any water intrusion, condensation, or drainage issues first. Insulation traps moisture and accelerates mold growth on wet surfaces.
Step 2: Seal All Gaps and Air Leaks First
This step is not optional — and it’s often skipped, which defeats much of the purpose of insulating.
Insulation slows heat transfer through solid materials, but it doesn’t stop air movement. A gap the size of a quarter can let in as much cold air as a hole the size of a basketball in terms of energy loss. Sealing first is essential.
Where to seal:
- All four edges of the garage door frame (between the frame and the wall)
- Around window frames
- Where the wall meets the floor (sill plate area)
- Around any pipes, wires, or conduit penetrating walls or ceiling
- Around the entry door frame
What to use:
- Caulk for cracks smaller than ¼ inch — around windows, trim, and where two surfaces meet
- Spray foam (like Great Stuff) for larger gaps — around pipes, wires, and structural penetrations
- Weatherstripping for the entry door sides and top — replace if compressed or torn
- Garage door bottom seal — replace if cracked, flattened, or no longer making contact with the floor
For a detailed walkthrough of replacing your garage door’s weatherstripping and bottom seal, see our guides on how to replace garage door weather stripping and how to replace a garage door bottom seal — both of these directly affect how well your insulation performs.
Step 3: Insulate the Walls
Garage walls are typically the largest surface area to insulate and offer the biggest impact on overall thermal performance.
Option A: Fiberglass Batt Insulation (Most Common)
This is the standard choice for walls with exposed studs — affordable, widely available, and easy to install yourself.
Installation steps:
- Cut batts to length with a utility knife and straightedge — score and snap cleanly
- Press each batt firmly between studs — it should fit snugly without compressing (compression reduces R-value)
- If batts have a vapor barrier facing (kraft paper), face it toward the living space (inward) in cold climates
- In warm, humid climates, use unfaced batts and install a separate vapor barrier if needed
- Staple the facing flanges to the edges of the studs every 8–12 inches
- Cover with ½-inch drywall or ¾-inch plywood for a finished, fire-rated surface
Option B: Rigid Foam Board Insulation
Better for garages with moisture concerns, or where you want to add insulation over a finished wall surface.
- Cut panels with a utility knife (score and snap) to fit between or over studs
- Seal all edges and seams with foam-compatible tape
- Can be left exposed in unfinished garages or covered with drywall
When to choose foam board over fiberglass: In garages prone to dampness, near-ground walls, or when adding insulation to an already-drywalled surface without tearing it out.
R-value reminder: In most of the continental U.S., R-13 (3.5-inch fiberglass) is the minimum recommended for garage walls. In colder northern states, aim for R-19 (6-inch batts) or higher.
Step 4: Insulate the Garage Ceiling
Ceiling insulation is critical if your garage is attached to a living space above (second floor, bonus room) or if you want to keep the garage itself at a reasonable temperature.
If there’s living space above:
- Treat the garage ceiling like a house floor — insulate between the ceiling joists with R-30 to R-38 batts
- This protects both the garage below and the living space above from temperature extremes and noise
- Always use faced batts with the vapor barrier facing upward (toward the warm living space)
If there’s an unconditioned attic above:
- Install batts between ceiling joists with facing down
- Consider blown-in insulation for better coverage of irregular areas or hard-to-reach spots
- Leave a gap at the eaves for ventilation — never block soffit vents
Ceiling installation tips:
- Work from one end to the other, pushing batts up between joists and stapling or securing with support wires
- Wear your respirator — overhead work kicks up significantly more fiberglass particles
- For high ceilings, rent scaffolding rather than working off a ladder for better safety
Step 5: Insulate the Garage Door
The garage door is often the largest single surface in the garage and — in uninsulated form — a massive source of heat loss. An insulated door can reduce drafts by up to 50% and noticeably improve overall garage temperature.
Option A: Pre-Cut Foam Panel Kits
The easiest and most popular DIY option. Kits come with pre-cut panels sized for standard door sections.
- Measure each panel on your door before ordering — not all garage doors have the same panel dimensions
- Clean the interior door surface with a damp cloth and let dry
- Apply the panels with the included adhesive strips or two-sided tape
- Allow adhesive to cure per manufacturer instructions before operating the door
Option B: Reflective Insulation (Foil Bubble Wrap)
Lightweight, easy to cut, and adds both thermal and radiant insulation.
- Measure and cut to fit each door panel
- Attach with adhesive, staples, or tape designed for the material
- Works best when combined with air sealing around the door perimeter
Option C: Rigid Foam Board
Highest R-value per inch of the DIY options.
- Cut panels precisely to fit within the door panel recesses
- Secure with construction adhesive
- Check that the added weight doesn’t strain your garage door opener or affect door balance
Important: After insulating your garage door, test the door’s balance by disconnecting the opener and manually lifting it halfway. It should stay in place on its own. If it drops or rises, the spring tension needs adjustment — a task best handled by a professional. For a full garage door maintenance review, see our automatic garage door maintenance tips guide.
Step 6: Floor Insulation (Optional, High Impact for Workshops)
Concrete floors are cold — often the coldest surface in the garage — and they can make standing for extended periods genuinely uncomfortable, especially in winter.
Options by use case:
Interlocking foam floor tiles — The easiest solution. Anti-fatigue, available at hardware and big-box stores, easy to install and remove. Ideal for workout spaces and workshops.
Rigid foam board under a plywood subfloor — More permanent. Install 1–2 inches of rigid foam on the concrete, then cover with ¾-inch plywood panels. Creates a noticeably warmer, more comfortable surface.
Insulated floor panels — Pre-made systems designed for garage floors that combine insulation and a finished surface in one.
Floor insulation is most valuable if you spend significant time standing in the garage — working on vehicles, woodworking, or exercising. For pure storage or parking, it’s optional.
Step 7: Final Inspection and Ongoing Maintenance
Once everything is installed, do a thorough walk-through before closing walls or calling it done.
Final checklist:
- [ ] All stud bays fully filled — no gaps or voids in wall insulation
- [ ] Ceiling insulation covers the full area without blocking ventilation
- [ ] Garage door panels fully covered and door balanced correctly
- [ ] All gaps sealed with caulk or spray foam
- [ ] Weatherstripping and bottom seal intact and making full contact
- [ ] Vapor barrier properly oriented (facing warm side)
- [ ] Entry door closes and latches snugly with no drafts
Annual maintenance:
- Inspect weatherstripping and bottom seals every fall — replace when compressed or cracked
- Check insulation in visible areas for moisture staining, compression, or pest damage
- Recheck caulk around windows and door frames for cracking
- Test garage door balance yearly — insulation adds weight over time
With your insulation in good shape, the rest of your garage infrastructure matters too. If you’re also looking to maximize your newly comfortable space, our guide on how to build storage shelves in your garage is a natural next step.
Insulation Type Comparison at a Glance
| Type | R-Value per Inch | Best For | DIY Difficulty |
|---|---|---|---|
| Fiberglass Batts | R-3.1 to R-3.4 | Walls, ceilings with studs/joists | Easy |
| Rigid Foam Board | R-3.8 to R-6.5 | Garage doors, moisture-prone walls | Easy |
| Spray Foam (canned) | R-3.7 to R-6.5 | Gap sealing, irregular spaces | Easy |
| Blown-In | R-2.2 to R-3.8 | Ceilings, irregular spaces | Moderate |
| Reflective/Radiant | Varies | Garage doors, hot climates | Easy |
Common Garage Insulation Mistakes to Avoid
Skipping air sealing. Insulation without sealing gaps is significantly less effective. Always seal first.
Compressing fiberglass batts. Stuffing thicker batts into narrower spaces reduces their R-value. Use the right thickness for the space.
Blocking ventilation. Never cover soffit vents or other ventilation paths with insulation. Blocked airflow causes moisture buildup and structural damage.
Ignoring vapor barrier orientation. The vapor barrier should always face the warm side of the insulation — inward in cold climates, outward in hot and humid climates.
Insulating over moisture. If your garage walls or floor are damp, address the source of moisture before installing insulation. Sealed-in moisture is far more damaging than none at all.
Forgetting the garage door. Walls and ceiling insulated, door left bare — common mistake. The door is often 30–40% of your wall area.
Final Thoughts
Properly insulating your garage is one of the highest-return home improvement projects you can tackle yourself. It’s not glamorous work, but the payoff — lower energy bills, year-round comfort, and a genuinely useful space — is real and lasting.
Work through the steps in order: assess, seal, insulate walls, then ceiling, then door. Do each step right before moving to the next. The whole project can typically be completed over a weekend for an average two-car garage.
Your tools are ready. Let’s get to work.
Frequently Asked Questions
How much does it cost to insulate a garage yourself? For a standard two-car garage, DIY insulation typically costs $400–$900 in materials depending on the insulation type, R-value, and whether you finish the walls with drywall. Professional installation runs $1,500–$3,500 or more.
Do I need a permit to insulate my garage? In most U.S. jurisdictions, adding insulation to an existing garage doesn’t require a permit. However, if you’re adding drywall (which creates a fire barrier between the garage and living space), some municipalities require a permit. Check with your local building department before starting.
What R-value do I need for my garage walls? It depends on your climate zone. In most of the continental U.S., R-13 is the minimum for walls. Cold-climate states (Minnesota, Michigan, New England) should target R-19 to R-21. Check the Department of Energy’s insulation recommendations by ZIP code.
Can I insulate a garage with existing drywall? Yes — blown-in insulation can be added through small holes drilled in the drywall, then patched. Rigid foam can also be applied over existing drywall on the interior. It’s less efficient than insulating during construction, but workable.
Will insulating my garage make it warmer in winter? Yes — significantly. An insulated garage won’t be as warm as your living space without supplemental heating, but it will be dramatically warmer than an uninsulated one. Combined with a space heater or mini-split, an insulated garage can be a fully comfortable four-season workspace.