How To Change The Battery In A LiftMaster Garage Door Opener Quickly And Safely
Imagine it’s a bustling morning, and you’re getting ready to head out for work or drop your kids off at school. You press the button to open your garage door, but nothing happens. Then you realize it is time to replace the battery in your LiftMaster garage door opener. In this comprehensive guide, we’ll walk you through the step-by-step process of How To Change Battery In Liftmaster Garage Door Opener to ensure a smooth, uninterrupted entrance to your garage.
Table of Contents
Importance Of A Garage Door Opener Battery
A garage door opener battery plays a vital role in the smooth operation of your garage door. It provides power to activate the opener and lift the heavy garage door. Without a functioning battery, you could manually lift the door; it’s annoying. Regarding garage door openers, LiftMaster is a trusted name known for its reliability and performance. However, even the best openers require a fresh battery occasionally. This article will explore when to change the battery, which type to use, and, most importantly, how to change it.
Signs It’s Time For A Battery Replacement
Before We Dive Into The Battery Replacement Process, It’s Essential To Notice The Signs Indicating That Your LiftMaster Garage Door Opener Battery Needs To Be Replaced.
Here Are Some Common Indicators:
Slow Or Unresponsive Opener: If your garage door opener is becoming slow or unresponsive, it may have a weakening battery. The battery’s inability to deliver sufficient power affects the opener’s performance.
Dimming Or Flickering Lights: If the light of your garage door opener begins to dim or flicker while you operate it, you have to consider it a sign that the battery is struggling to provide the necessary power.
Increased Use Of The Manual Release: One of the most evident signs of a failing battery is an increased reliance on the manual release mechanism. If you find yourself using the manual release to open or close the garage door frequently, it’s time to consider a battery replacement.
Short Remote Control Range: A fully functioning garage door opener should respond to your remote control from a reasonable distance. If you notice that you need to be closer to the opener to work, then it’s evident that the battery needs to be replaced. If you notice these signs early, you can avoid any inconvenience and ensure your garage door opener is always ready to serve you.
How To Change the Battery In A LiftMaster Garage Door Opener
Now, Let’s Move On To The Step-By-Step Guide For Changing The Battery In Your LiftMaster Garage Door Opener.
Gather The Necessary Tools And Materials
Before You Begin, Gathering The Tools And Materials Required For The Battery Replacement Process Is A Good Idea. You’ll Need:
- A replacement battery
- A step ladder
- A flathead screwdriver
- Safety glasses
Once you have everything you need, you’re ready to proceed.
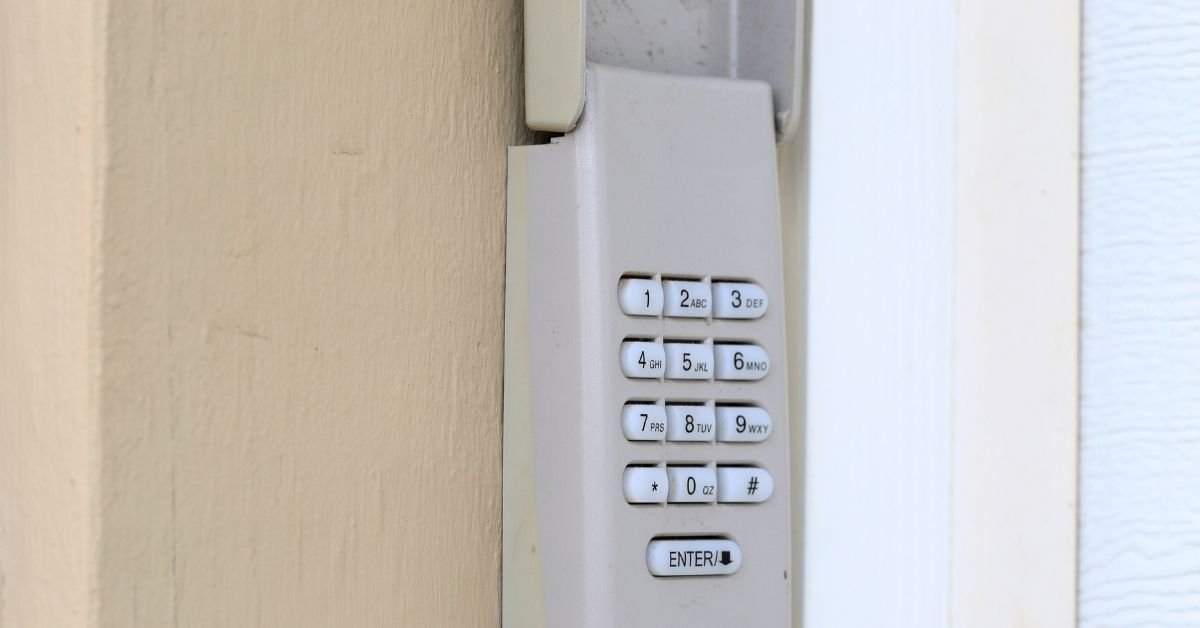
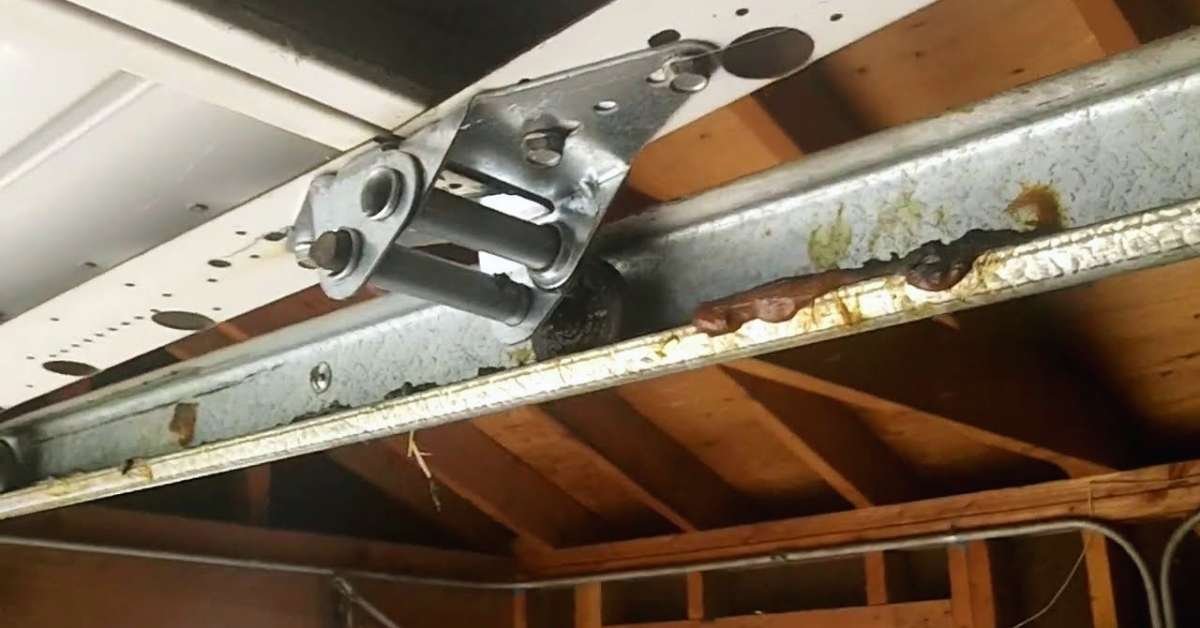
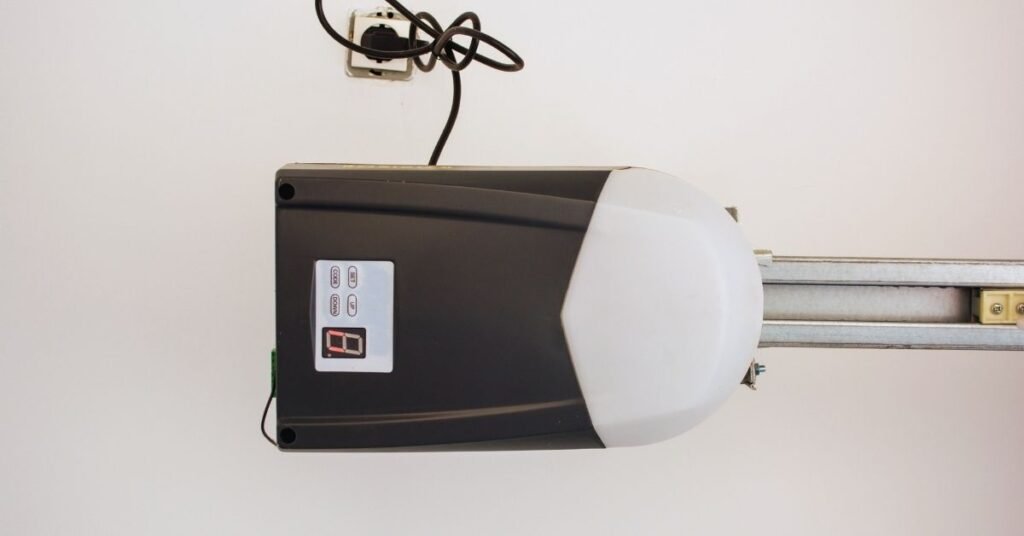
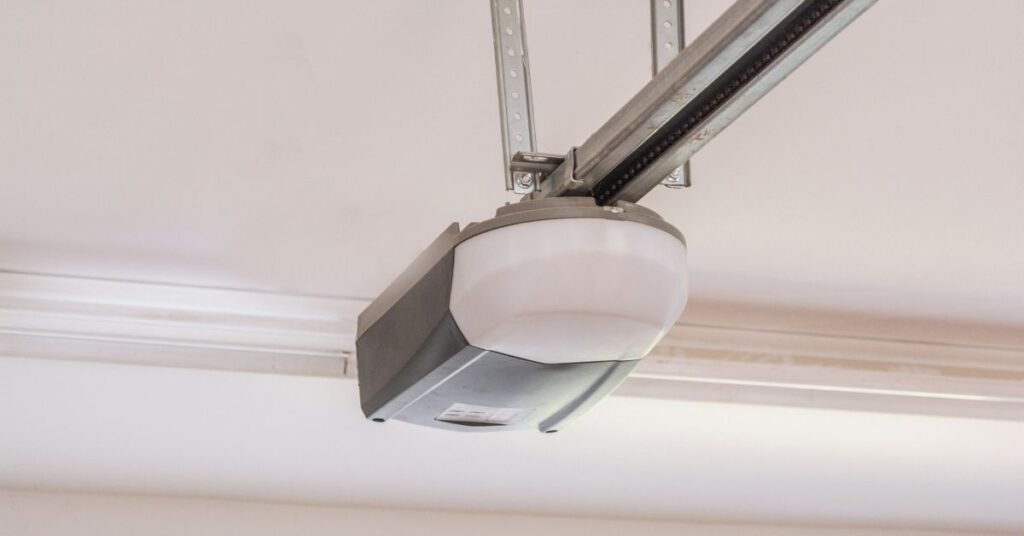
Locate The Battery Compartment
The exact location of the battery compartment can vary depending on your LiftMaster garage door opener model. Typically, it is located near the motor unit. You may need to use the step ladder to reach it.
Safety First
Unplug the opener from the electrical outlet before you start working on the battery replacement. This step is essential for your safety, as it prevents any accidental garage door opener activation during the process.
Open The Battery Compartment
Use a flathead screwdriver and gently open the battery compartment cover. Be careful not to damage the body or the components inside.
Remove The Old Battery
Carefully remove the old battery from its housing. If the battery is connected to wires, disconnect them by gently pulling the connectors apart. Note the battery’s orientation, ensuring you replace the new one correctly.
Install The New Battery
Take your replacement battery and connect any wires if necessary. Insert the new battery into the housing with the same orientation as the old one. Ensure it fits snugly.
Close The Battery Compartment
Close the battery compartment cover and ensure it securely clicks into place. This step helps to protect the battery and internal components.
Plug The Opener Back In
After successfully changing the battery and closing the compartment, plug the garage door opener back into the electrical outlet. Ensure it is securely connected.
Check The Garage Door Opener
Before you consider the task complete, it’s essential to check the garage door opener to ensure the new battery is functioning correctly. Use your remote control to open and close the garage door. The opener should respond quickly and operate smoothly.
Dispose Of The Old Battery Properly
Properly dispose of the old battery. Many areas have specific guidelines for recycling or disposing of used batteries. Always follow the appropriate disposal methods to protect the environment.
The Importance Of Regular Battery Replacement
Changing the battery in your LiftMaster garage door opener is a routine maintenance task that can significantly impact the reliability and longevity of your opener. Over time, batteries can lose their charge-holding capacity, leading to operational issues and potentially inconveniencing homeowners.
Choosing The Right Battery
When selecting a replacement battery for your LiftMaster garage door opener, choosing the correct type and voltage is mandatory. Check manual instructions for the specific battery requirements, including voltage and size. Common battery types for garage door openers include 12-volt and 5-amp hour batteries. It’s advisable to choose a high-quality battery from a reputable manufacturer. It will provide consistent performance and durability.
Additional Tips For Battery Maintenance
To Extend The Life Of Your Garage Door Opener Battery And Prevent Future Replacements, Consider These Tips For Battery Maintenance:
Regular Inspection: Periodically inspect the battery for signs of corrosion or damage. Clean the battery terminals if needed.
Environment: Keep your garage within a moderate temperature range. Extreme heat or cold can affect the battery’s performance.
Power Outages: During power outages, disconnect the opener from the electrical outlet to prevent unnecessary battery drain.
Scheduled Replacements: Even if the battery works fine, replacing it every two to three years to maintain optimal performance is advisable.
Final Thought
Changing the battery in your LiftMaster garage door opener is a straightforward process that ensures reliable and hassle-free access to your garage. By recognizing the signs of a weakening battery and following the steps outlined in this guide, you can maintain the functionality of your garage door opener. Remember to choose the right battery type and voltage and prioritize safety by unplugging the opener before starting the replacement process. With these simple steps and maintenance tips, your LiftMaster garage door opener will continue to serve you effectively. If you need clarification on the battery type or specific guidance, consult your LiftMaster opener’s manual or contact a professional technician.
Regular maintenance and battery replacements Choosing the Right Battery When selecting a replacement battery for your LiftMaster garage door opener, choosing the correct type and voltage is crucial. Check your opener’s manual for the specific battery requirements, including voltage and size. Common battery types for garage door openers include 12-volt and 5-amp hour batteries. It’s advisable to opt for a high-quality battery from a reputable manufacturer. A reliable battery will provide consistent performance and durability. Investing in a trusted brand can ensure long-lasting and trouble-free operation.