Your garage door is the largest moving part of your home, and it works hard every single day. The average homeowner opens and closes their garage door over 1,500 times per year. With that kind of repeated use, wear and tear is inevitable — but most garage door problems are entirely preventable with a simple, consistent maintenance routine.
This comprehensive garage door maintenance guide covers everything you need to know to keep your door operating safely, smoothly, and reliably for years to come. Whether you are a new homeowner or someone who has neglected their garage door for a few years, this step-by-step guide will help you get back on track.
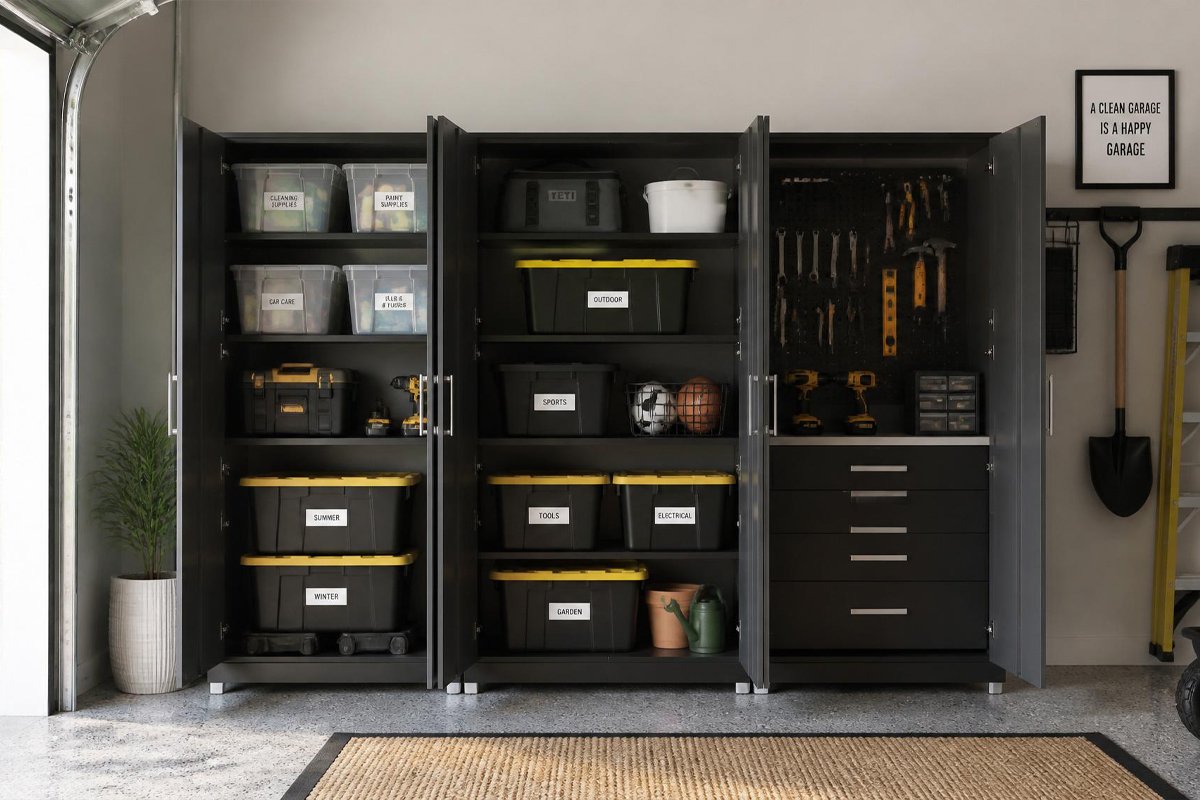
Why Garage Door Maintenance Matters
Skipping garage door maintenance is a costly mistake that most homeowners only realize after something goes wrong. A garage door that stops working at the wrong moment can leave your car trapped, compromise your home’s security, and expose your garage to weather damage. Emergency garage door repairs often cost two to three times more than preventive maintenance.
Beyond the financial cost, a poorly maintained garage door is a safety risk. Garage door springs are under enormous tension, and a snapped spring can cause serious injury. Worn cables can break without warning. A garage door that reverses unexpectedly or does not seal properly at the bottom creates security vulnerabilities that opportunistic intruders can exploit.
Regular maintenance extends the life of your garage door and opener, keeps your warranty valid, and gives you peace of mind that the most-used entry point of your home is operating correctly.
How Often Should You Maintain Your Garage Door?
Garage door maintenance follows a simple schedule:
- Monthly: Visual inspection and lubrication of moving parts
- Every 3 months: Test safety features, check balance, inspect weatherstripping
- Every 6 months: Full hardware inspection, track cleaning, opener check
- Annually: Professional inspection if you have any concerns or the door is over 10 years old
The good news is that most monthly and quarterly maintenance tasks take less than 30 minutes and require only basic tools.
Step-by-Step Garage Door Maintenance Checklist
Step 1: Visual Inspection
Begin every maintenance session with a thorough visual inspection. Stand back and observe the door from the outside and inside. Look for:
- Dents, cracks, or warping in the door panels
- Rust spots or discoloration on metal doors
- Fraying or kinking in the lift cables
- Visible wear or damage on the springs
- Bent, warped, or dirty tracks
- Gaps around the door perimeter when closed
If you notice damage to the springs or cables, do not attempt to repair them yourself. These components are under extreme tension and require professional attention. For guidance on specific issues like sealing gaps, visit: https://garagedaily.com/how-to-fix-gap-on-one-side-of-garage-door/
Step 2: Listen for Unusual Sounds
A properly functioning garage door operates quietly and smoothly. Unusual sounds are often the first sign of a developing problem. Pay attention to:
- Grinding or scraping: May indicate dirty or misaligned tracks
- Popping or snapping: Often a sign of spring issues or binding hardware
- Rattling or vibrating: Loose hardware that needs tightening
- Squeaking: Insufficient lubrication on rollers, hinges, or tracks
Addressing unusual sounds early prevents minor issues from escalating into major repairs.
Step 3: Test the Door Balance
An unbalanced garage door puts enormous strain on the opener and can cause premature failure. Testing balance is simple: disconnect the opener by pulling the red emergency release cord, then manually lift the door halfway. A properly balanced door will stay in place when you let go. If it falls or rises on its own, the springs need adjustment. For a detailed walkthrough, see: https://garagedaily.com/how-to-level-a-garage-door/
Step 4: Lubricate All Moving Parts
Lubrication is the single most impactful thing you can do to extend the life of your garage door. Use a dedicated garage door lubricant or white lithium grease — never WD-40, which is a solvent, not a lubricant. Apply lubricant to:
- Rollers: Apply a small amount to each roller bearing (not the track)
- Hinges: Apply at the pivot points and joints
- Springs: A light coat along the length of each spring
- Tracks: Wipe clean, then apply a thin coat inside the track curves
- Opener chain or screw drive: Follow manufacturer recommendations
Proper lubrication reduces noise, prevents corrosion, and dramatically reduces wear on all moving components.
Step 5: Tighten All Hardware
Vibration from thousands of open/close cycles gradually loosens the bolts, nuts, and brackets that hold your garage door system together. Every three to six months, use a socket wrench to check and tighten all visible hardware. Pay particular attention to the brackets holding the track to the wall and ceiling, the hinges connecting the door panels, and the bolts securing the opener to the ceiling.
Step 6: Test Safety Features
Modern garage doors are equipped with two critical safety features that must be tested regularly:
Photo-eye sensors: These infrared sensors near the floor stop and reverse the door if something breaks the beam. Test by placing a small object in the door’s path and attempting to close it. The door should reverse immediately. If it does not, the sensors need adjustment or cleaning.
Auto-reverse mechanism: Place a 2×4 board flat on the floor under the center of the door. When the door touches the board, it should automatically reverse. If it does not, adjust the force settings on your opener.
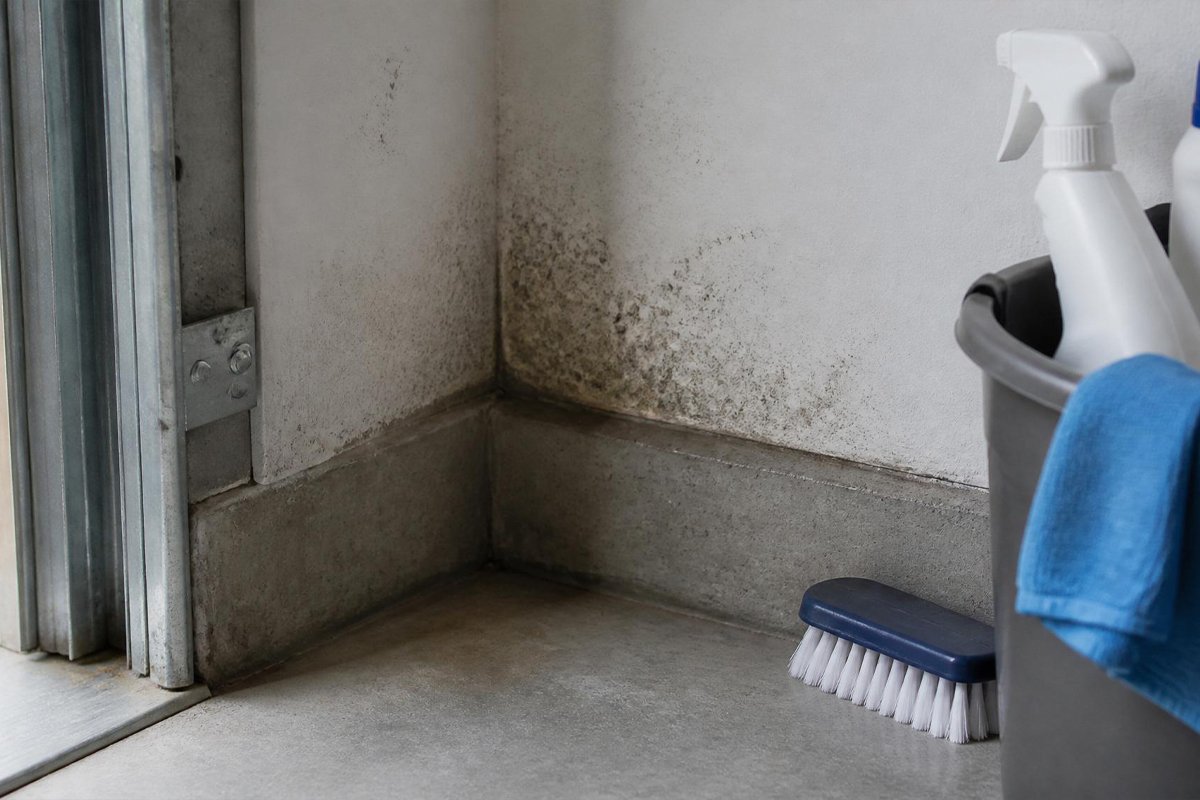
Step 7: Inspect and Replace Weatherstripping
The weatherstripping around your garage door serves multiple critical functions: it seals out rain, wind, pests, and cold air, while also reducing noise and improving energy efficiency. Inspect the weatherstripping on all four sides of the door for cracking, hardening, tearing, or compression set.
Bottom seal replacement is one of the most common garage door maintenance tasks. For a complete guide to this process, visit: https://garagedaily.com/how-to-replace-garage-door-bottom-seal/
Step 8: Clean the Tracks
Dirty tracks are a leading cause of garage door operating problems. Wipe down the inside of both tracks with a clean cloth to remove built-up grease, dirt, and debris. Avoid spraying lubricant directly into the tracks — the tracks should be clean and relatively dry, as debris sticks easily to lubricated surfaces.
Seasonal Garage Door Maintenance Tips
Spring and Summer
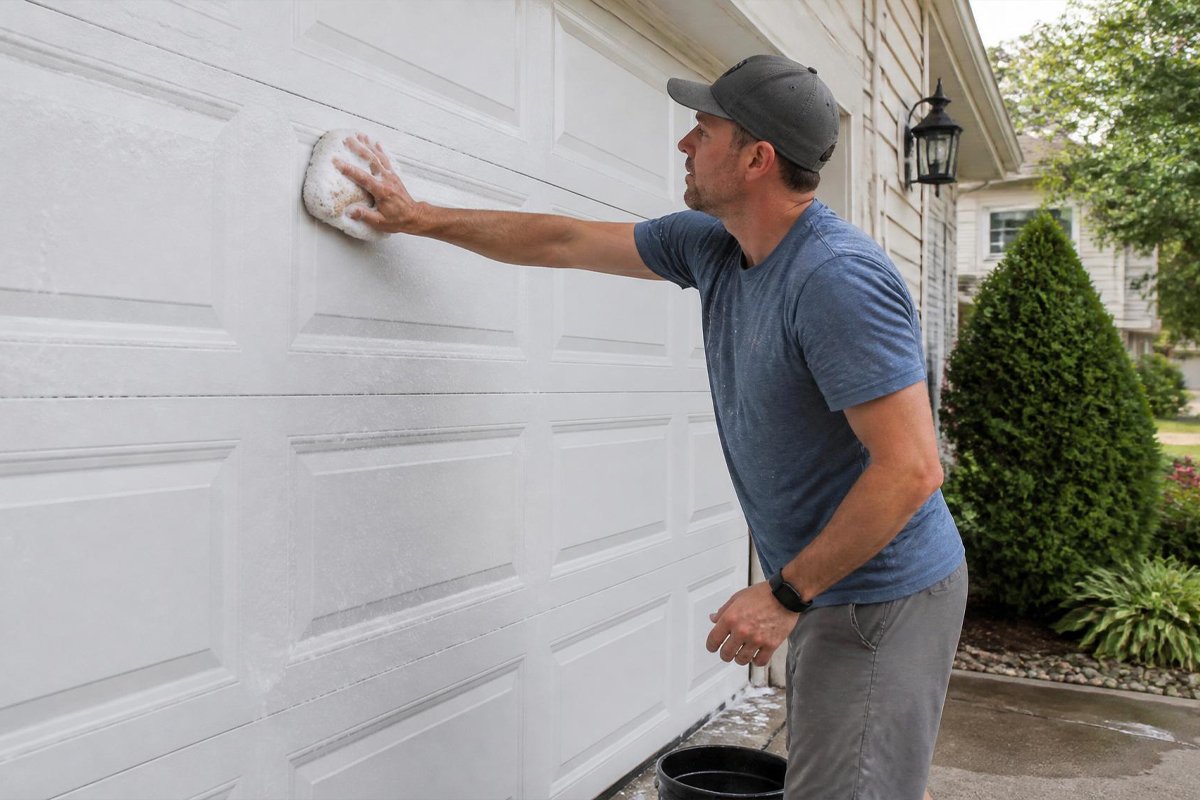
Warmer months are ideal for thorough inspections since cold temperatures can make some problems temporarily disappear. Check for wood rot or swelling in wooden doors, inspect weatherstripping for UV damage, and clean the exterior of the door.
Fall
Prepare your garage door for winter by lubricating all components with a low-temperature lubricant, testing the auto-reverse mechanism, inspecting the bottom seal, and checking the balance before extreme cold sets in.
Winter
In cold climates, monitor your garage door opener for sluggish performance, which can indicate cold-thickened lubricant or frozen weatherstripping. Keep the bottom of the door clear of ice and snow to prevent seal damage.
Common Garage Door Problems and Their Solutions
Garage Door Won’t Open or Close
Check the power to the opener, inspect the remote batteries, ensure the photo-eye sensors are aligned and clean, verify the door is not in manual mode from the emergency release. For programming issues with your opener, visit: https://garagedaily.com/how-to-program-chamberlain-garage-door-opener/
Door Opens But Reverses Immediately
This typically indicates misaligned or dirty photo-eye sensors. Clean the lenses with a soft cloth and check that both sensors are properly aligned and their indicator lights are steady.
Door Closes Partially Then Reverses
Check the close force limit settings on your opener. Also inspect the tracks for obstructions and ensure the door is properly balanced.
Rust on Metal Doors
Surface rust on steel doors should be addressed promptly before it penetrates the metal. For a step-by-step rust removal and prevention guide, visit: https://garagedaily.com/how-to-remove-rust-from-the-garage-door/
When to Call a Professional
While most routine maintenance is DIY-friendly, certain tasks absolutely require professional expertise:
- Spring replacement or adjustment — torsion and extension springs are under extreme tension
- Cable replacement — frayed or broken cables can snap violently
- Major track realignment
- Opener motor replacement
- Any repair where you are unsure of your safety or skill level
Professional garage door service typically costs $75 to $300, which is far less than an emergency repair or the cost of an injury.
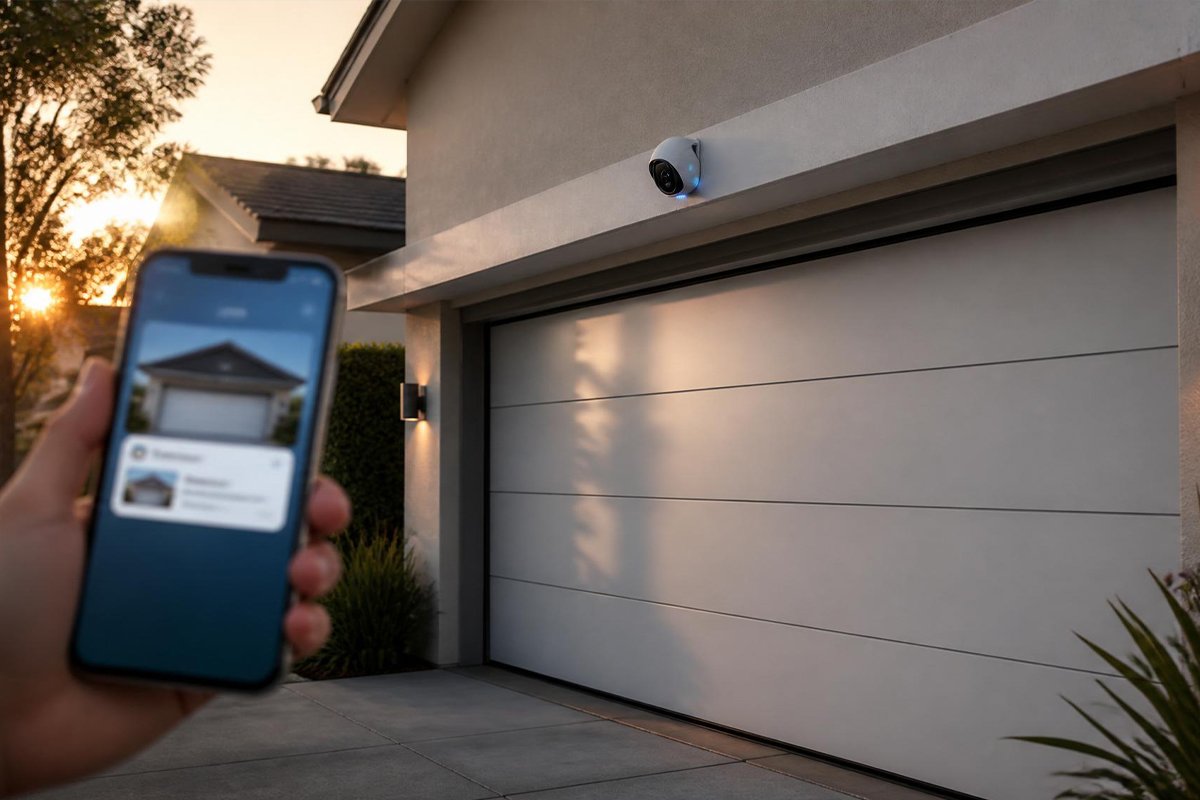
Upgrading Your Garage Door Security
Maintenance is not just about mechanical operation — it also includes security. Regularly change your garage door access code to prevent unauthorized entry, especially after moving into a new home, losing a remote, or any security concern. For a complete guide to changing your garage door code without a technician, visit: https://garagedaily.com/how-to-change-your-garage-door-code/
Conclusion
A well-maintained garage door is a safer, more reliable, and longer-lasting garage door. Investing 30 minutes per month in the maintenance tasks outlined in this guide will save you hundreds of dollars in repairs, extend the life of your garage door system by years, and give you the peace of mind that comes with knowing your home is secure and functioning properly.
Start with the basics — lubrication, visual inspection, and balance testing — and build your maintenance routine from there. Your garage door will thank you for it.
More helpful guides from GarageDaily.com:
How to Replace Garage Door Bottom Seal — https://garagedaily.com/how-to-replace-garage-door-bottom-seal/
How to Fix Gap on One Side of Garage Door — https://garagedaily.com/how-to-fix-gap-on-one-side-of-garage-door/
How to Remove Rust from the Garage Door — https://garagedaily.com/how-to-remove-rust-from-the-garage-door/