Your garage door sensor is one of the smallest components in your entire garage door system — but it might be the most important one. Those two little devices mounted near the floor on either side of your garage door are the primary safety mechanism preventing the door from closing on a person, a pet, a bicycle, or anything else that shouldn’t be crushed by several hundred pounds of moving door.
When sensors work correctly, you never think about them. When they malfunction, everything stops working — and figuring out why can be genuinely frustrating, especially when the problem isn’t obvious.
The good news is that most garage door sensor problems are surprisingly simple to diagnose and fix yourself without calling a technician. In this guide, we’ll walk through exactly how garage door sensors work, the five most common problems homeowners encounter, and step-by-step solutions for each one. By the end, you’ll be able to troubleshoot sensor issues confidently and get your garage door back to reliable, safe operation.
How Garage Door Sensors Work
Before diving into problems and fixes, it helps to understand what you’re dealing with. Garage door sensors — also called photo eyes or safety sensors — work on a simple but clever principle.
Two sensors are installed on opposite sides of the garage door frame, typically four to six inches off the ground. One sensor is the transmitter (usually indicated by a steady amber or yellow light) and the other is the receiver (usually indicated by a steady green light). The transmitter continuously sends an invisible infrared beam across the doorway to the receiver.
When you press the button to close the garage door, the opener checks whether that beam is intact. If the beam is unbroken, the door closes normally. If anything interrupts the beam — a person, a pet, a box, even a leaf that blew in — the receiver detects the interruption and either stops the door or reverses it immediately.
This safety system is required by federal law on all garage door openers manufactured after 1993. It saves lives — but it also means that when sensors malfunction, your door may refuse to close at all, reverse for no apparent reason, or behave erratically.
The sensor lights are your primary diagnostic tool. When both sensors are working correctly and properly aligned, both lights should be solid — no blinking, no flickering. Any deviation from solid lights is a signal that something needs attention.
For a broader overview of garage door maintenance including sensors, visit Garage Door Maintenance: Best Practices & Checklist on GarageDaily.com.
Problem 1: Misaligned Sensors
Symptoms
The garage door refuses to close, or it starts closing and then immediately reverses back up. When you look at the sensors, one or both lights may be blinking or appear dim rather than solid. This is the most common garage door sensor problem homeowners experience.
Why It Happens
Sensors are mounted on adjustable brackets, which is convenient during installation but means they can shift position over time. A bump from a lawn mower, a dog brushing against the sensor, a child kicking a ball nearby, or even vibration from the garage door itself over thousands of cycles can gradually knock sensors out of alignment. When the transmitter and receiver are no longer pointed directly at each other, the beam weakens or breaks entirely — and the opener interprets this as an obstruction.
How to Fix It
Start by looking at both sensor lights. The transmitter (amber/yellow light) should always be solid regardless of alignment. The receiver (green light) will blink or go dark when misaligned. That’s the sensor you need to adjust.
Loosen the wing nut or mounting screw on the receiver sensor bracket just enough to allow adjustment without the sensor falling. Slowly rotate and tilt the sensor while watching the light. When the green light turns solid and steady, the beam is aligned. Tighten the bracket securely in that position.
Step back and test the door. It should close smoothly without reversing. If it still reverses, double-check that both sensors are at the same height — a sensor mounted even slightly higher or lower than its counterpart can cause alignment issues.
Prevention tip: Check sensor alignment monthly as part of your regular garage door maintenance. It takes thirty seconds and prevents a lot of frustration.
Problem 2: Dirty or Obstructed Sensors
Symptoms
The garage door closes inconsistently — sometimes it works fine, other times it stops or reverses for no apparent reason. There’s no obvious obstruction in the doorway, and the sensors appear to be aligned correctly.
Why It Happens
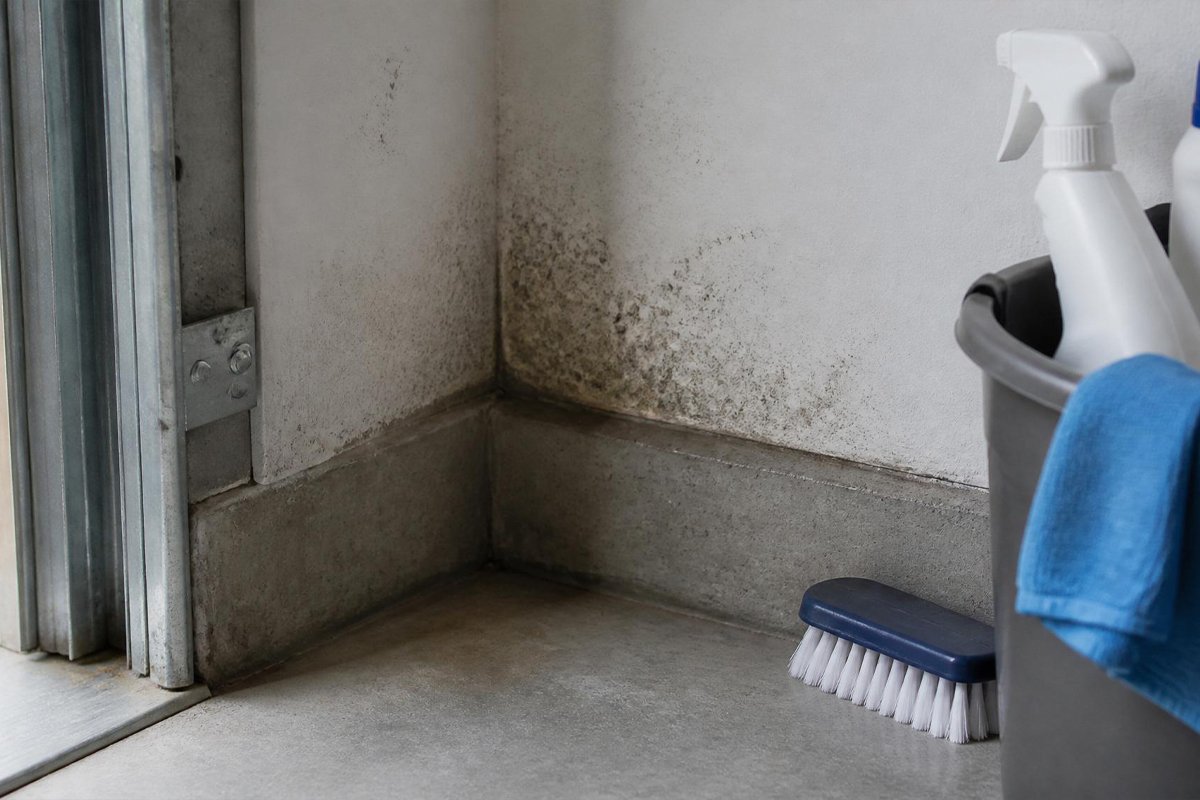
The infrared beam that travels between your sensors is sensitive. Dust, dirt, cobwebs, insect residue, water spots, or even a thin film of grime on the sensor lens can scatter or partially block the beam, causing the receiver to interpret the interference as an obstruction. Garages are dusty, dirty environments — sensor lenses get coated gradually and the problem worsens over time.
Direct sunlight hitting the sensor lens can also cause temporary interference, which explains why some homeowners find their door works fine in the morning but acts up during afternoon hours when the sun angle changes.
How to Fix It
This fix is almost embarrassingly simple — but it works. Take a clean, soft cloth (a microfiber cloth works best) dampened slightly with water and gently wipe both sensor lenses. Do not use harsh chemical cleaners, abrasive pads, or paper towels, which can scratch the lens surface and cause permanent damage to the sensor’s optical clarity.
While you’re cleaning the lenses, also check the area around and between the sensors for cobwebs, leaves, or debris that might be partially crossing the beam path. Clear anything in the immediate vicinity.
After cleaning, test the door several times. If it now closes consistently, dirty sensors were your culprit.
Prevention tip: Include sensor lens cleaning in your quarterly garage door maintenance routine. It takes two minutes and costs nothing.
Problem 3: Faulty or Damaged Wiring
Symptoms
One or both sensor lights flicker, blink irregularly, or don’t illuminate at all. The problem may be intermittent — the door works sometimes but not others — which is a classic sign of a loose or damaged wire connection.
Why It Happens
Garage door sensor wiring runs along the door frame and wall, often exposed to foot traffic, tools being stored nearby, pest activity, and years of vibration from the door system. Wires can develop frays, cuts, or pinches over time. Connections at the sensor terminals or at the opener unit can loosen from vibration. In older systems, wire insulation may crack and deteriorate, causing intermittent shorts.
How to Fix It
Safety first — before inspecting any wiring, disconnect power to your garage door opener either by unplugging it from the ceiling outlet or switching off the circuit breaker. Never work on wiring with the system powered.
With power off, trace the sensor wires from each sensor along the door frame up to the opener unit. Look for any visible damage — cuts, frayed insulation, pinched sections, or areas where the wire appears to have been bent repeatedly. Check the connection points at both the sensor terminals and where the wires connect to the opener — these are the most common points of failure.
If you find a loose connection, reconnect it securely. If you find damaged wiring, the affected section needs to be replaced. Garage door sensor wire is inexpensive — available at any hardware store — and replacing a damaged section is a straightforward repair for anyone comfortable with basic electrical work.
If wiring damage is extensive or you’re not comfortable working with electrical components, this is a reasonable job to hand off to a garage door technician.
Prevention tip: Annually inspect sensor wiring as part of your maintenance routine, particularly where wires run near the floor or along areas where tools or equipment might contact them.
Problem 4: Weak, Failing, or Dead Sensors
Symptoms
One or both sensor lights are completely off despite the opener being powered. The door either won’t close at all or closes only when you hold the wall button continuously (most openers allow manual override this way). Cleaning and alignment adjustments don’t resolve the problem.
Why It Happens
Like all electronic components, garage door sensors have a lifespan. Most sensors last ten to fifteen years under normal conditions, but exposure to moisture, temperature extremes, physical impacts, or electrical surges can shorten their life considerably. When a sensor reaches the end of its life or suffers internal damage, it simply stops working — no amount of cleaning or adjustment will fix it.
How to Fix It
First, confirm the sensor is receiving power by checking that the opener is plugged in and the circuit breaker hasn’t tripped. If power is confirmed and the light still won’t illuminate, the sensor itself has likely failed.
Garage door sensors are sold in matched pairs and are relatively inexpensive — typically $20 to $50 for a replacement set at a hardware store or online. When replacing sensors, always replace both units as a matched pair even if only one has failed. Sensors from the same set are calibrated to work together, and replacing only one can cause compatibility issues. It also prevents the second aging sensor from failing shortly after.
Replacement is straightforward — disconnect the old sensors from their wiring and brackets, mount the new sensors in the same positions, connect the wiring, and test alignment until both lights are solid.
For detailed guidance on related garage door component replacements, see Ultimate Step-by-Step Guide: How to Replace Your Garage Door Rollers on GarageDaily.com.
Prevention tip: If your sensors are more than ten years old and you’re having persistent issues, proactive replacement is often smarter than repeated troubleshooting of aging components.
Problem 5: Sunlight or Electronic Interference
Symptoms
The garage door works perfectly in the morning or evening but reverses unexpectedly during certain times of day — particularly when afternoon sun shines directly into the garage. Alternatively, the door started malfunctioning after you added a new electronic device, LED lighting, or other equipment near the garage.
Why It Happens
Infrared sensors can be overwhelmed by competing infrared light sources — and the sun is the most powerful infrared source there is. When direct sunlight hits the receiver sensor at the right angle, it floods the sensor with infrared light that overpowers the transmitter’s beam, causing the receiver to lose the signal and interpret it as an obstruction.
Electronic interference is less common but real. Certain LED lights, fluorescent fixtures, wireless devices, and other electronics that emit infrared or radio frequency signals can occasionally interfere with sensor operation, particularly in older sensor systems.
How to Fix It
For sunlight interference, the simplest fix is adjusting the angle of the affected sensor slightly — just a few degrees — to move it out of the direct sun path while maintaining alignment with the transmitter. Loosen the bracket, make a small angular adjustment, and check that the green receiver light remains solid.
If adjustment doesn’t fully solve the problem, a sun shield is an effective solution. A small piece of cardboard, PVC pipe section, or purpose-made sensor shield attached around the receiver creates a hood that blocks ambient light while allowing the direct beam from the transmitter to reach the sensor unobstructed. Many hardware stores sell purpose-made sensor shields for under $10.
For electronic interference, identify any new devices added to the garage or nearby areas around the time the problem started. Try temporarily removing or relocating the device to confirm it’s the source. Switching to different light bulbs or moving the interfering device to the opposite side of the garage often resolves the issue.
Quick Troubleshooting Reference
When your garage door sensor acts up, work through this sequence before calling a technician:
Check the sensor lights first — solid means good, blinking or dark means a problem exists. Clean both lenses with a soft damp cloth. Check alignment and adjust until both lights are solid. Inspect wiring for visible damage or loose connections. Consider the time of day and recent changes to your garage setup. If all else fails, replace both sensors as a matched pair.
In the majority of cases, one of the first three steps resolves the problem entirely.
When to Call a Professional
Most garage door sensor problems are genuinely DIY-friendly. But there are situations where calling a professional is the right call. If you find significant wiring damage throughout the system, if the opener unit itself appears to be malfunctioning rather than the sensors, if you’re uncomfortable working with electrical components, or if sensor replacement doesn’t resolve persistent issues — a licensed garage door technician can diagnose and fix the problem safely and efficiently.
For more garage door maintenance guidance and DIY repair resources, visit GarageDaily.com — your complete resource for garage door care and repair.
Conclusion
Garage door sensors are simple devices that perform a critical safety function. The five problems covered in this guide — misalignment, dirty lenses, faulty wiring, sensor failure, and interference — account for the vast majority of sensor malfunctions homeowners experience. And in most cases, the fix is something you can handle yourself in under thirty minutes with basic tools and no special expertise.
The key is regular attention. Include sensor inspection and cleaning in your quarterly maintenance routine, check alignment whenever you notice unusual door behavior, and replace aging sensors proactively rather than waiting for a complete failure. A properly functioning sensor system keeps your garage door safe, reliable, and operating exactly the way it should.
For more tips on keeping your entire garage door system in top condition, explore Garage Door Maintenance: Best Practices & Checklist on GarageDaily.com.